
Your cart is currently empty.

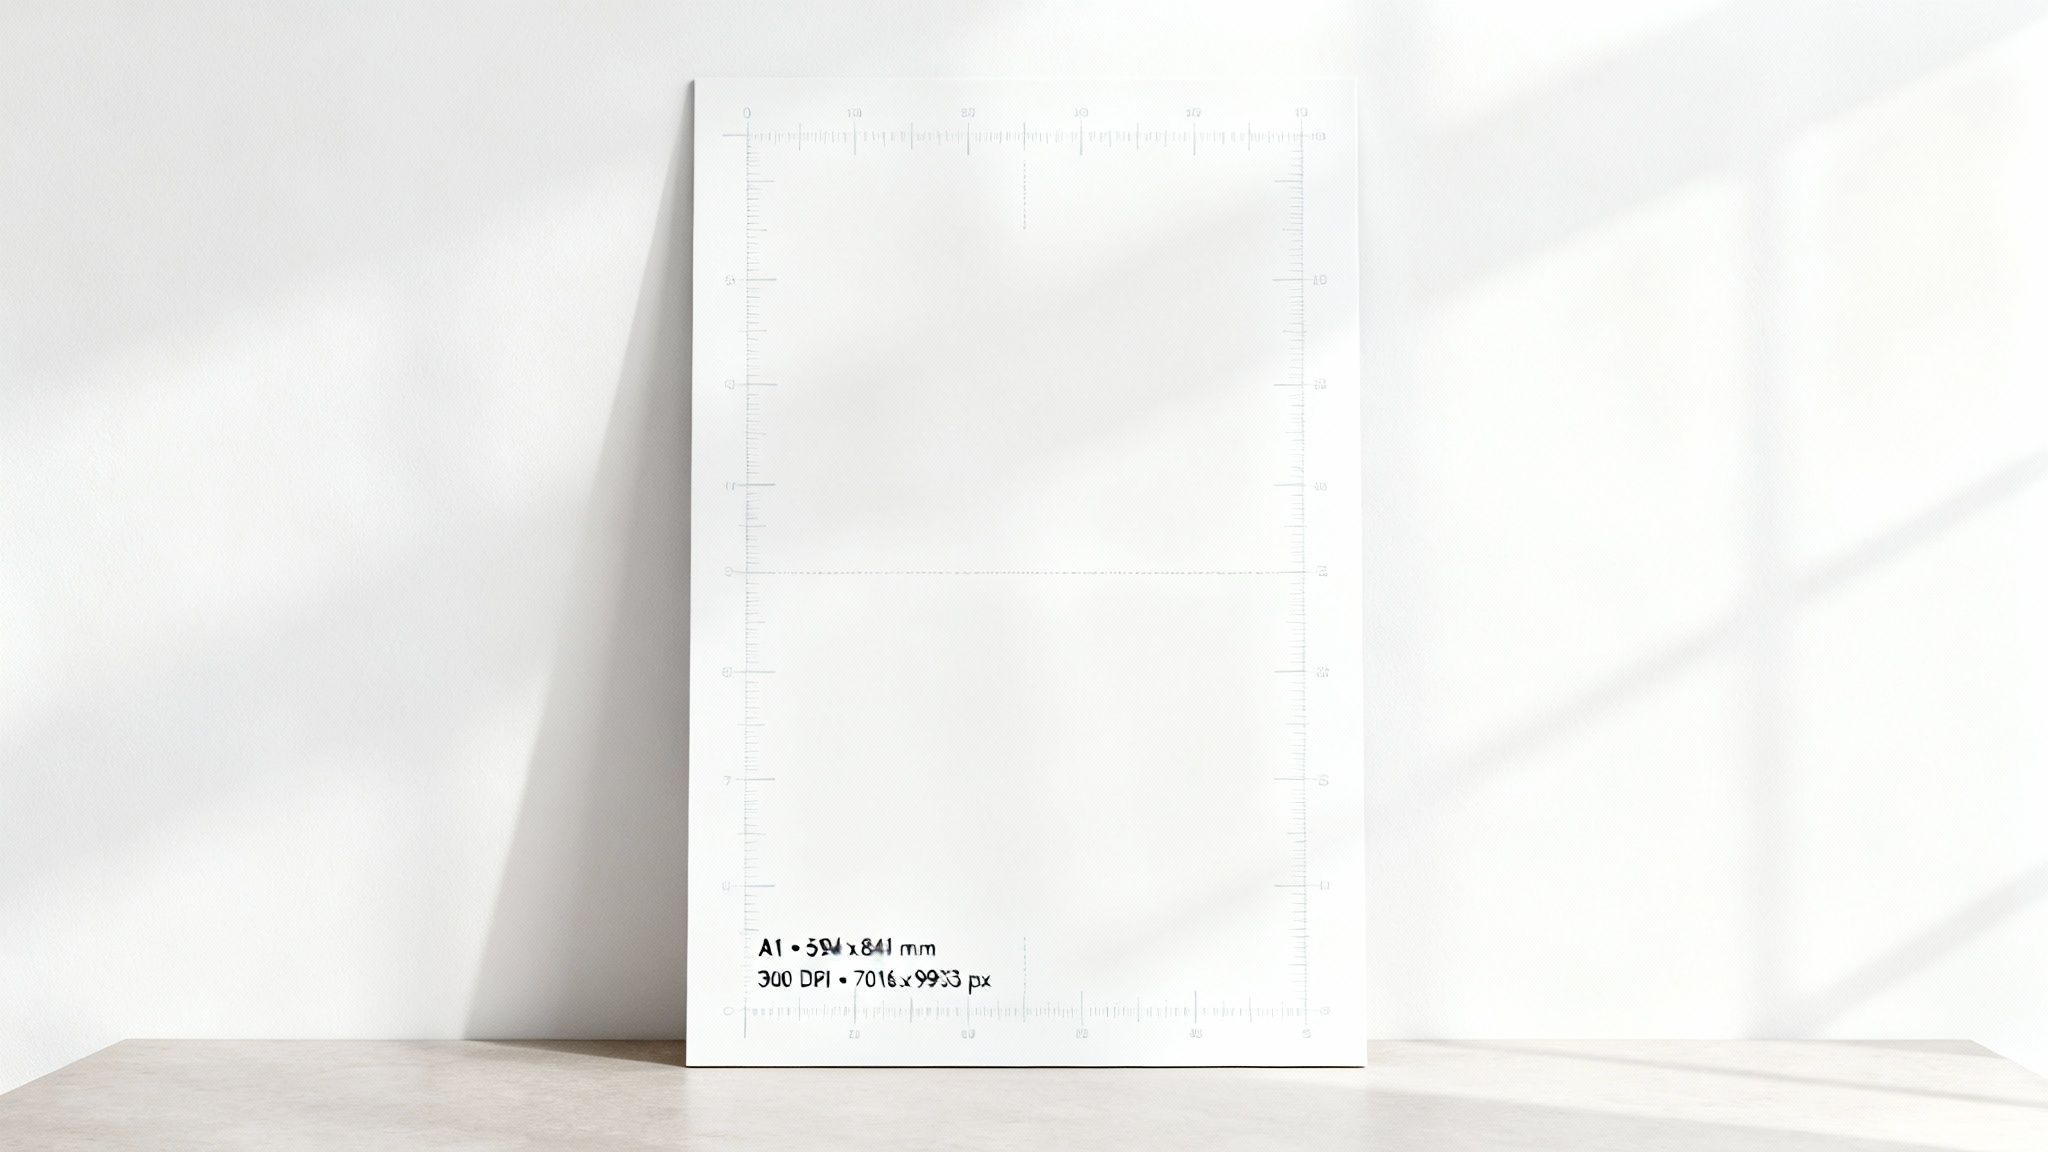
The A1 poster size is a real workhorse in New Zealand's design and print world. It measures exactly 594 x 841 millimetres, which works out to about 23.4 x 33.1 inches. It’s the perfect middle-ground size – big enough to make a statement in a shop window or at a trade show, but not so massive that it's a hassle to handle or find space for.
Understanding A1 Poster Dimensions
The A1 size isn't just a random measurement; it's a key part of the internationally recognised ISO 216 paper standard. This system is brilliantly simple: each size in the 'A' series is precisely half of the one before it. So, if you cut an A0 sheet in half, you get two perfect A1 sheets.
This consistency is a huge deal for designers and printers everywhere. It means a file designed in Auckland will print exactly as expected in Wellington, with no weird scaling issues. Here in NZ, the A1 is particularly popular for both indoor and outdoor advertising because it catches the eye from a distance without being overpowering. You can see more examples of its common business applications and how it's used effectively.
A1 Poster Dimensions At a Glance
Getting your file setup right from the start is crucial. To help you out, here’s a quick-reference table with the A1 poster dimensions you'll need, whether you're working in millimetres, inches, or pixels for a high-resolution print job.
| Unit | Width | Height |
|---|---|---|
| Millimetres (mm) | 594 mm | 841 mm |
| Inches (in) | 23.4 in | 33.1 in |
| Pixels (px) @ 300 DPI | 7016 px | 9933 px |
Sticking to these exact measurements is the best way to avoid any unpleasant surprises like pixelation or distortion. It’s the first step to ensuring your final printed poster looks sharp, professional, and high-quality.
Setting Up Your Print-Ready A1 Design File
Creating a knockout A1 poster design is one thing, but getting it ready for the printer is where the real magic happens. A flawless print job always starts with a perfectly set-up digital file that meets NZ industry standards. This is how you make sure what you see on your screen is exactly what you get in your hands.
Getting the technical settings right from the get-go helps you sidestep common printing disasters like surprise white borders or fuzzy images. A big part of this is making sure your images are top-notch, which is often easier with good real estate photo editing software. Nail these details first, and you'll save yourself a lot of time and money later.
Essential Print Setup Checklist
To get your file truly print-ready, run through these non-negotiable steps. Each one is a crucial part of the professional printing process, covering everything from how colours are handled to how the final poster is cut.
-
Add Bleed: You absolutely must extend your background colours, images, or any design elements right to the edge of your canvas and then some. Add a 3mm to 5mm "bleed" area beyond the final trim edge. This gives the printer a small margin of error, ensuring no ugly white slivers appear after the poster is trimmed to size.
-
Define Trim and Safe Areas: Clearly mark the final A1 dimensions (594 x 841 mm) with trim lines in your design software. More importantly, establish a "safe area" inside these lines, usually at least 5mm from the edge. Keep all your important text, logos, and critical design elements within this zone to guarantee they don't get accidentally chopped off.
-
Use CMYK Colour Mode: Always design in CMYK (Cyan, Magenta, Yellow, Key/Black). Your screen displays colours in RGB (Red, Green, Blue), but professional printers use the CMYK model. Designing in CMYK from the start ensures the colours on your printed poster are as accurate as possible.
-
Export as a High-Resolution PDF: For almost any print shop in New Zealand, a high-resolution PDF is the gold standard. This file format locks in your fonts and embeds your images, so your design looks exactly as you intended, no matter who opens it.
Pixels, Resolution, and Getting a Pro-Quality Print
When you move a design from your screen to a physical A1 poster, the most important thing to get right is the resolution. Think of your digital image as a mosaic made of tiny coloured squares called pixels. The print resolution, measured in Dots Per Inch (DPI), dictates how many of those pixels get printed within every inch of paper.
The more dots you pack into that inch, the sharper and clearer your final poster will look. For professional A1 poster printing, the gold standard is 300 DPI. This high resolution ensures every detail is crisp, colours look rich and solid, and there’s no hint of blurriness or pixelation, even when someone’s looking at it up close. To hit this standard for an A1 print, your digital file must be 7016 x 9933 pixels.
Does Every A1 Poster Need 300 DPI?
Not necessarily, but it’s a question of quality versus practicality. If your poster is going to be hung high up on a wall or viewed from across a large room, you might get away with a lower resolution like 150 DPI. The trade-off is that you’ll have a smaller file size, but you'll sacrifice that razor-sharp clarity.
My advice? If your brand’s name is on it and customers will see it up close, stick to 300 DPI. It’s the difference between a poster that looks polished and professional and one that just looks cheap.
To help you get your file set up correctly, this diagram shows the key areas every print designer needs to know: the bleed, the trim line, and the safe area.
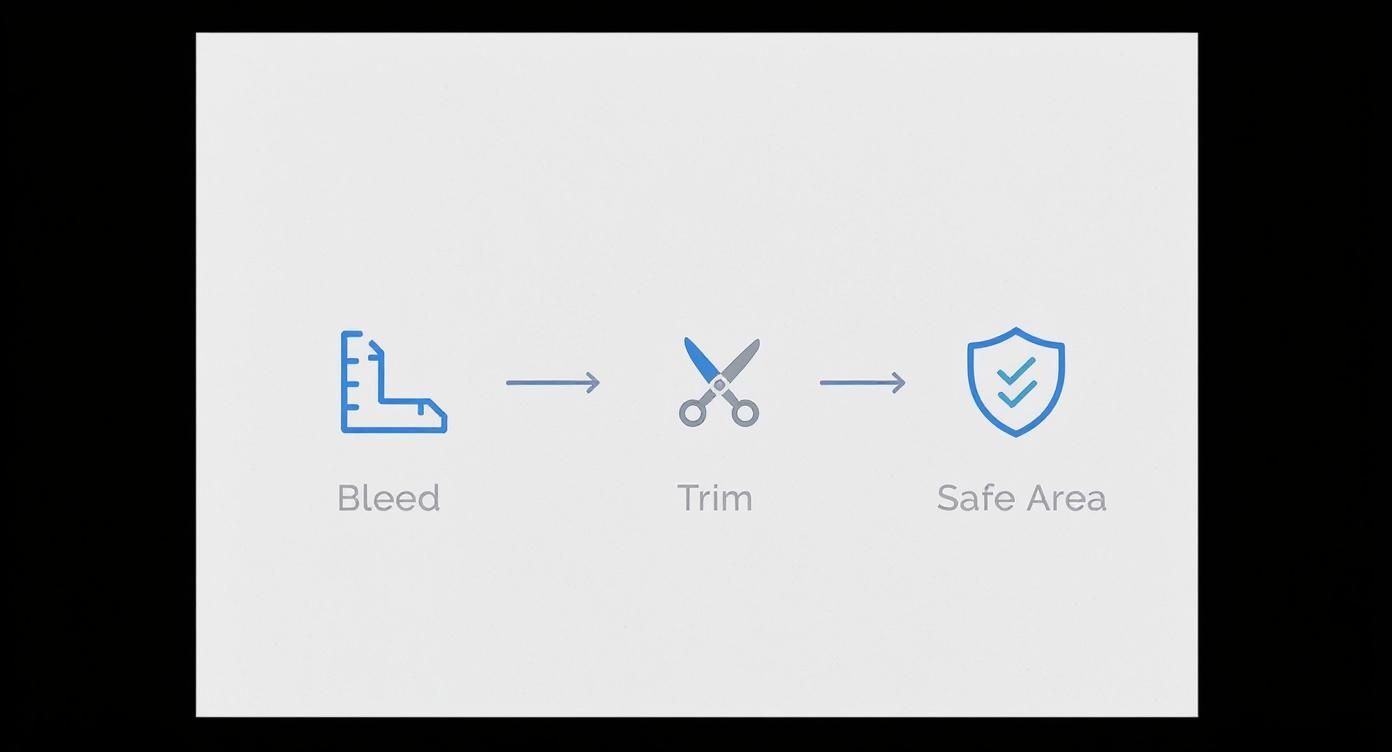
As you can see, these margins work together to make sure no critical parts of your design are accidentally chopped off during production. While our focus here is on print, the same principles of precise sizing are crucial in the digital world. For a great comparison, check out a guide to display ads dimensions, sizes, and specs to see how this translates to online advertising.
A1 Pixel Dimensions for Different Print Qualities
The resolution you choose directly impacts the required pixel dimensions of your design file. Here’s a quick reference table to help you decide what's best for your project.
| Resolution (DPI) | Width (Pixels) | Height (Pixels) | Best Use Case |
|---|---|---|---|
| 300 DPI | 7016 px | 9933 px | Professional Quality: Photos, fine art, marketing. |
| 150 DPI | 3508 px | 4967 px | Good Quality: Posters viewed from over a metre away. |
| 96 DPI | 2245 px | 3179 px | Screen/Web Use Only: Not recommended for printing. |
| 72 DPI | 1684 px | 2384 px | Standard Web: Never use for print; will be blurry. |
Ultimately, for any A1 poster that represents your business or brand, aiming for the 300 DPI (7016 x 9933 pixels) benchmark is the safest bet for a flawless result.
Practical Applications for A1 Posters in NZ
The A1 poster strikes a perfect balance. It's big enough to grab your attention from across the room but not so large that it completely dominates a space. This versatility is exactly why it’s a go-to for so many different uses right across New Zealand, from busy city centres to local community halls.
For Kiwi businesses, the A1 poster is an absolute marketing workhorse. Think about the retail shops lining high-traffic areas like Auckland's Queen Street or Wellington's Lambton Quay. They rely on A1 posters for bold window displays that shout about sales, launch new products, or promote special offers. The generous size gives designers plenty of room for impactful graphics and text that's easy to read from a distance.
Professional and Academic Uses
In more formal environments, the A1 format really shines at presenting complex information in a clear, professional way. This makes it a firm favourite for conferences, trade shows, and expos throughout NZ.
- Conference Displays: Businesses and researchers use A1 posters to showcase data, summarise project findings, or outline their services in a format that’s easy for attendees to digest.
- Academic Presentations: At universities in Auckland, Wellington, and Christchurch, it's common to see students and academics using A1 posters to present research summaries and key thesis points.
- Event Advertising: From music festivals to local markets, community centres and event organisers find A1 posters are brilliant for getting the word out and ensuring maximum visibility.
The true strength of the A1 poster is its adaptability. It offers enough space for impactful design and essential details, serving as a powerful visual anchor in any communication strategy.
Ultimately, seeing how these posters are used in the real world helps highlight just how effective the A1 size is for hitting specific communication goals.
How to Choose the Right Paper for Your A1 Poster
The paper you choose for your A1 poster does more than just hold ink—it completely sets the tone for your message. Picking the right paper stock is a critical step that dictates the final look, feel, and durability of your design. The two main things you need to nail down are the paper weight (GSM) and the finish.
Paper weight is measured in Grams per Square Metre (GSM). Simply put, a higher GSM number means a heavier, thicker, and more durable paper. Understanding this helps you match the paper to your poster's intended use and how long you need it to last.
Understanding Paper Weight (GSM)
For short-term indoor promotions, like a notice for a weekend sale, a lighter stock is usually perfectly fine and more budget-friendly.
-
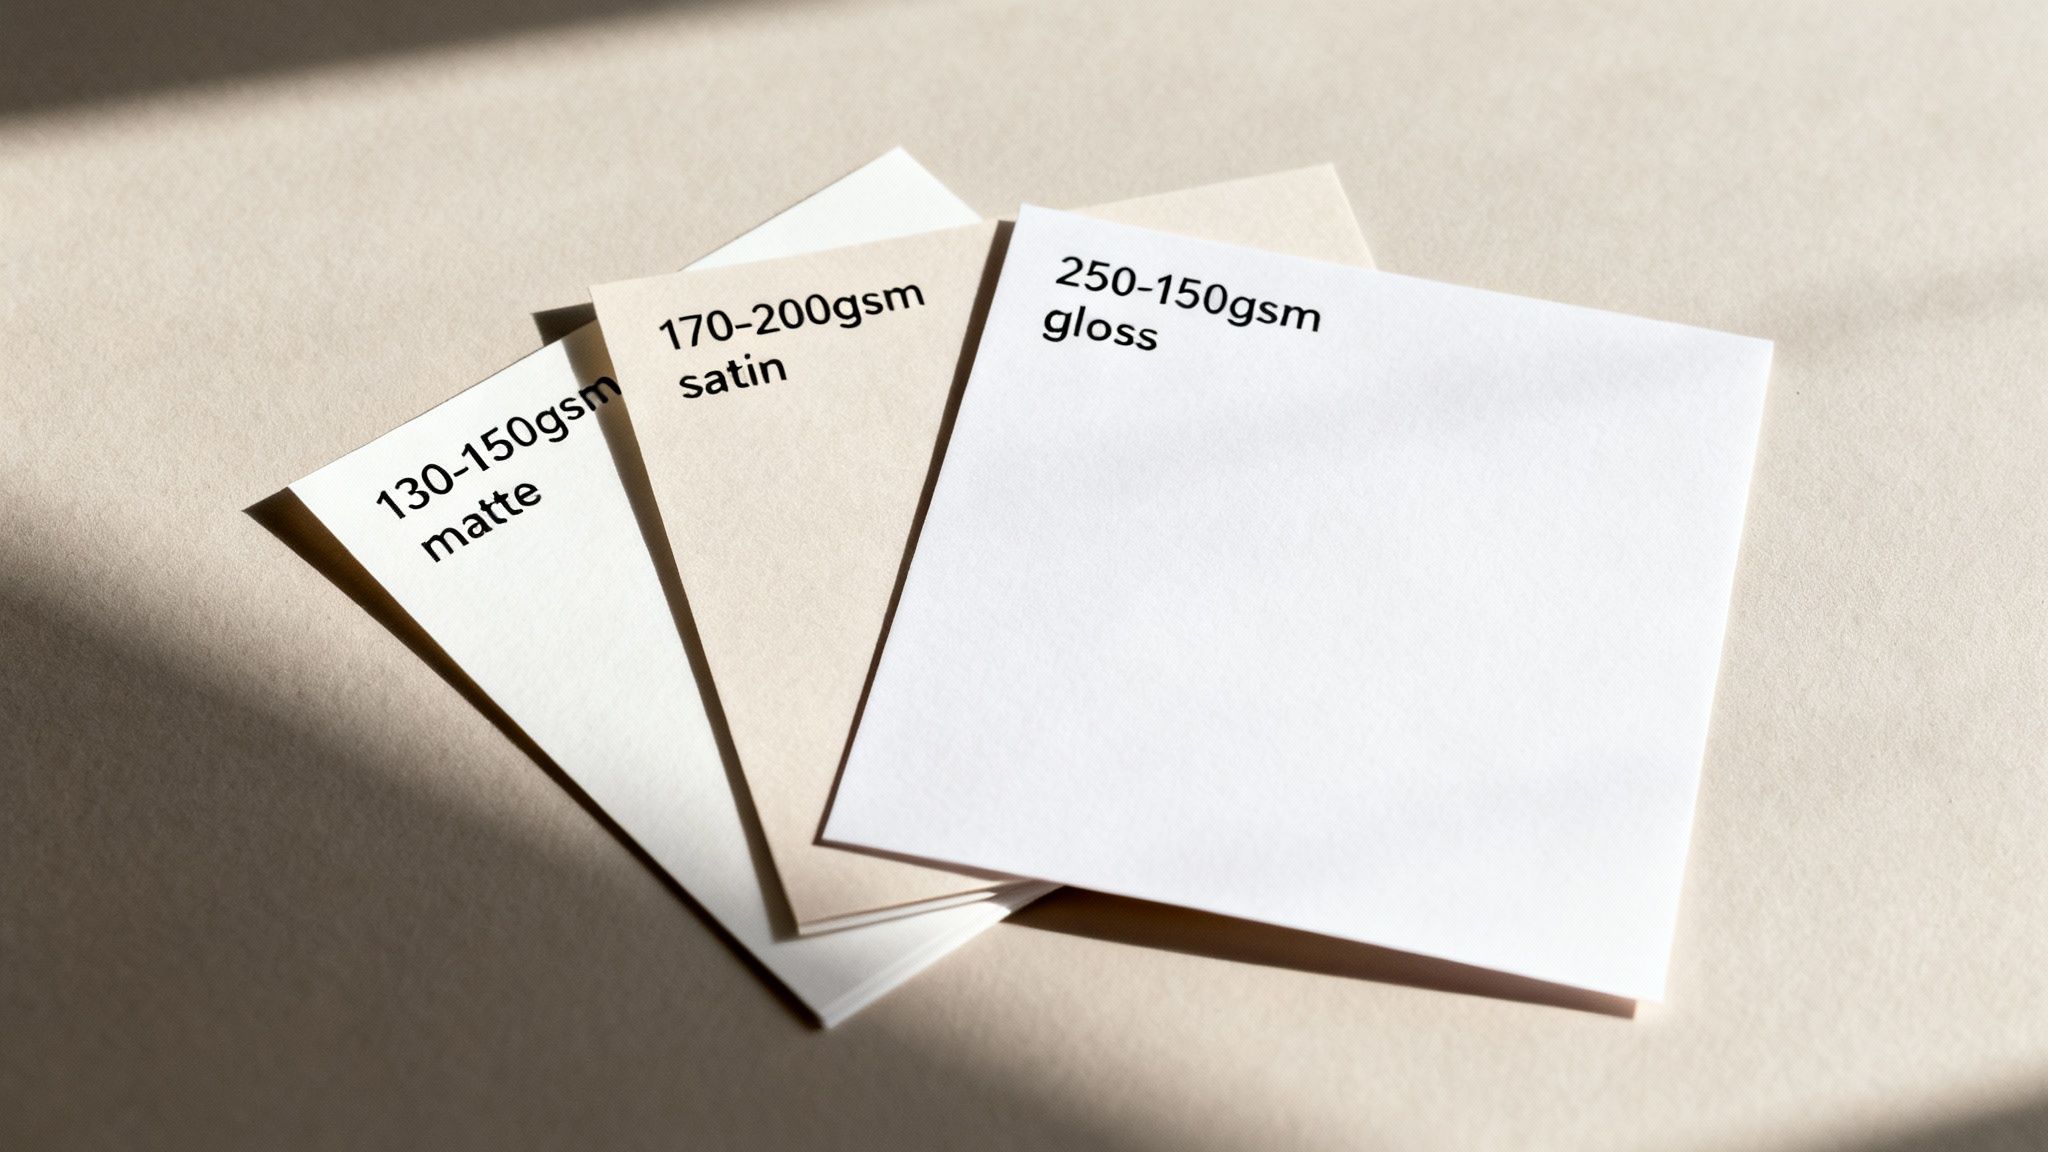
130–150gsm: This is a standard, lightweight option. It’s perfect for temporary indoor displays where longevity isn’t a huge priority. Think of it as feeling like a high-quality flyer.
-
170–250gsm: This heavier stock has a much more premium and substantial feel. It’s far more durable, less likely to tear, and is the go-to for posters that need to stick around, like in-store branding or conference displays.
Interestingly, NZ print shops report that around 55% of A1 poster prints are on 170–200gsm stock, which really hits that sweet spot between affordability and quality. This weight is also a popular choice for government and educational notices, which account for about 10-15% of all A1 printing demand. You can learn more about local paper size standards and their uses to see how this fits into the bigger picture.
Comparing Popular Paper Finishes
The finish you select has a huge impact on how vibrant your colours look and how easy your poster is to read under different lighting.
-
Gloss: This finish offers a shiny, reflective surface that makes colours really pop. It’s brilliant for photo-heavy designs, but the trade-off is that it can create a nasty glare under direct light.
-
Satin (or Silk): A very popular middle-ground option with a lovely low-sheen finish. It gives you great colour vibrancy without the high reflectivity of gloss, making it a versatile workhorse for almost any situation.
-
Matte: This finish has a non-reflective, completely flat surface. It’s an excellent choice for text-heavy posters or designs with a more subtle, artistic vibe, ensuring readability from all angles without any distracting shine.
A1 Poster FAQs: Your Questions Answered
When you're getting ready to print an A1 poster, a few questions always seem to surface, especially if it’s your first time working with this format. Getting these details right from the start can save you a lot of headaches later on. We've put together answers to some of the most common queries we hear.
Think of this as your quick-reference guide, covering everything from how A1 relates to other paper sizes to what you need to know about printing photos.
How Does A1 Compare to A0?
It's easy to get mixed up with all the 'A' sizes, but the system is actually quite logical. The A-series is based on a simple halving principle: an A1 sheet is exactly half the size of an A0 sheet.
Imagine you take an A0 piece of paper and fold it in half along its longest edge. You’d be left with two perfect A1 sheets.
- A0 Dimensions: 841 x 1189 mm
- A1 Dimensions: 594 x 841 mm
This clever relationship is the foundation of the ISO 216 standard, which keeps paper sizes consistent worldwide.
Can I Print a Standard Photo at A1 Size?
Technically, yes, but you need to be very careful about image quality. A standard photo from your phone or a typical digital camera almost certainly won't have enough resolution to look good when blown up to A1 size, especially if you're aiming for a crisp 300 DPI print.
To avoid a final poster that looks blurry or pixelated, the original image file has to be massive. This usually means it needs to be shot with a professional-grade camera capable of capturing extremely high-resolution images.
Ready to bring your A1 poster vision to life? At SONI DESIGN, we specialise in high-quality printing that makes your designs stand out. Let’s create something amazing together at https://www.sonidesign.co.nz.
Leave a Comment
Stay home & get your daily
needs from our shop
Start You'r Daily Shopping with Nest Mart