
Your cart is currently empty.

So, what exactly is vinyl sticker printing? At its core, it’s a method for creating incredibly durable, vibrant, and long-lasting stickers using a flexible, plastic material called vinyl. Forget those paper stickers that fade and tear at the first sign of trouble. Vinyl is engineered to handle the elements, which is why it's the go-to for professional branding and creative projects that need to last. Essentially, this process takes your digital design and turns it into a physical marketing tool that genuinely sticks around.
The Power of a Tiny Billboard
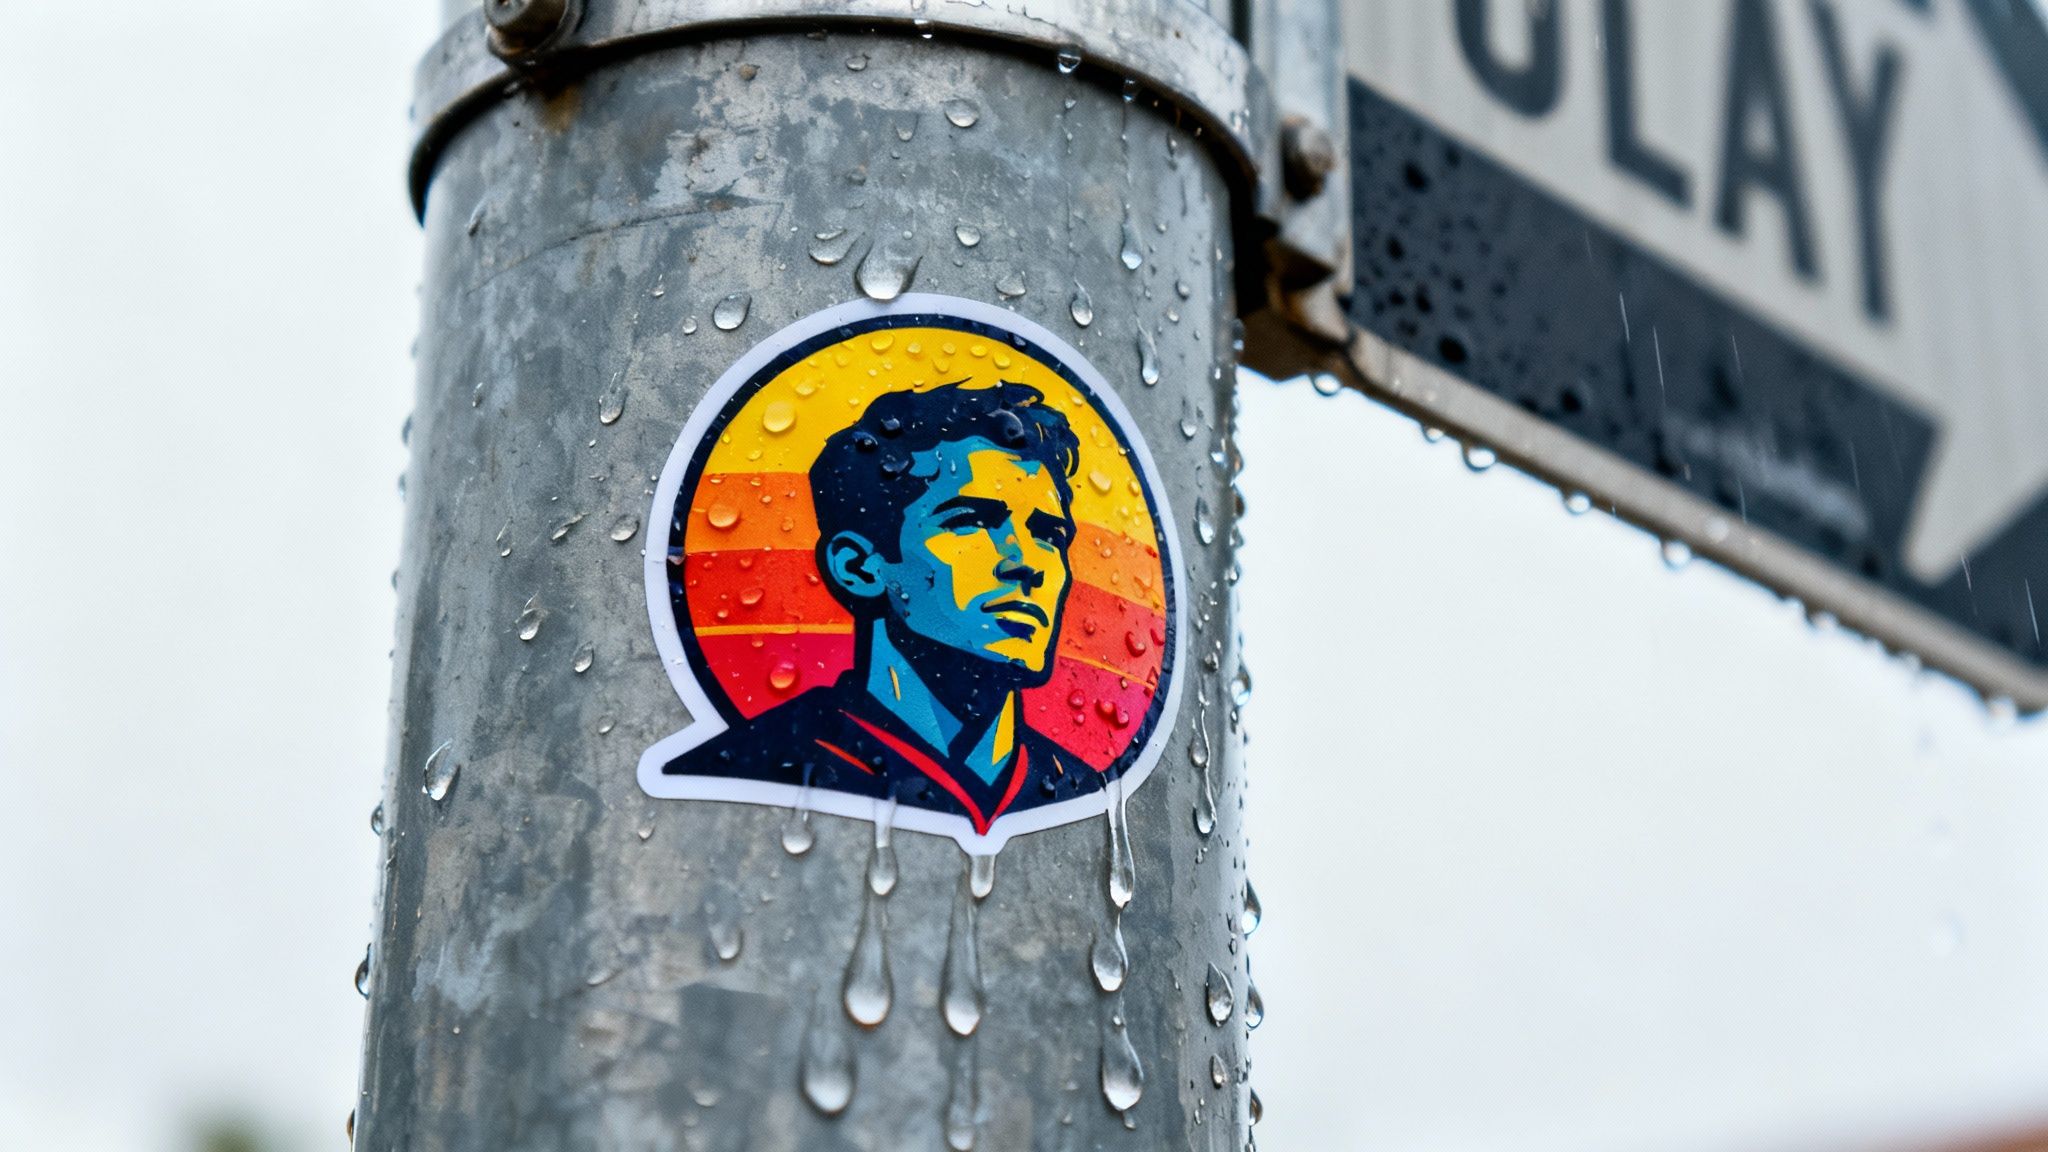
Think about having a miniature billboard for your brand. One that’s weatherproof, scratch-resistant, and can be stuck almost anywhere you can imagine. That’s the real magic of a vinyl sticker. A standard paper sticker is like a flyer left out in the rain—it’s not going to look good for long. A vinyl sticker, on the other hand, is like a professionally painted sign, built to endure. It stands up to sunlight without fading, shrugs off water, and handles daily scrapes without peeling or smudging.
This resilience makes vinyl stickers one of the most versatile marketing assets you can have. They pop up everywhere: a cafe's logo on a customer's laptop, a band's artwork on a guitar case, or a tradesperson's contact details on their ute. These little guys carry your brand message far and wide, serving as constant, subtle reminders of your business and turning everyday objects into promotional real estate.
Why Vinyl Is the Gold Standard
The secret to their toughness is the material itself. Vinyl is a type of plastic, and it provides a perfectly stable, non-porous surface for inks to bond with. The result? Crisp lines and brilliant colours that stay that way. This is why it’s the undisputed champion for any application where longevity is non-negotiable.
Here’s a quick rundown of why businesses consistently choose vinyl:
- Weather Resistance: Vinyl is naturally waterproof, making it ideal for outdoor use on vehicles, windows, and equipment. Your design won’t wash away in a classic Kiwi downpour.
- UV Protection: Quality vinyl stickers are often finished with a laminate that shields them from the sun’s harsh rays, stopping those bright colours from fading over time.
- Durability and Flexibility: The material is pliable enough to conform to curved surfaces and tough enough to resist scratching, keeping your branding looking sharp for years.
A well-made vinyl sticker is so much more than an adhesive label. It's a piece of portable branding that reflects the quality and resilience of your business. It silently communicates that you care about quality, right down to the smallest detail.
A Growing Market in New Zealand
While the wider printing industry in New Zealand has seen its share of challenges as things move online, the demand for personalised products has created a massive growth opportunity. The global market for personalised stickers is forecast to be worth around USD $4.84 billion in 2025, which shows just how much people want custom gear.
This trend gives Kiwi businesses that specialise in vinyl sticker printing a real edge. By offering bespoke solutions that meet the unique branding needs of local companies, they can thrive. You can dig into more data on New Zealand's printing industry in IBISWorld's analysis. This focus on customisation and high quality helps local printers carve out a successful niche.
Choosing the Right Vinyl for Your Stickers
Picking the right material for your vinyl stickers is a bit like choosing the right tyres for a car. At first glance, they all look pretty similar, but the specific material and finish completely change the performance, longevity, and where you can go. Not all vinyl is created equal, and your choice has a direct impact on how your brand is seen and how long your message actually lasts.
This isn’t just a minor technical detail; it’s a strategic decision. The vinyl you pick needs to line up perfectly with what your sticker is for. Is it going to be battling the elements on a work vehicle, or is it adding a touch of class to premium product packaging? Getting to grips with the main differences between vinyl types is the first step to creating stickers that don't just stick, but make a real impact.
Gloss Vinyl for Maximum Durability
Think of gloss vinyl as your heavy-duty, all-weather champion. It has a shiny, reflective surface that makes colours really pop with life and energy. There's a good reason this finish is so popular: it’s built to last, especially outdoors.
The glossy coating acts like a protective shield, giving it excellent resistance to moisture, scratches, and, most importantly, the harsh New Zealand sun. This makes it the perfect choice for:
- Vehicle branding: Company logos on utes, vans, and cars.
- Outdoor equipment: Stickers for construction gear, sporting goods, and toolboxes.
- Window decals: Shopfront promotions that need to withstand rain and sun.
- Promotional giveaways: Bumper stickers or anything meant for long-term outdoor display.
If your sticker needs to be tough, eye-catching, and durable enough to handle daily wear and tear for years, gloss vinyl is almost always the way to go.
The following infographic helps visualise the decision-making process when picking a vinyl type based on where it will be used.

As you can see, matching the environment to the material is the key to getting benefits like UV resistance or a premium indoor feel.
Matte Vinyl for a Sophisticated Look
While gloss vinyl is all about being bold and durable, matte vinyl offers something different: a subtle, elegant, and more premium feel. It has a non-reflective, satin-like finish that diffuses light, completely getting rid of glare. This creates a soft, modern look that feels sophisticated to the touch.
Because it doesn’t create reflections, matte vinyl is ideal for detailed designs or stickers with a lot of text where you need it to be easy to read. It's the go-to option for indoor applications where you want to signal quality and style, such as:
- Product packaging and labels: Perfect for artisan goods, cosmetics, and boutique products.
- Laptop stickers: Its glare-free nature looks professional under office lighting.
- Wedding or event stationery: Adds a touch of class to seals and labels.
- Internal branding: Decorating office walls or equipment with a refined finish.
The choice between gloss and matte often comes down to brand personality. Gloss shouts with confidence and energy, while matte speaks with quiet, assured quality.
To help you decide at a glance, this table breaks down the main options.
Vinyl Material Comparison for Business Needs
| Vinyl Type | Best For | Durability | Finish Options |
|---|---|---|---|
| Gloss Vinyl | Outdoor use, vehicles, high-impact branding | High (UV and weather-resistant) | Shiny, vibrant, reflective |
| Matte Vinyl | Indoor use, product packaging, premium labels | Medium (Best for low-scuff areas) | Non-reflective, sophisticated, soft |
| Clear Vinyl | Windows, glass, "no-label" product look | High (Depends on lamination) | Transparent with gloss or matte finish |
| Holographic Vinyl | Limited editions, artistic designs, promotions | Medium (Primarily for indoor/short-term outdoor) | Iridescent, eye-catching rainbow effect |
| Removable Vinyl | Temporary promotions, wall decals, tech | Low-Medium (Designed for clean removal) | Available in gloss or matte finishes |
Ultimately, this table shows how your sticker's purpose—whether it's a long-lasting vehicle decal or a temporary promotional label—should guide your material choice.
Specialty Vinyls for Unique Applications
Beyond the two mainstays, there's a whole world of specialty vinyls out there to help your brand stand out in more creative ways. These materials are designed for specific jobs and can turn a simple sticker into an unforgettable brand experience.
Consider these powerful options:
- Transparent Vinyl: This clear material lets your design shine while the background remains see-through. It’s perfect for putting logos on windows, glass jars, or coloured surfaces where you want the original material to show through, creating a clean, "no-label" look.
- Holographic Vinyl: For a truly dynamic effect, holographic vinyl bends light to create a dazzling rainbow sheen. This material is impossible to ignore and is brilliant for limited edition products, artistic designs, and brands wanting to make a bold, futuristic statement.
- Removable Vinyl: Not every sticker needs to last forever. Removable vinyl uses a lower-tack adhesive, which means it can be peeled off cleanly without leaving that frustrating sticky gunk behind. This makes it perfect for temporary promotions, wall decals in rental spaces, or tech decals you might want to update later.
How Vinyl Stickers Are Actually Made
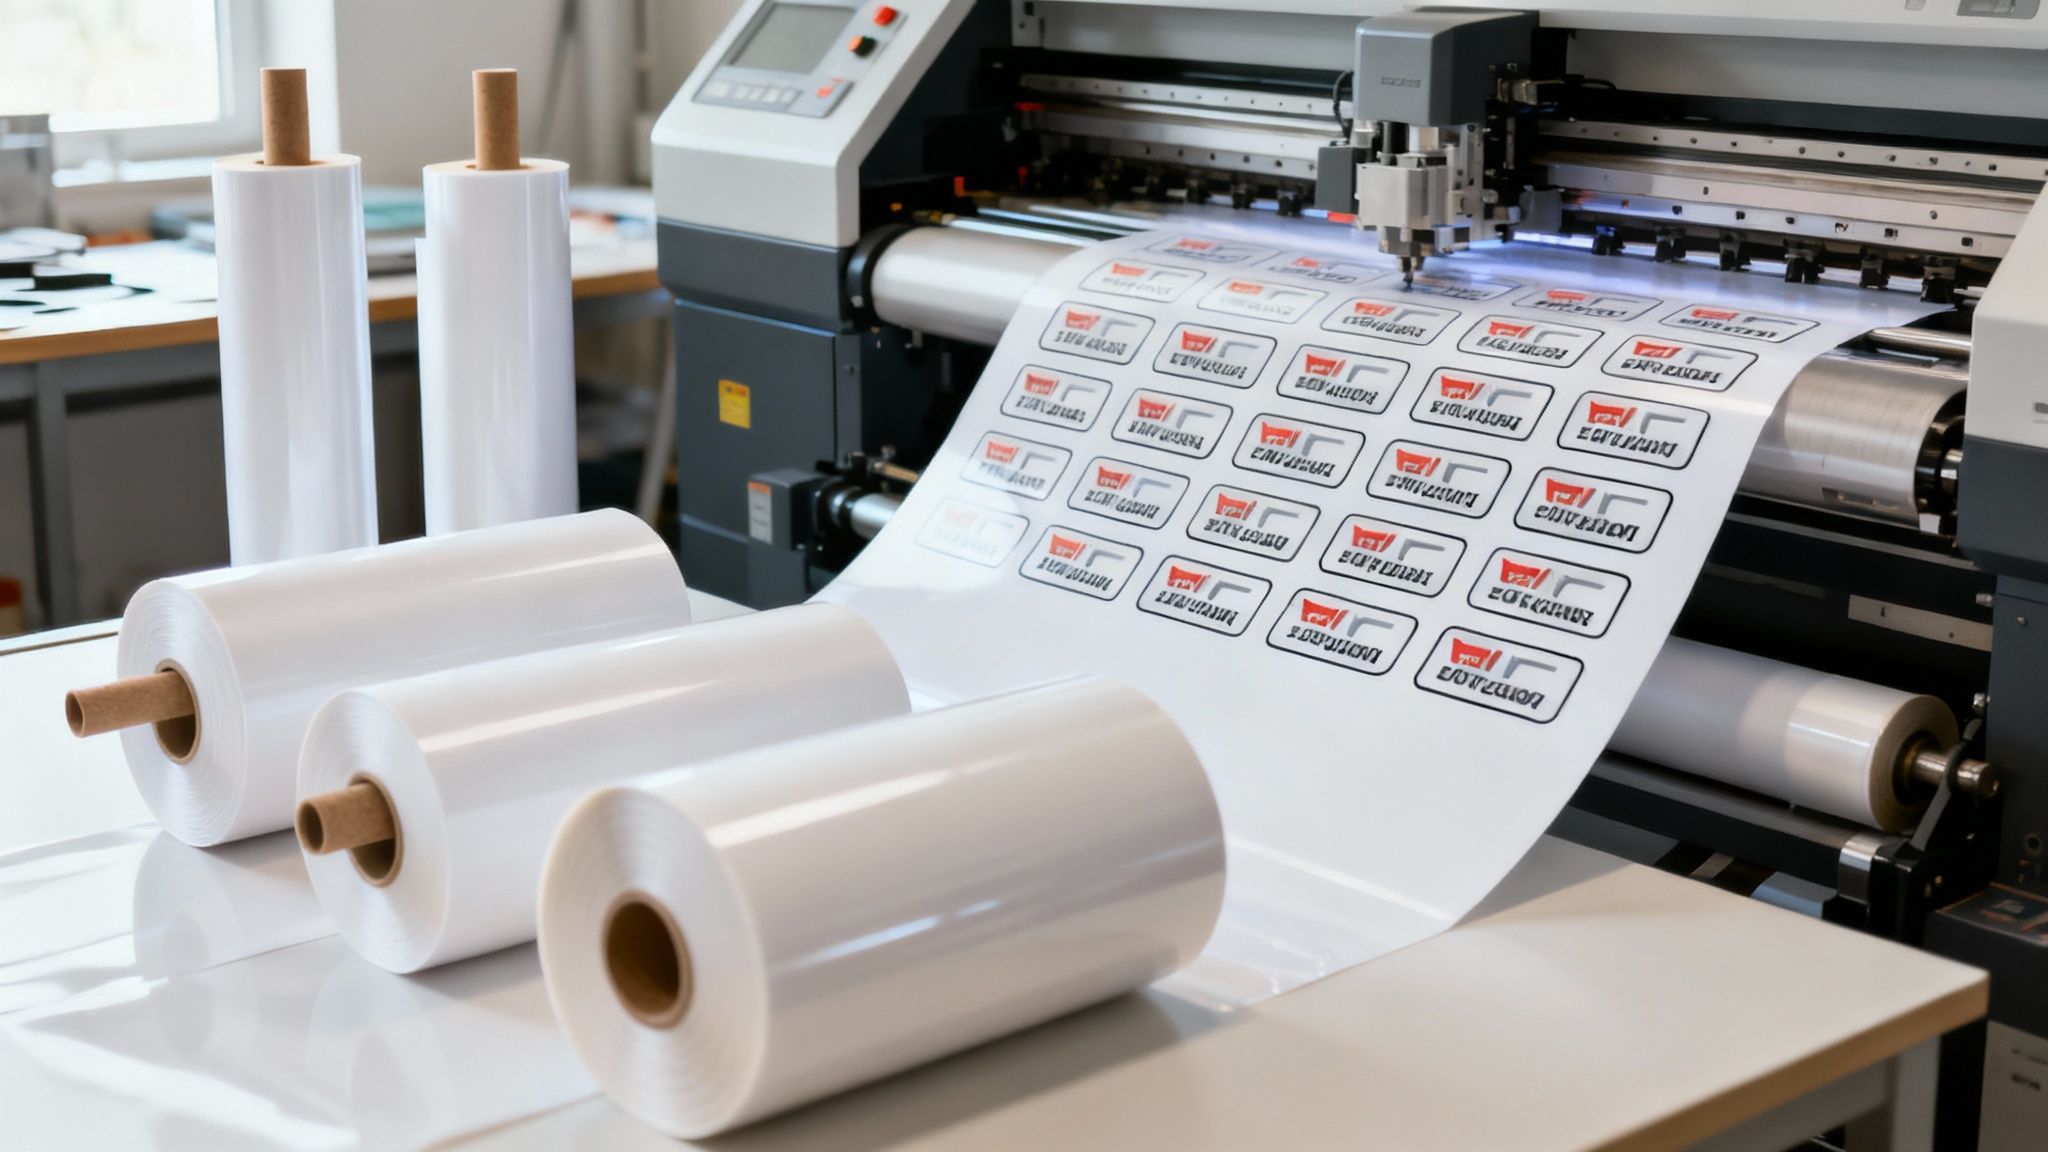
Ever wondered how a design on your screen becomes a durable, vibrant sticker you can hold in your hand? It’s not magic, but it's a pretty cool mix of high-tech machinery and old-school craftsmanship. Knowing a bit about the process helps you have better conversations with your printer and appreciate what goes into making your brand look good.
The world of vinyl sticker printing isn't as complicated as you might think. It really boils down to two main printing methods, each with its own strengths, and a final cutting step that gives your sticker its unique shape.
The Magic of Digital Printing
For most sticker jobs today, especially ones with heaps of colour and detail, digital printing is the way to go. Picture your office inkjet printer, then imagine it super-sized, way more powerful, and ridiculously precise. These commercial machines print directly onto massive rolls of vinyl using specialised solvent, eco-solvent, or UV-cured inks that are built to last.
The printer applies ink directly to the vinyl, building up your image with stunning accuracy. Because it’s working straight from a digital file, this method is perfect for photorealistic images, smooth colour gradients, and complex designs with a whole spectrum of colours.
Here’s why it’s so popular:
- Full-Colour Capability: There’s no limit to the number of colours you can use, making it ideal for detailed logos and artwork.
- Cost-Effective for Small Runs: With minimal setup required, it’s affordable to order small batches without a hefty upfront cost.
- Fast Turnaround: The whole process is quick and efficient, which is a lifesaver when you need stickers on a tight deadline.
The Art of Screen Printing
While digital printing handles the complex, smaller orders, screen printing is the tried-and-true workhorse for big jobs with simpler designs. It’s a more hands-on technique that works a bit like making a very fancy stencil.
A mesh screen is stretched tight on a frame, and a stencil of your design is applied. Ink is then pushed through the open areas of the stencil onto the vinyl below. The catch is that every single colour in your design needs its own dedicated screen, so the initial setup is a lot more involved.
Screen printing is the powerhouse for bulk orders. Once the screens are prepared, the cost per sticker drops significantly, making it incredibly economical for producing thousands of identical stickers with one or two bold colours.
This method is fantastic for simple logos or text-based designs where you want bold, vibrant colours that really pop and last for ages. The thick layer of ink used in screen printing results in rich, opaque colours with incredible durability.
This demand for customisation is a real bright spot in New Zealand's print industry. While the broader printing sector saw a projected revenue decline of 4.8% annually between 2018 and 2023, the niche for personalised promotional gear like vinyl stickers remains strong. It’s all thanks to how cost-effective and versatile they are as a marketing tool. You can dive deeper into these industry trends in this market analysis report.
Defining the Shape: Die Cut vs. Kiss Cut
After your design is printed, there’s one last crucial step: cutting it out. This is where you’ll hear two key terms—die cut and kiss cut—and knowing the difference is vital to getting the sticker you’ve envisioned.
Die Cut Stickers
A die cut is a cut that slices through both the vinyl sticker and its paper backing. This creates a sticker that is custom-shaped all the way through, with the backing paper matching the exact outline of your design. When you hand one to a customer, they see the final shape immediately.
Kiss Cut Stickers
A kiss cut, on the other hand, is a lighter touch. The blade cuts only through the vinyl layer, leaving the backing paper completely intact. Your custom-shaped sticker then peels off a larger square or rectangular sheet. This is great for protecting delicate designs during shipping and gives you extra space on the backing paper for branding or instructions.
Getting Your Sticker Design Ready for Print
Even the most brilliant sticker idea can end up looking amateur if the design file isn't set up correctly for a professional printer. Creating a "print-ready" file is probably the single most important thing you can do to make sure your final vinyl stickers look as crisp and vibrant as you've imagined. It's the crucial step that connects the digital design on your screen to the physical product in your hands.
Think of it like giving a builder a detailed architectural blueprint instead of a quick sketch on a napkin. A print-ready file gives your printer all the exact information they need—precise colours, clean lines, and correct dimensions—to produce a flawless result. Getting these details right from the very beginning saves time, prevents the pain of costly reprints, and ensures your brand looks its best.
Start with Vector Files for Flawless Quality
If there's one rule you don't break in sticker design, it's this: use vector graphics. Unlike regular images like JPEGs or PNGs, which are made of tiny pixels, vector files (like AI, EPS, or SVG formats) are built from mathematical equations.
That might sound a bit technical, but the payoff is beautifully simple: perfect scalability. A vector logo can be shrunk down to fit on a pen or blown up to cover a billboard, and it will never, ever lose its sharpness or get blurry. For vinyl stickers, where clarity is everything, using vector files is non-negotiable if you want razor-sharp lines and text, no matter the size.
Set Your Colours to CMYK Mode
Here's something many people don't realise: the colours on your screen are made with light (an RGB colour mode), but printers use ink (a CMYK colour mode). This is exactly why that bright, glowing green on your monitor can turn into a dull, muddy disappointment when it's printed.
To avoid that gut-sinking feeling, you need to set your design file’s colour mode to CMYK (Cyan, Magenta, Yellow, and Key/Black) from the start. This ensures the colours you're working with are a much closer match to what the printer will produce, so there are no nasty surprises when you open the box.
A common mistake is just designing in the default RGB mode and hoping for the best. Taking a moment to switch to CMYK gives you back control and ensures your brand's colours stay consistent and look just right.
Design with a Bleed and Safe Zone
Imagine a big guillotine slicing through a thick stack of paper; there are always tiny shifts. The same thing happens when stickers are cut. To handle this, designers use two simple but essential guides: a bleed area and a safe zone.
- Bleed Area: This is just a little extra bit of your background colour or pattern that goes past the final cut line. A 3mm bleed is pretty standard. It’s there so if the cut is a fraction of a millimetre off, you won’t get any ugly white slivers along the edge of your sticker.
- Safe Zone: This is the opposite—an inner margin, also about 3mm inside the cut line. You need to keep all your important stuff, like your logo and text, inside this area. This guarantees nothing crucial gets accidentally chopped off during the cutting process.
Building in a bleed and a safe zone creates a buffer that protects your design, leading to a clean, professional cut every single time.
Choose High Contrast and Legible Fonts
A sticker often only has a split second to grab someone's attention. That’s why high contrast works so well. A dark background with light text, or the other way around, makes your message pop and easy to read, even from a distance. Steer clear of subtle colour pairings that might look nice on screen but just turn into a mushy mess in the real world.
Your choice of font is just as important. It’s tempting to go for something ornate or fancy, but those fonts often become completely unreadable when shrunk down to sticker size.
For maximum impact, just follow these simple font rules:
- Readability First: Always go for clean, clear fonts. You can't go wrong with simple san-serif fonts like Helvetica or Arial.
- Avoid Skinny Fonts: Really thin or delicate fonts can sometimes break up or disappear during printing. It's better to choose a font with a solid, consistent weight.
- Check the Size: Make sure your text is big enough to actually be read. A good rule of thumb is to keep any important text at 6pt or larger.
By keeping these fundamental design tips in mind, you’ll be well on your way to creating print-ready files that produce stunning and effective vinyl stickers.
The Finishing Touches That Make Your Stickers Pop

The final finish on a sticker does more than just protect the ink; it completely changes its look and feel. Think of it like the clear coat on a car—it’s the last step that takes the final product from good to great. This finishing touch, usually a laminate, is a non-negotiable part of professional vinyl sticker printing.
Lamination is simply applying a thin, clear plastic film over the printed vinyl. This one step adds a powerful layer of defence against moisture, scratches, and especially the harsh New Zealand sun. Without it, even the most vibrant sticker will fade or get scuffed up. This protective layer is what makes sure your investment keeps representing your brand with crisp, bright colours for years.
Gloss Laminate for Maximum Vibrancy
A gloss laminate is easily the most popular choice, and for good reason. It gives the sticker a shiny, reflective surface that makes colours look deeper and more saturated. It’s a high-impact finish that catches the light and grabs attention, making it perfect for promotional giveaways or any design where you need the colours to shout.
But it's not just about looks. Gloss laminate is tough. It’s fantastic at repelling water and resisting scuffs, so it’s our go-to for stickers destined for the outdoors. If you're putting stickers on vehicles, outdoor gear, or shop windows, you’ll want the durability and extra UV protection that a gloss finish delivers.
Matte Laminate for an Elegant Feel
If a loud, shiny look isn't quite your brand's style, a matte laminate offers a more subtle, modern alternative. This finish has a smooth, non-reflective texture that softens light, cutting out glare and giving your stickers a sophisticated, almost velvety appearance. It just feels premium to the touch.
Matte is ideal for indoor uses where you want to avoid reflections, like on product packaging or laptop stickers that will be seen under office lights. The glare-free surface also makes fine details and text easier to read. It's the finish of choice for brands wanting to convey refinement and quality.
The finish you choose is a direct reflection of your brand's personality. A gloss finish is energetic and demands attention, while a matte finish communicates quiet confidence and superior quality.
Premium Finishes for a Lasting Impression
For those really looking to make an impact, some premium finishing options can add a unique tactile or visual element that truly sets a sticker apart. These special touches can turn a simple sticker into a memorable marketing tool that people will actually want to hold on to.
A couple of great premium options to consider:
- Soft-Touch Laminate: This finish has a velvety, almost suede-like texture that’s incredibly satisfying to touch. It adds a sensory element that invites people to interact with your branding.
- Spot UV: This is a cool technique where a high-gloss coating is applied to specific parts of a sticker with a matte finish. You can create a striking contrast, making a logo, brand name, or key design element literally pop with a targeted shine.
These final decisions don’t just affect durability; they shape how people perceive your brand. A well-chosen finish can turn a simple promotional item into a high-value piece of marketing that leaves a lasting, positive impression.
How to Order Custom Stickers for Your Business
Ready to turn your awesome design into a real-life sticker? Ordering custom vinyl stickers is actually a pretty simple process once you know the steps. I'll walk you through everything, from getting your artwork sorted to signing off on the final design, so the whole experience is a breeze.
Having your key details figured out beforehand is the best way to get a quick, accurate quote and avoid a lot of back-and-forth emails.
Before you even start looking for a printer, try to nail down the basics. These are the details that will shape the cost and final look of your stickers.
It's a good idea to have this info ready:
- Quantity: How many do you need? Remember, the price per sticker nearly always drops the more you order.
- Dimensions: What size and shape are you thinking? Be sure to have your measurements handy in millimetres.
- Material and Finish: Have you landed on a particular look? Whether it's gloss, matte, or something more specialised, have a preference in mind.
- Artwork: Make sure your design file is ready to go. A vector file (like an AI, EPS, or PDF) is the gold standard for printing.
Finding the Right Printing Partner
Once you have your project details sorted, it's time to find a great printer to work with. The printing scene in New Zealand is pretty lively, so you’ve got options. In 2025, there were 775 printing businesses up and running across the country, which is a small jump from the year before. This competition is great for you because it means you can find specialists in high-quality vinyl sticker printing who really care about good service.
When you're checking out potential printers, don't just look at the price tag. Dive into their online portfolio, see what other customers are saying in reviews, and get a feel for how they communicate. A good partner is more than just a supplier; they'll happily answer your questions and guide you. It's also worth thinking about how stickers can fit into your wider marketing, like your Point of Purchase strategies, and a good printer can offer some great advice on creating designs that really pop at the checkout counter.
From Quote to Final Approval
After you’ve picked your printer, the last few steps are straightforward. You’ll send over your artwork and all the project details to get a formal quote. Once you’re happy with the price, they’ll send back a digital proof—this is basically a final preview showing exactly how your sticker will look, including cut lines and colours.
Crucial Tip: Check. That. Proof. I can't stress this enough. This is your absolute last chance to spot a typo, a weird colour, or a wonky line before the whole batch gets printed. Look over every single detail.
The moment you give the green light, your order heads into production. Timelines can differ depending on the job, but your printer will give you a clear estimate. And if you're placing a really big or important order, don't hesitate to ask for a physical sample first. It might seem like a small thing, but it can save you from a costly headache and guarantees the final product is exactly what you wanted for your brand.
A Few Common Questions About Sticker Printing
Jumping into the world of custom stickers can bring up a few practical questions. Let's run through some of the most common ones we get asked, so you can feel confident when you're ready to order.
What’s the Smallest Order I Can Place?
This is a big one, and it really comes down to the printing method. With digital printing, the setup is incredibly fast. That means we can offer really low minimum order quantities (MOQs) – sometimes as few as 25 or 50 stickers. It’s perfect for small projects or test runs.
Screen printing, on the other hand, is a different beast. It involves creating a separate screen for each colour in your design, which is a lot more work upfront. Because of this, it only makes sense for larger runs, so you’ll find the minimums are much higher, often starting in the hundreds.
The Bottom Line: If you just need a small batch of stickers with a detailed, full-colour design, digital printing is your best friend. But if you’re ordering a huge number of stickers with a simpler design, screen printing becomes the more cost-effective choice.
How Long Will My Stickers Actually Last?
The lifespan of a vinyl sticker really depends on the materials we use and where you stick it. A top-quality vinyl sticker with a protective UV laminate is built to withstand the elements and can last for a good 3 to 5 years outdoors, shrugging off sun and rain.
Indoors, away from all that weather, they'll look fantastic for much longer. You can easily expect them to last 7 years or more. It all comes down to the quality of the vinyl itself and that crucial laminate layer, which acts as a shield against fading and scratches.
What's the Right Way to Apply and Remove Them?
Getting a bubble-free, professional finish is all in the application. For the best result, just follow these simple steps:
- Prep the Surface: Always start with a clean, dry, and smooth surface. A quick wipe with a bit of rubbing alcohol gets rid of any dust or oils. Just make sure it's completely dry before you start.
- Position It: Take a moment to figure out exactly where you want it to go. For bigger stickers, a handy trick is to use masking tape along the top edge to act as a hinge, holding it perfectly in place.
- Smooth It Down: Peel the sticker away from its backing paper and apply it slowly from one side to the other. Grab a credit card or a little squeegee and smooth it out from the centre, pushing any pesky air bubbles towards the edges.
And when it's time for a change? Just gently warm the sticker with a hairdryer. This softens up the adhesive, making it peel off cleanly without leaving that annoying sticky mess behind.
Can I Write on My Vinyl Stickers?
You sure can, but the finish you choose is key. Trying to write on a high-gloss sticker with a regular pen is a recipe for smudges – the ink just won't stick.
If you need to be able to write on them, a matte finish is definitely the way to go. Its non-shiny surface has a slightly porous feel that most pens can grab onto, especially a good old Sharpie. This makes them perfect for things like name tags or customisable labels where you need to add details by hand.
Ready to see your brand's vision come to life on a high-quality, custom vinyl sticker? At SONI DESIGN, we pour our passion and expertise into every single project, making sure your designs look vibrant and sharp. Let's work together to create something amazing. Start your sticker project with us today!
Leave a Comment
Stay home & get your daily
needs from our shop
Start You'r Daily Shopping with Nest Mart