
Your cart is currently empty.

Vinyl printing stickers are more than just sticky labels; they're tough, weatherproof messengers for your brand or design. Made from a resilient plastic called polyvinyl chloride (PVC), they're built to last in a way paper stickers simply can't. Think of it as giving your design a permanent, high-performance raincoat.
So, What Makes Vinyl Stickers So Good?
Before we jump into design software or fancy finishes, it’s worth understanding why vinyl is the go-to choice for so many projects. A regular paper sticker might look great at first, but it quickly peels, fades, or turns to mush at the first sign of moisture. A vinyl sticker, on the other hand, is engineered from the ground up to endure.
The magic is all in the material: polyvinyl chloride (PVC). It’s a tough yet flexible plastic that naturally shrugs off water, UV rays, and everyday scuffs. Picture a paper flyer left out in the rain versus a plastic sign—one disintegrates while the other stays looking sharp. That’s the core difference vinyl brings to the table.
Why the Material Choice Is a Game-Changer
Because vinyl is so resilient, it opens up a world of possibilities where paper just wouldn't survive. This is why you see vinyl stickers everywhere, doing important jobs for branding, decoration, and sharing information.
- Weatherproof Performance: They’re at home on car bumpers, outdoor equipment, and shop windows, holding their own against sun and rain without peeling or fading.
- Scratch Resistance: The sturdy surface keeps the design looking vibrant and clean, even on high-touch items like laptops, drink bottles, and phone cases.
- Longevity: A well-made vinyl sticker can last for years, making it a fantastic investment for any business wanting long-term brand exposure.
At its core, a vinyl sticker isn’t just a piece of adhesive plastic. It’s a small but mighty marketing tool designed to leave a lasting impression. Its physical toughness translates directly into brand resilience.
This built-in strength makes vinyl incredibly versatile. While traditional vinyl printing is a fantastic option, newer technologies like UV DTF transfers are also making waves, offering super durable, vibrant prints that act like a modern, high-tech sticker.
Ultimately, choosing vinyl is choosing quality and endurance. It's about making sure your message or artwork not only gets seen but stays looking great for a long time. Getting this fundamental concept right sets the stage for everything else, from picking the perfect material to getting the application just right.
Choosing the Right Vinyl for Your Project
Getting the material right is probably the single most important decision you'll make for your vinyl stickers. A killer design can fall flat if it's printed on the wrong type of vinyl, affecting everything from its look and feel to how long it actually lasts. To make sure your stickers look great and do the job you need them to, you first need to get your head around the options.
Think of it like choosing paint for a house. You wouldn't use interior paint on your fence because it simply isn't built to handle the weather. In the same way, the vinyl you pick for an indoor product label will be completely different from one that's going on a car bumper, where it'll be battered by the New Zealand sun and rain.
Your first big decision comes down to two main types of vinyl: calendered and cast.
Calendered Vinyl: The Cost-Effective Workhorse
Calendered vinyl is made by taking a big lump of PVC plastic and squashing it through a series of heated, high-pressure rollers—a bit like a baker rolling out dough. It's a quick and efficient manufacturing process, which makes it a really popular, budget-friendly choice for a lot of jobs.
Because it’s been stretched into shape, the material has a bit of a "memory," meaning it always wants to shrink back to its original form over time.
This makes calendered vinyl the perfect choice for flat or gently curved surfaces. It’s the go-to for projects like:
- Shop window graphics
- Laptop stickers
- Indoor wall decals
- Promotional labels for flat packaging
Where it falls short is on complex curves, like you'd find on a vehicle's side mirrors or bumpers. The vinyl’s tendency to shrink means it’s likely to peel or crack if you try to force it into those tricky shapes.
Cast Vinyl: The Premium, Shape-Shifting Choice
Cast vinyl is made using a totally different, more relaxed method. Picture pouring liquid pancake batter into a pan and just letting it spread out on its own. A liquid form of PVC is poured onto a casting sheet and then baked in an oven. This creates a much thinner, more flexible film that is dimensionally stable and has no memory.
This premium quality makes cast vinyl the undisputed champion for wrapping vehicles and sticking to complex, curved surfaces. You can stretch and mould it around rivets, bumps, and contours without worrying about it shrinking back. It's also far more durable, often lasting up to 8-10 years outdoors.
This simple infographic helps illustrate the most basic choice—paper versus vinyl—and really highlights why vinyl is the way to go for anything that needs to last.
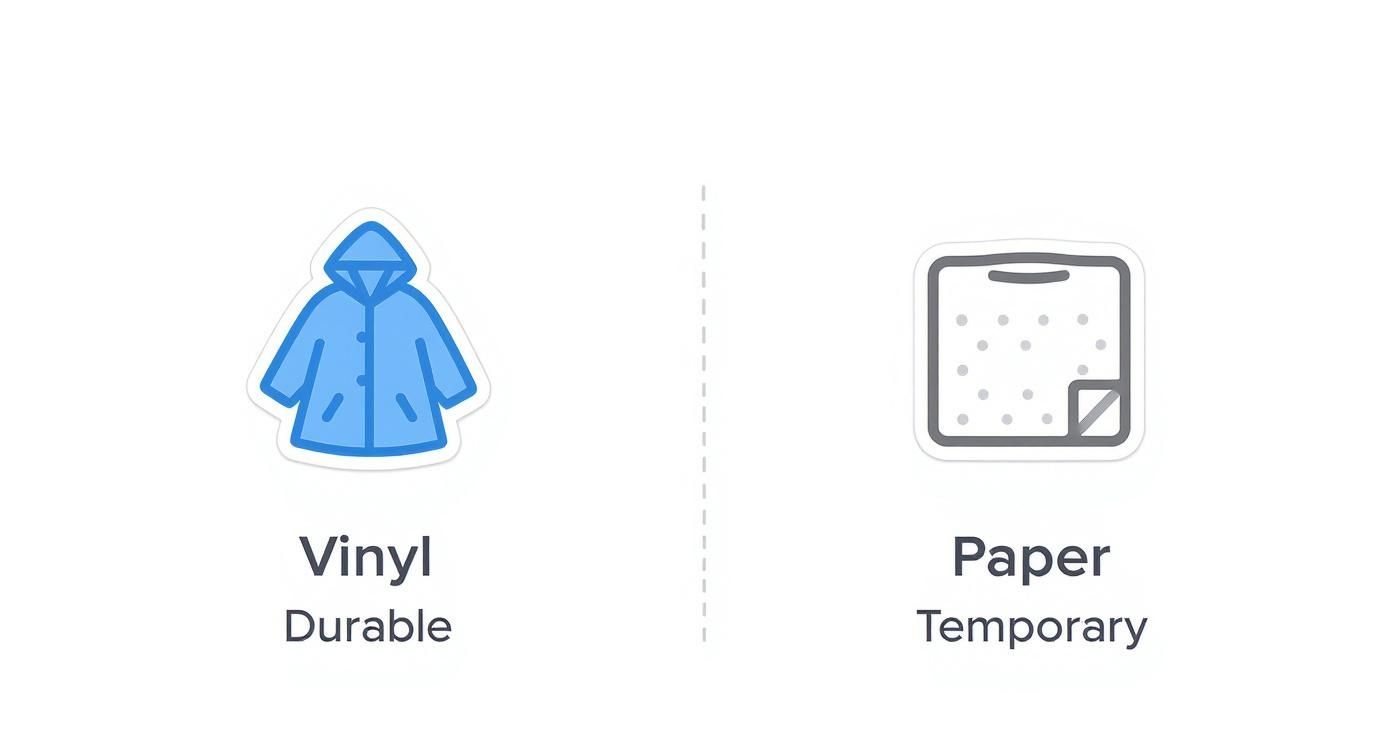
The key takeaway is that the sticker's job determines its material. For anything that needs to endure, vinyl is the clear winner.
Comparing Common Vinyl Sticker Materials
To make things a bit clearer, here’s a quick rundown of the common vinyl types. Think about what you need your sticker to do, how long you need it to last, and where it’s going to live.
| Vinyl Type | Best For | Durability | Flexibility | Cost |
|---|---|---|---|---|
| Calendered PVC | Flat surfaces, indoor signs, short-term promotions | Moderate (3–5 years) | Low | $ |
| Cast PVC | Vehicle wraps, complex curves, long-term outdoor use | High (8–10 years) | High | $$$ |
| Transparent Vinyl | Window decals, product labels (a "no-label" look) | Varies | Varies | $$ |
| Metallic/Holographic | Premium branding, decorative decals, eye-catching details | Moderate | Moderate | $$$ |
This table should give you a solid starting point for matching the right material to your project and budget.
Finishes and Speciality Options
After you've picked your base material, the finish is what really brings your sticker's personality to life. Each one offers a distinct look and feel that can align with your brand's style.
- Gloss Finish: This is the most popular choice, giving you a shiny, vibrant look that makes colours pop. It’s brilliant for eye-catching logos and promotional stickers that need to grab attention.
- Matte Finish: A matte finish gives a more sophisticated, non-reflective appearance. It’s perfect for elegant branding, high-end product labels, or any design with a subtle, modern vibe.
- Satin Finish: Sitting right in the middle of gloss and matte, a satin finish has a soft sheen. It adds a touch of class without being distractingly shiny.
Choosing a material isn't just a technical decision; it's a creative one. The texture, finish, and flexibility of the vinyl are all part of your brand's story.
If you really want to make a statement, speciality vinyls can take your project from standard to stunning. You could consider transparent vinyl for a clean "no-label" look on glass, metallic vinyl for a premium, high-end effect, or even holographic vinyl for a dynamic design that shifts and shimmers.
At the end of the day, matching the vinyl to your specific needs is what counts. A little bit of thought upfront will ensure your sticker sticks properly, stands up to its environment, and represents your brand beautifully for years to come.
How Your Vinyl Stickers Get Made
Ever wondered how a design on your screen becomes a tough, vibrant sticker you can hold in your hand? It's a pretty cool mix of high-tech printing and razor-sharp precision. Let's lift the lid on the process and see how your custom vinyl printing stickers go from a digital file to a finished product.
You don't need to be a print expert, but knowing the basics really helps. It means you can talk the same language as your print provider and make sure the final result is exactly what you had in mind. The journey always begins with the right printing technology.
From Digital to Physical: The Printing Process
When it comes to professional vinyl printing, there are three main players, and each one has its own specialty. The best choice really depends on where your sticker will end up—a sign battered by the weather needs a different approach than an indoor product label.
- Eco-Solvent Printing: This is a hugely popular, all-rounder method. It uses inks with a mild, biodegradable solvent that gently bites into the vinyl's surface. This creates a really strong bond, making the print super vibrant, scratch-resistant, and water-resistant.
- Latex Printing: If you're looking for a more eco-friendly option, this is it. Latex printing uses water-based inks filled with tiny latex polymers. Heat cures the print, evaporating the water and leaving a tough, flexible layer of ink on the vinyl. A huge plus is that they come off the printer completely dry and ready to go.
- UV Printing: This is the undisputed heavyweight champion of durability. Think of it like a gel manicure for your stickers; liquid ink is laid down and then zapped with ultraviolet (UV) light, which hardens it instantly.
This UV curing process creates an incredibly resilient finish. It's fantastic at resisting fading, scratches, and chemicals, making it the perfect choice for stickers destined for tough environments.
Even though so much of our world is digital, there's still a huge need for high-quality printed materials. In New Zealand, the printing industry, which includes making vinyl printing stickers, has seen its market revenue shift over the last few years. Despite a bit of a contraction overall, the demand for durable promotional goodies like vinyl stickers is still going strong, especially in retail and tourism. You can dive deeper into the NZ printing industry on ibisworld.com.
This photo shows a typical wide-format printer, the machine that's the heart and soul of any sticker operation.
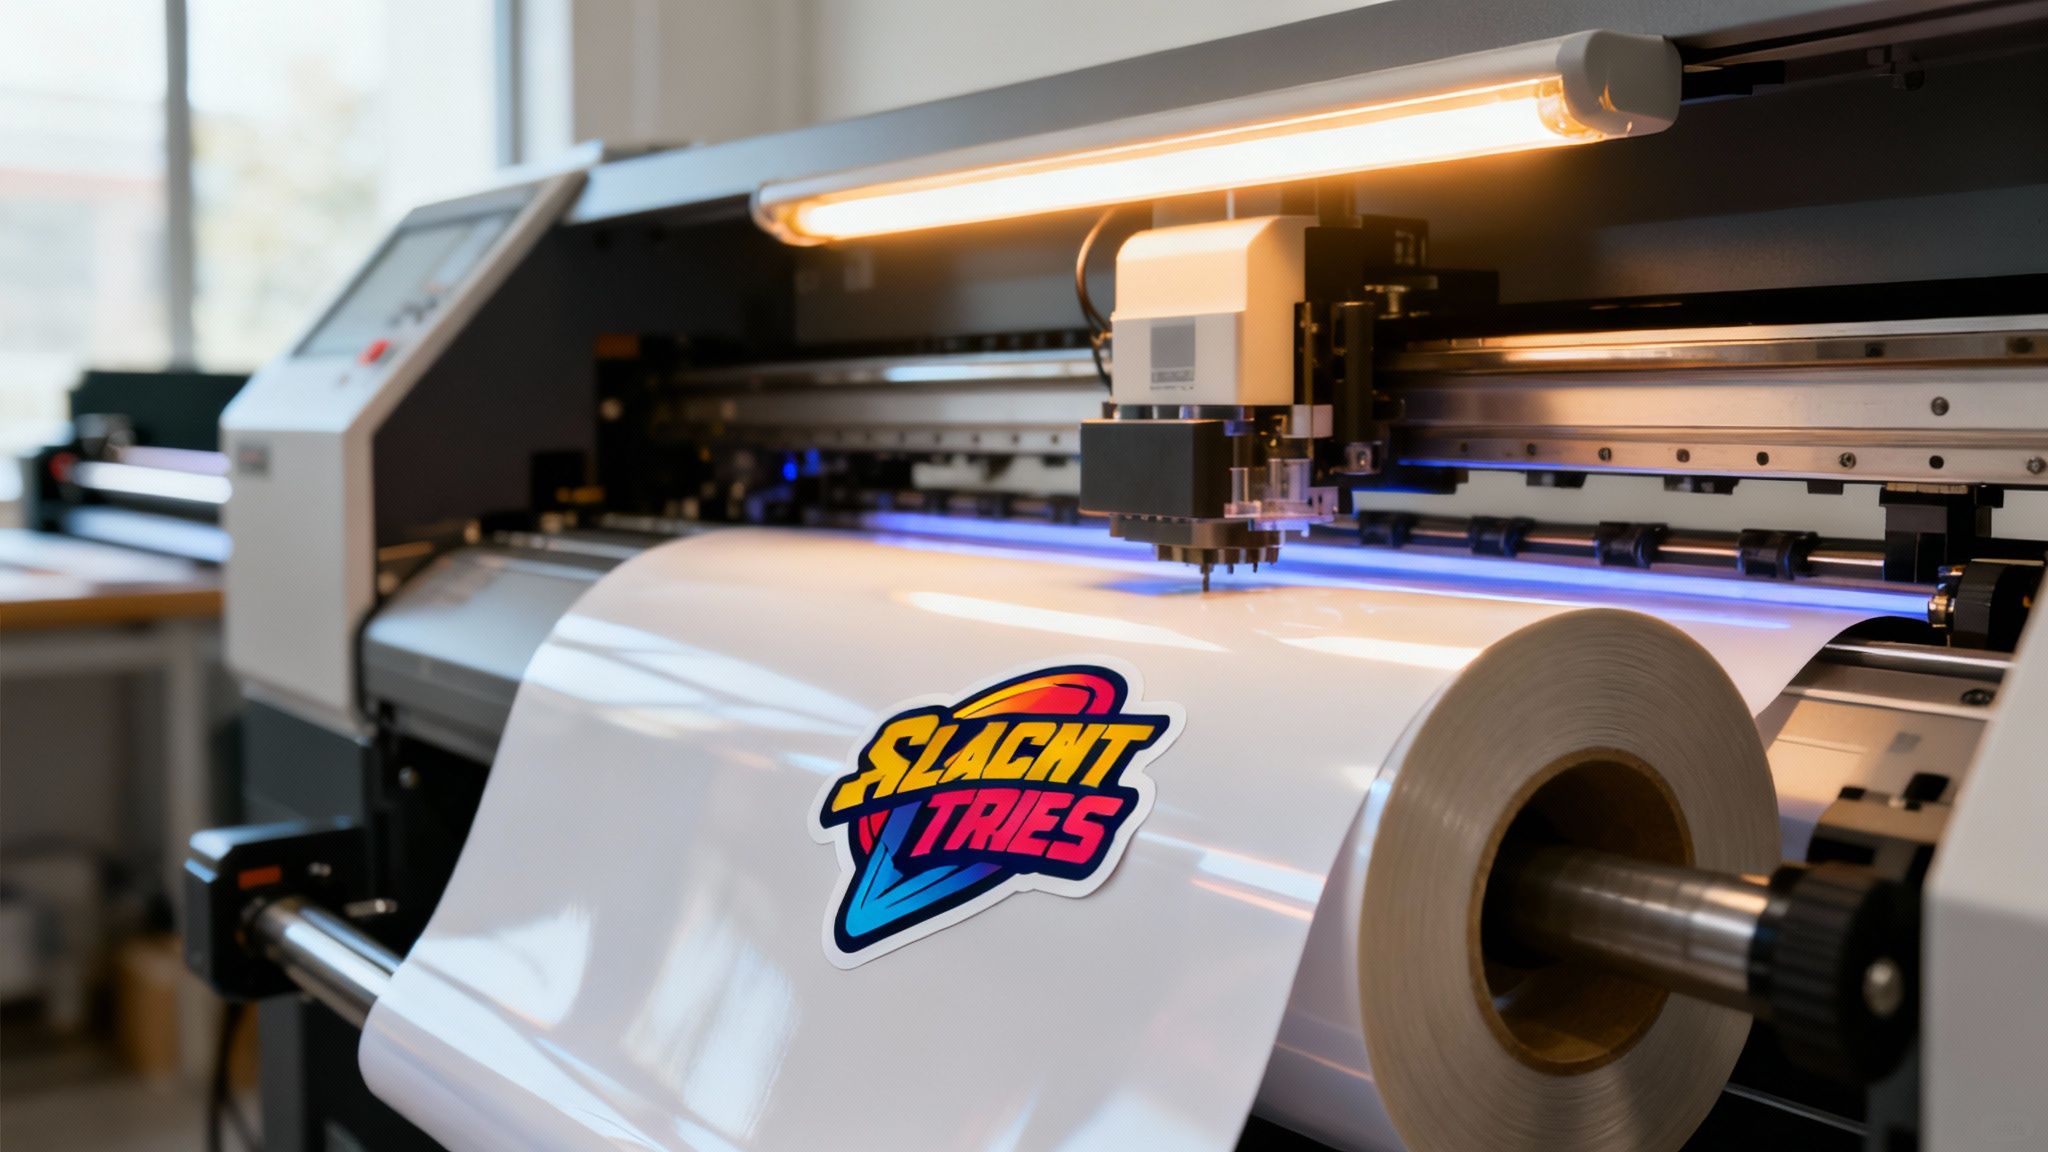
These machines are absolute workhorses, feeding massive rolls of vinyl through and printing stunning, high-resolution graphics.
The Art of the Cut: Precision Finishing
Once your design is printed on a big sheet of vinyl, it's not a sticker yet. It needs to be cut to shape. This is where accuracy is everything. A computer-guided plotter, armed with a tiny, sharp blade, meticulously follows the outline of your design to create the finished piece.
You'll usually come across three main types of cuts:
- Die-Cut: This is a cut that goes right through the vinyl and the paper backing. The result is a custom-shaped sticker where the backing paper is the exact same shape as the sticker itself.
- Kiss-Cut: This is a more delicate touch. The blade slices through the vinyl layer only, leaving the paper backing completely intact. This gives you a custom-shaped sticker on a standard square or rectangular backing, which can make it much easier to peel.
- Sticker Sheets: This is simply where multiple kiss-cut designs are all laid out and cut on a single sheet. It’s a great way to offer a collection of different but related stickers all in one place.
With a better handle on these printing and cutting methods, you're in a much better position to choose the right specs for your next vinyl printing stickers project. You can make sure the final product doesn't just look amazing, but is perfectly built for the job it needs to do.
Designing Artwork That Prints Perfectly

You can have the best vinyl in the world, but it won't save a bad design file. The real secret to getting stunning, professional-looking vinyl printing stickers is creating print-ready artwork. Get this part right, and you'll sidestep common, costly mistakes and end up with a final product that’s crisp, vibrant, and exactly what you had in mind.
It might sound a bit technical, but the core ideas are pretty straightforward once you know why they matter. Following a few key principles will save you time, money, and the headache of a disappointing delivery.
Vector vs Raster: The Recipe for Quality
The first and most critical hurdle is understanding the difference between vector and raster graphics. This one choice can make or break your sticker’s quality, especially if you ever want to change its size.
Think of a vector file like a baker's recipe. The recipe gives instructions—mix flour, sugar, and eggs—and you can use it to bake a tiny cupcake or a giant wedding cake. The result will always be perfect. Vector graphics work the same way, using mathematical equations to create lines and curves. This means you can scale a vector logo to any size, from a small product sticker to a huge sign, and it will never, ever get blurry. Common vector files include AI, EPS, and SVG.
A raster image, on the other hand, is like a finished photograph. It’s built from a fixed grid of tiny coloured squares, or pixels. If you try to blow up that photo too much, you’ll start to see those individual squares, making the image look blocky and fuzzy. It’s why a small JPEG you saved from a website looks terrible when you try to print it as a large sticker. Common raster files are JPG, PNG, and GIF.
For vinyl sticker printing, vector is almost always the best choice. It’s your guarantee that the design will be perfectly sharp and clean, no matter the final size. If you absolutely have to use a raster image, make sure it’s high-resolution to keep it from looking pixelated.
Setting Up Your File for a Flawless Print
Once you've got your artwork in the right format, a few other settings are crucial for a smooth print run. These steps make sure the colours you see on screen match the final printed sticker and that the cutting process is spot-on.
Colour Mode: CMYK, Not RGB
Your screen creates colour by mixing Red, Green, and Blue light (RGB). Printers, however, use ink: Cyan, Magenta, Yellow, and Black (CMYK). If you design in RGB, the printer has to do its best to guess the right ink mix, which often leads to dull or weird-looking colours. To avoid any surprises, always set your design software’s colour mode to CMYK from the start. That way, what you see is a much closer match to what you'll get.
Resolution and DPI
If you're working with a raster image, its resolution is everything. We measure this in Dots Per Inch (DPI). For a high-quality print, your file needs to be at least 300 DPI at the size you want to print it. Anything lower than that will almost certainly look blurry and unprofessional.
Bleed and Cut Lines
Printing and cutting machines are incredibly precise, but they aren't perfect down to the micrometre. To avoid an ugly, thin white border if the cut is just a fraction off, you need to add a "bleed." This just means extending your background colour or image slightly past the final cut line—usually by about 3mm. This extra bit of colour acts as a safety margin, ensuring your design goes right to the very edge. You’ll also need to clearly define the cut line (usually with a vector path) to tell the machine exactly where to trim your sticker.
Real-World Examples of Vinyl Stickers in Action
It’s one thing to talk about the theory, but seeing how other businesses are actually using vinyl printing stickers is where the real ideas start to spark. These aren't just decorative bits and pieces; they're hard-working assets that build brand recognition, share vital information, and even help drive sales. From busy city centres to quiet rural workshops, Kiwi businesses are putting vinyl stickers to work in some seriously clever ways.
Let’s get out of the workshop and into the real world. Picture a local cafe in Queenstown with its A-frame sign out on the footpath. That vibrant, weatherproof vinyl decal showing off the daily coffee special stays sharp and colourful, whether it's being baked by the summer sun or hit by a frosty winter morning. It’s more than a sign; it's a tough, around-the-clock invitation to customers.
Powering Up Trades and Services
For any tradie, their vehicle is their office, their business card, and their best advertising tool rolled into one. Think of an Auckland electrician’s van. With professionally applied vinyl graphics, it becomes a mobile billboard. A clean logo, clear contact details, and a list of services can turn a standard work van into a constant source of brand reinforcement, catching eyes and generating leads while on a job or just driving through town.
And it goes well beyond just vans. Here’s how tradies are using them:
- Tool and Equipment Branding: Slapping small, durable vinyl stickers on power tools and gear not only helps prevent them from walking off but also makes you look organised and professional on site.
- Service Stickers: A simple, oil-resistant vinyl sticker placed inside a client’s meter box with a "Next Service Due" date is a brilliant, low-cost way to get repeat business.
- Safety and Compliance Labels: Hard-wearing stickers are perfect for safety warnings on machinery. They help meet WorkSafe NZ requirements with clear instructions that won’t fade or peel off when you need them most.
Mobile assets like trailers get a huge boost from durable vinyl applications, turning them into highly effective moving advertisements. You can see just how powerful this approach is by exploring options for signage for trailers.
Transforming Retail and Hospitality Spaces
In the cut-throat world of retail and hospitality, grabbing a customer's attention is everything. Vinyl stickers are a fantastic, budget-friendly way to improve the customer experience and nudge them in the right direction. A boutique clothing store in Wellington, for example, could use elegant matte black vinyl lettering for a seasonal window display. It creates a high-end look without the cost or permanence of etched glass, and it's easy to change when the season is over.
Think of vinyl stickers as silent salespeople. They guide customers, promote special offers, and reinforce your brand's identity at every turn. They’re the bridge between your physical space and your brand’s story.
A local brewery can use custom die-cut vinyl labels on their bottles to give their product a premium feel that pops on a crowded shelf. At the same time, a busy cafe might use floor decals to manage queues or branded stickers to seal takeaway bags—a small professional touch that customers notice and remember.
The global demand for this stuff really tells the story. The vinyl sticker market was valued at around USD 4.5 billion in 2024, and the specialty vinyl film sector in our part of the world (Asia Pacific) is set for major growth. A big part of that is driven by tourism campaigns and smart advertising using self-adhesive vinyl.
These real-world examples show that vinyl printing stickers are a smart investment, not just another expense. They solve real business problems—from marketing and branding to safety and compliance—and deliver a solid return by making you more visible and cementing your professional identity.
Applying and Caring for Your Stickers
A great design and top-notch material are a fantastic start, but they're only half the story when it comes to effective vinyl printing stickers. To really make your investment count, you need a flawless application and a bit of ongoing care. This is what ensures your sticker not only looks sharp but also sticks properly and lasts, keeping your brand looking its best for years.
The most critical step, without a doubt, is surface preparation. You wouldn't paint a wall without cleaning it first, right? The same logic applies here. Your surface needs to be completely clean, dry, and free from any dust, oil, or wax.
For most non-porous surfaces like glass, metal, or plastic, a quick wipe with isopropyl alcohol does the trick perfectly. It cuts through any unseen grime that could prevent the adhesive from getting a solid grip.
Choosing Your Application Method
Once your surface is prepped and ready, you've got two main techniques to choose from: the dry method or the wet method. Which one you go for really depends on the sticker's size and how comfortable you are with the process.
-
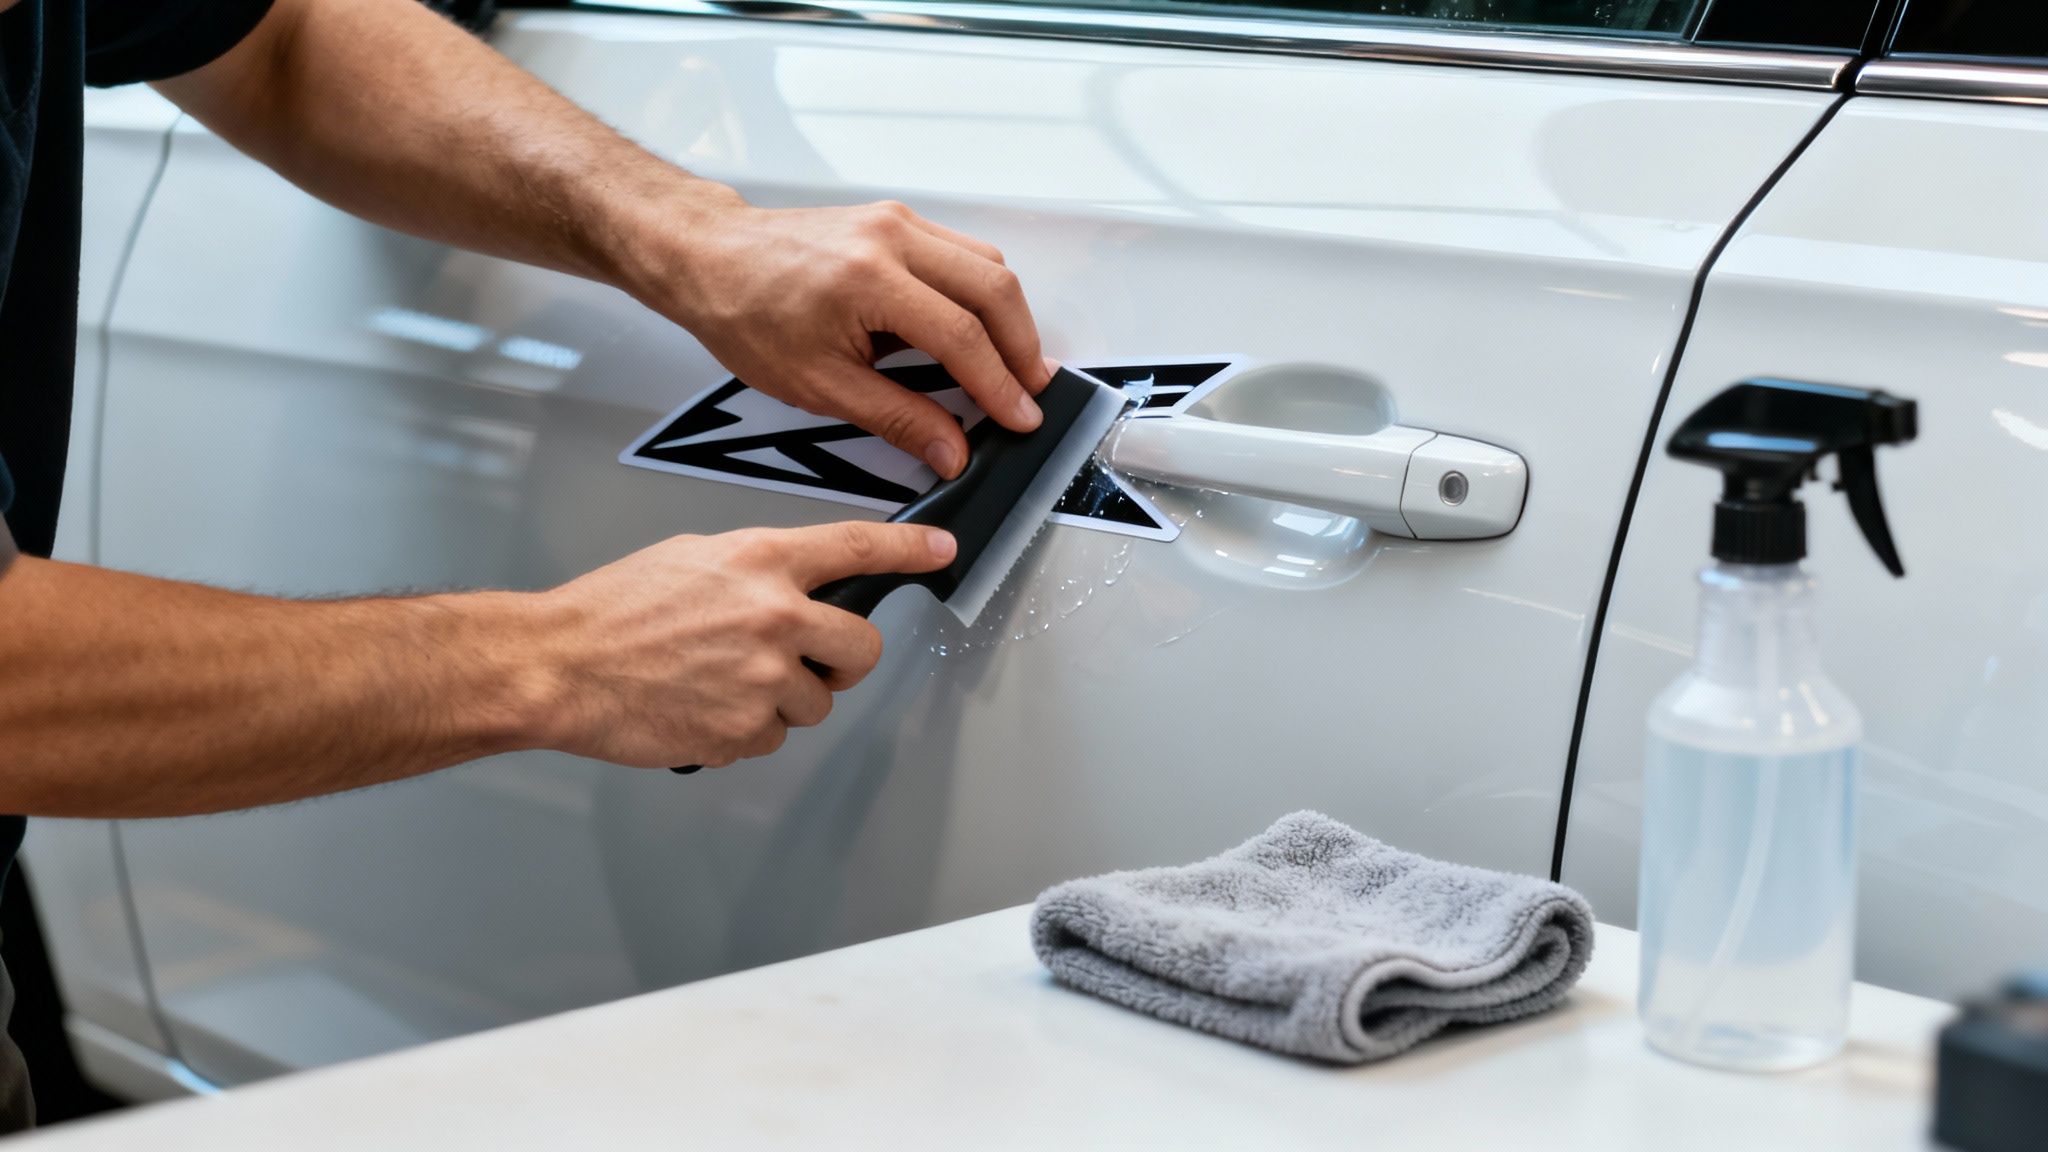
The Dry Method: This is the go-to for most smaller stickers. You just peel off the backing paper, position the sticker, and carefully smooth it down from the centre outwards. A squeegee or even a credit card works well to push out any air bubbles.
-
The Wet Method: If you're working with a large graphic or just want a bit more wiggle room, this is your best bet. Lightly spray the surface and the sticky side of the vinyl with a mix of water and a single, tiny drop of dish soap. This lets you slide the sticker around until it’s in the perfect spot before you squeegee the water out.
No matter which method you use, patience is your best friend. Rushing is the number one reason for annoying wrinkles and trapped bubbles. Take your time, smooth it all out, and you'll get that seamless, professional finish.
Long-Term Care and Maintenance
The good news is that once your vinyl stickers are on, they're incredibly low-maintenance. To keep them looking fresh, just a wipe-down with a soft cloth, some mild soap, and water is all they need. Steer clear of harsh chemical cleaners, abrasive scrubbers, or high-pressure washers, as they can damage the vinyl or make the edges start to lift.
Proper care also extends to the sticker's end-of-life. Here in New Zealand, environmental considerations are becoming a bigger part of the conversation in the printing industry. Globally, vinyl accounts for about 60% of all sticker production, and because it isn't biodegradable, it poses a real challenge for our landfills.
This reality is sparking local demand for more sustainable options and pushing printers to explore recyclable materials and better, waste-reducing technologies. You can dig deeper into these trends in the vinyl decal market on marketreportanalytics.com.
By applying and caring for your vinyl printing stickers properly, you’re making sure they do their job well, giving you a lasting, high-quality look for your brand.
Common Questions About Vinyl Printing Stickers
Even after you've nailed down the design and printing process, a few practical questions often pop up. Getting these sorted helps make sure you're picking the right product and getting real value from your vinyl printing stickers. Let's jump into a few of the questions we get asked all the time.
One of the biggest worries for Kiwi businesses is how well their stickers will cope with our harsh sun and wild weather. It’s a fair question – you want to know how long they’ll actually last out there.
How Long Do Vinyl Stickers Last Outdoors in NZ?
The lifespan of an outdoor vinyl sticker really comes down to two things: the quality of the vinyl itself and whether it has a protective laminate over the top. A standard, unlaminated calendered vinyl sticker will probably give you 2 to 3 years before it starts to fade or peel.
But if you need something that’s going to go the distance, a high-quality cast vinyl with a UV-resistant laminate is your best bet. This combination is the gold standard and can easily last 5 to 8 years, sometimes even longer. It’s the perfect choice for vehicle graphics, outdoor signs, or anywhere durability is a must.
Can I Remove a Vinyl Sticker Without Damaging the Surface?
Absolutely, as long as you take a bit of care. The trick is to soften the adhesive before you start pulling.
Gently warming the sticker with a hairdryer will loosen its grip, letting you slowly peel it back from a corner. If you’ve got any sticky gunk left over, a little bit of isopropyl alcohol or a citrus-based cleaner on a soft cloth should clean it right up. Just be sure to avoid using anything sharp like a scraper on sensitive surfaces like car paint – that’s a quick way to cause a scratch.
The most common point of confusion for newcomers is the terminology. Understanding the difference between a "sticker" and a "decal" helps you order exactly what you need for your project.
What Is the Difference Between a Sticker and a Decal?
People often use these words interchangeably, but there's a technical difference that's good to know. A sticker is usually a single piece of printed vinyl with a sticky back. A classic bumper sticker or a product label is a perfect example.
A decal, on the other hand, is a design that gets transferred from a backing paper onto a new surface. They’re often used for more intricate designs, like individual lettering for a shop window. The design is held together on a piece of transfer tape; you apply it, peel the tape away, and only the cut-out vinyl design is left behind.
Ready to bring your brand to life with high-quality, long-lasting vinyl stickers? The creative family at SONI DESIGN is here to help turn your vision into a reality that sticks. Let's create something extraordinary together at https://www.sonidesign.co.nz.
Leave a Comment
Stay home & get your daily
needs from our shop
Start You'r Daily Shopping with Nest Mart