
Your cart is currently empty.
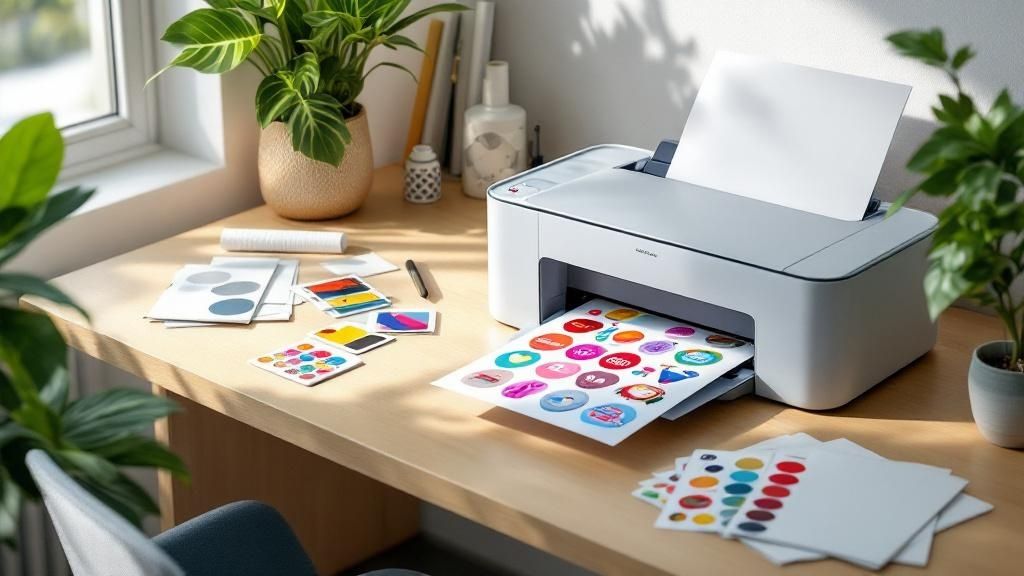
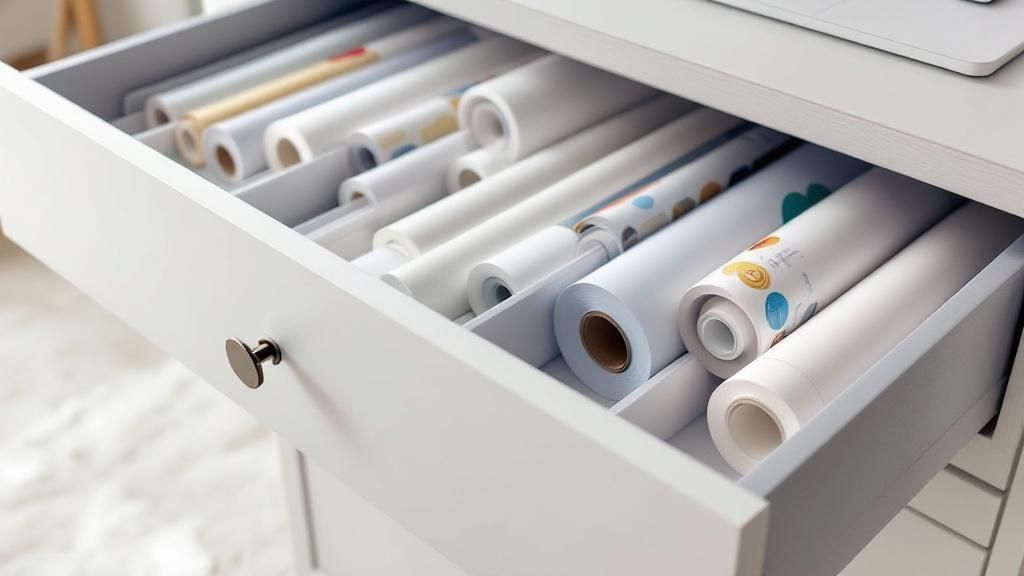
Welcome to the exciting world of making your own stickers! If you're wondering what the best sticker paper for your printer is, it really boils down to two simple things: what kind of printer you have (inkjet or laser) and what you plan to do with your stickers (are they for an indoor planner or a car bumper?).
For most of us printing from home on a standard inkjet printer, a good quality vinyl sticker paper—either glossy or matte—is going to give you the best bang for your buck. It delivers vibrant, punchy colours and is surprisingly tough.
Your Starting Point for Perfect Stickers
Walking into an office supply store or browsing online can feel a bit much. There are so many choices! But don't worry, it's not as complicated as it looks. Let's break it down into the basics to get you started on the right foot.
Think of this next part as your quick-start guide. We’ll look at the main options you’ll come across in New Zealand and help you figure out what’s what. This way, you’ll have a solid grasp of the fundamentals before we get into the nitty-gritty details.
Quick Guide to Common Sticker Paper Types
To make things even easier, here's a simple table that lays out the most popular sticker paper choices for home and small business printers. You'll be able to see at a glance which material is the right fit for your creative project.
| Material Type | Best For | Common Finishes | Durability |
|---|---|---|---|
| Paper-Based | Indoor use, planners, address labels, prototypes. | Matte, Glossy | Low (not water-resistant) |
| Vinyl | Outdoor use, water bottles, car decals, products. | Matte, Glossy, Clear | High (water & UV resistant) |
| Polyester | Industrial labels, electronics, tough conditions. | Matte, Metallic | Very High (heat & chemical resistant) |
| Clear | "No-label" look, window decals, product packaging. | Glossy, Matte | Varies (often vinyl-based) |
As you can see, the main trade-off is between cost and durability. A standard paper sticker sheet is perfect and affordable for indoor jobs or prototypes. But the moment your sticker needs to face the elements—like rain, sunlight, or a trip through the dishwasher—vinyl is absolutely the way to go.
Key Takeaway: If you remember only one thing, make it this: always match the paper to your printer. Putting inkjet paper in a laser printer (or the other way around) is a recipe for smudged ink, faded colours, and maybe even a damaged printer. Just double-check the packaging!
With this foundation, you're ready to explore different finishes and adhesives to get that perfect result. And if you're thinking of turning your creative hobby into a business, getting a handle on the basics of SEO strategies for ecommerce websites can help people find the amazing stickers you create. Now you have the starting knowledge to confidently bring your designs to life.
Choosing Your Sticker Material: Paper vs Vinyl
After you’ve nailed down your design, picking the right material is easily the most important decision you'll make. Not all sticker papers are created equal, and your choice here will shape everything from your sticker's appearance and feel to its lifespan.
Think of choosing your sticker paper for your printer like picking fabric. Paper-based options are your cotton—versatile, easy to work with, and affordable. They're fantastic for indoor projects that won't see much wear and tear. On the other hand, synthetic materials like vinyl are the heavy-duty canvas, built to take a beating and withstand the elements.
The Case for Paper-Based Sticker Paper
For many people just starting out, paper-based sticker sheets are the natural first choice, and for good reason. They're generally the most cost-effective option, which makes them perfect for trying out new designs, whipping up some planner stickers, or labelling products that will live a quiet, dry life indoors.
Another great thing about paper is that you can often write on it, making it ideal for customisable address labels or gift tags. But its biggest weakness is a total lack of resilience. Paper has no defence against moisture; even a single drop of water can make the ink bleed and the paper itself warp. They also tear easily and fade in sunlight, which firmly limits them to indoor use only.
The Power of Vinyl and Polyester Sticker Paper
When your stickers absolutely have to last, vinyl is the undisputed champion. This synthetic material is naturally water-resistant and tear-proof, making it the only logical choice for any sticker that needs to survive outdoors or in high-touch situations.
Here’s where vinyl really proves its worth:
- Water Bottles: Vinyl stickers can handle daily condensation and even survive a run through the dishwasher (especially with a protective laminate).
- Car Bumpers and Windows: They're built to stand up to rain, harsh UV rays, and road grime, keeping your designs looking crisp for years.
- Laptops and Phones: Vinyl shrugs off the daily scuffs and handling that come with decorating your personal tech.
Polyester is another tough-as-nails option, often used for more industrial-style labels. It boasts superior resistance to heat and chemicals, making it the go-to for labelling electronics or tools that might face more extreme conditions than your average sticker.
Vinyl isn't just a material; it's an investment in longevity. If your sticker needs to last more than a few weeks or face any kind of environmental stress, choosing vinyl will save you the disappointment of a faded, peeling design down the line.
Even with so many digital alternatives out there, the demand for quality printed goods—including specialised sticker paper—is still going strong. While the broader New Zealand printing industry has evolved, local printing services continue to work with a huge range of materials like paper, plastic, and metal. The need for custom stickers is a vibrant part of this market.
The chart below breaks down the most common sticker paper finishes, helping you visualise how each choice affects your final product.
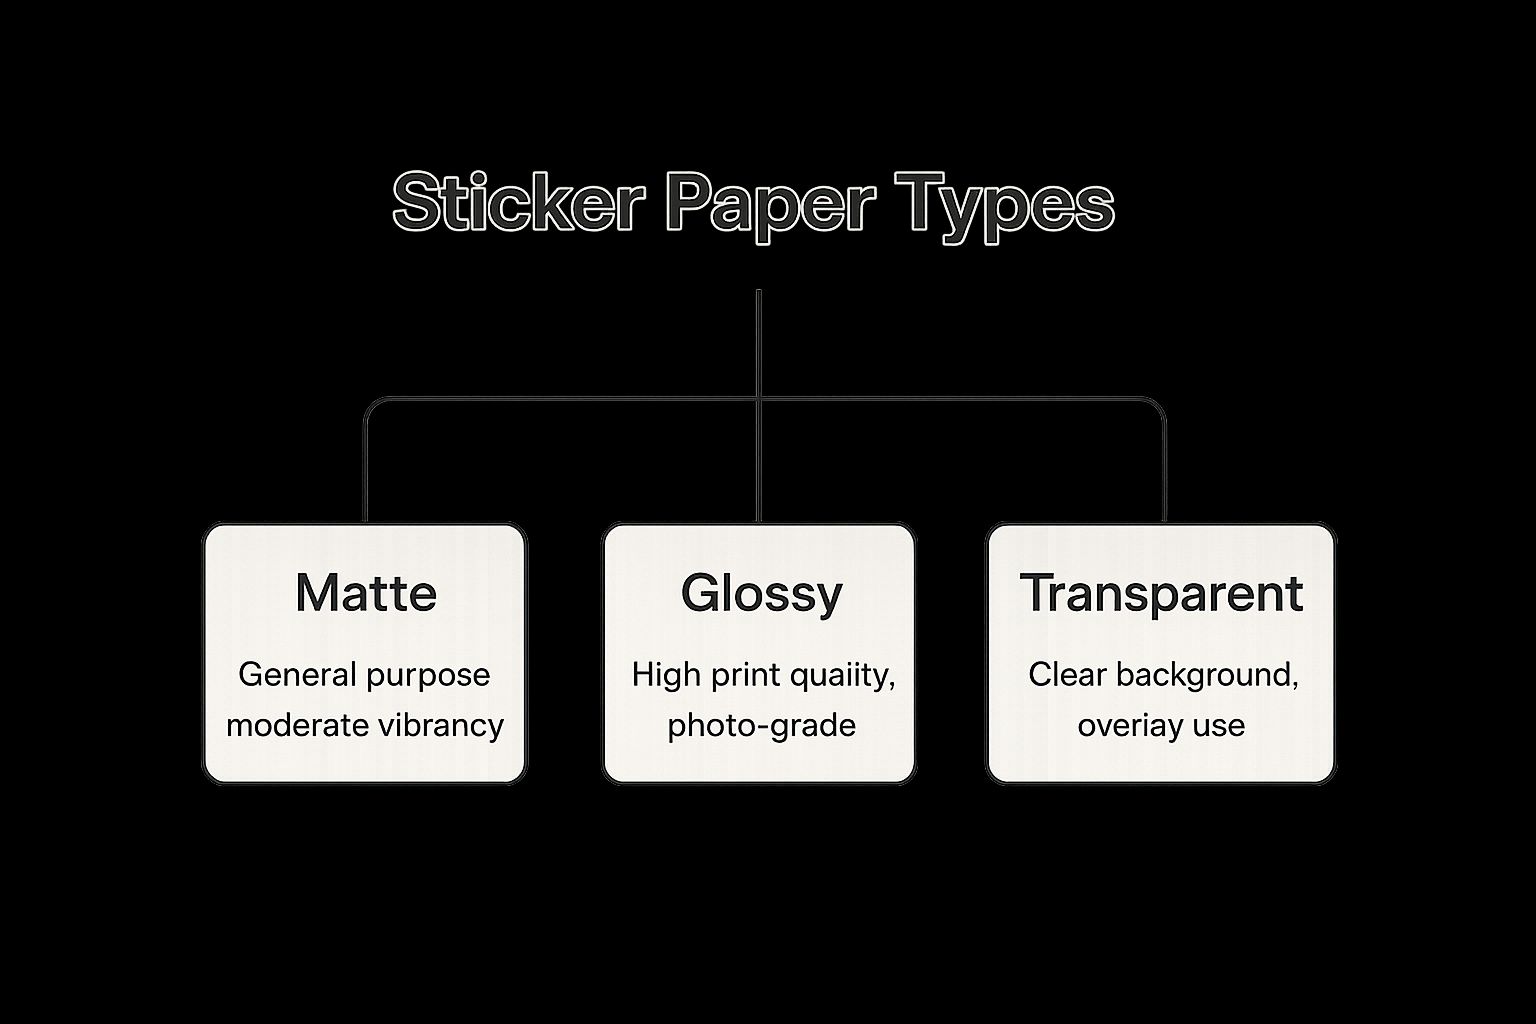
As you can see, while matte is a great all-rounder, glossy finishes deliver that top-tier print quality, and transparent options are perfect when you want a seamless, "no-label" look. Ultimately, understanding these fundamental material differences is the key to creating stickers that not only look fantastic but also perform exactly as you need them to. Your choice between paper and vinyl will define whether your creation is a temporary bit of fun or a lasting statement.
Selecting a Finish: Glossy, Matte, or Clear
So, you've picked your sticker material—paper or vinyl. Now for the fun part: choosing the finish. This is what really brings your sticker's personality to life. It’s the final touch that determines how your sticker looks, feels, and even holds up over time.
Think about what you're trying to achieve. Do you need a sleek, shiny sticker for some eye-catching product branding? Or perhaps something more subtle and non-reflective for artistic labels or planner stickers? The finish you choose should line up perfectly with your design's purpose. Let’s walk through the most popular options.
The Allure of a Glossy Finish
When you want your colours to scream vibrancy, glossy is your go-to. This finish has a highly reflective surface that catches the light, giving your designs a slick, professional sheen. It’s like the difference between a standard photo and a high-quality photographic print; everything just looks richer and more brilliant.
This pop of shine makes glossy sticker paper a fantastic choice for:
- Product Branding: That glossy finish helps logos and product images jump right off the packaging.
- Promotional Stickers: If you want to grab attention and make an impression, a glossy sticker will do the trick.
- Photo Stickers: It’s the perfect match for detailed, colourful images, making them look incredibly sharp and full of life.
One thing to keep in mind, though, is that the high shine can cause glare under bright lights, which might make tiny details hard to see. Glossy surfaces also love to show off fingerprints and smudges, so they might not be the best pick for stickers on items that get handled a lot, unless you're adding a protective laminate over top.
The Sophistication of a Matte Finish
For a more understated and sophisticated vibe, you can’t go wrong with a matte finish. It has a smooth, non-reflective surface that soaks up light instead of bouncing it back. This means no glare and a softer, more muted look for your colours. It feels modern, elegant, and refined to the touch.
The lack of glare is a huge plus, making text easy to read and intricate designs visible from any angle. Its surface is also a dream to write on with a pen or marker, which is why it’s so popular for address labels, gift tags, and planner stickers.
Pro Tip: Matte finishes are absolutely brilliant for designs with a vintage feel, earthy colour schemes, or a hand-drawn look. The non-reflective surface really complements these styles, giving the final sticker a wonderfully organic and tactile quality.
The Magic of a Clear Finish
Want your design to be the star of the show with no background getting in the way? That’s where clear sticker paper comes in. It creates a seamless "no-label" look, almost as if your design was printed directly onto whatever surface you stick it on. This is perfect for adding logos to products, decorating glassware, or making custom window decals.
Clear sticker paper is typically a durable vinyl or polyester and is available in both glossy and matte finishes. Glossy clear gives you that completely transparent, high-shine effect, while matte clear offers more of a "frosted" look that cuts down on glare for a subtler appearance. A crucial tip for home printing: remember that standard printers don't use white ink. Any white in your design will come out completely transparent on the final sticker.
Beyond these three mainstays, you might stumble upon specialty finishes like holographic, which gives off a stunning rainbow effect, or glitter, which adds a fun, sparkly texture. These are amazing for creating stickers that truly demand to be noticed.
By picturing exactly how and where your sticker will be used, you can confidently choose the right sticker paper for your printer and the perfect finish to bring your vision to life.
Matching Sticker Paper to Your Printer
Ever tried to use the wrong kind of fuel in your car? It's a recipe for disaster. Using the wrong sticker paper in your printer is pretty much the same thing—it might seem like it should work, but you often end up with a messy jam, smeared ink, and a stack of wasted sheets. To get those crisp, professional-looking stickers you're after, you absolutely have to match the paper to your printer.
This isn't just about matching brands. It's about the core technology humming away inside your machine. The two printers you'll find in most Kiwi homes and small businesses are inkjet and laser, and they could not be more different in how they operate. Getting your head around this difference is the secret to choosing the right sticker paper for your printer every time.
The World of Inkjet Printers
Picture your inkjet printer as a meticulous artist, carefully applying liquid watercolours. It works by spraying thousands of microscopic ink droplets onto the paper to build your image. For this process to succeed, the paper needs a special microporous coating that can instantly absorb that liquid ink and lock the colour in place.
If you try to run paper made for a laser printer through an inkjet, that ink has nowhere to soak in. It'll just sit on the surface in wet pools, refusing to dry. You’re left with a smudgy, blurry mess that can be ruined with a single touch, even hours later.
When you're shopping for an inkjet printer, keep an eye out for paper that’s clearly marked:
- "For Inkjet Printers": This is the non-negotiable label you need to see.
- "Quick-Dry Coating": A great feature that helps stop smudges the moment the sheet comes out.
- Specific Finishes: Whether you want glossy, matte, or even vinyl, make sure it’s the inkjet-compatible version.
The Power of Laser Printers
Now, let's flip the script and look at laser printers. Instead of wet ink, laser printers use a combination of intense heat and a super-fine powder called toner. Think of it more like branding a piece of wood than painting. A laser etches your design onto a drum, which then picks up the toner powder and rolls it onto the paper. Finally, a fuser unit melts that powder, permanently bonding it to the sheet.
That reliance on high heat is exactly why you can't sneak inkjet sticker paper into a laser machine. The absorbent coating on inkjet paper simply wasn't built to handle the temperatures inside a fuser. It can melt, bubble up, or even leave behind a sticky residue that could wreck the internal parts of your printer—a very expensive mistake.
Critical Compatibility Check: Always, always use sticker paper certified as heat-resistant and specifically designed for laser printers. Trying to use the wrong type can cause printer damage that your warranty likely won’t cover.
The Efficiency of Thermal Printers
There’s a third type of printer that's become a common sight, especially for shipping labels or in retail shops: the thermal printer. These clever devices don't use any ink or toner at all. Instead, a heated printhead makes direct contact with specially treated, heat-sensitive paper, which turns black in the spots where heat is applied.
This makes them incredibly fast and low-maintenance for printing high volumes of single-colour labels, like for barcodes or addresses. The growth in this space shows just how vital efficient labelling has become for businesses across New Zealand. In fact, the local thermal paper market was valued at around USD 34.1 million in 2024 and is expected to continue climbing, driven by demand from retail and packaging. You can discover more insights about the New Zealand thermal paper market to see how these trends are evolving.
By understanding how your printer actually works—whether it's spraying liquid ink, fusing hot toner, or applying direct heat—you can confidently pick the perfect sticker paper, sidestep those frustrating printing fails, and make sure your final creations look absolutely flawless.
Printing Tips for Professional Results
You’ve got your design sorted, picked out the perfect sticker paper, and have your printer ready to go. Now for the exciting part: bringing it all together to create something amazing. This is where a few simple tweaks can take your stickers from looking homemade to looking professionally produced.
The single most important step happens right before you hit ‘Print’. Adjusting your printer settings isn’t just a recommendation—it’s the secret sauce for getting flawless results with any specialty material, especially sticker paper for printer use.
Master Your Printer Settings
Think of your printer's settings menu as its control panel. By default, it assumes it's printing on standard, flimsy A4 paper. When you introduce something thicker and more complex, like glossy sticker paper, you need to give the printer new instructions.
Telling your printer what it's working with is crucial. This single step can change how it operates entirely—it might slow down the printing speed, adjust the rollers to accommodate the paper's thickness, or alter the amount of ink or toner it lays down.
Your main goal here is to find the paper type or media type setting. You probably won't find an option that explicitly says "Sticker Paper." Instead, you’ll need to play detective and choose the closest match.
Here are a few common options to look for:
- For Glossy Sticker Paper: Choose settings like "Glossy Photo Paper," "Premium Glossy," or "Other Photo Papers." This tells an inkjet printer to apply ink in a specific way that sticks to the shiny surface without smudging.
- For Matte Sticker Paper: Look for "Matte Photo Paper," "Premium Matte," or even "Presentation Paper." These settings help achieve rich, deep colours on non-reflective surfaces.
- For Thicker Vinyl or Paper: If you can’t find a perfect finish match, look for thickness settings. Options like "Labels," "Cardstock," or "Thick Paper" will help prevent jams as the sheet moves through the printer.
Beyond the paper type, always crank the print quality up to its highest setting. This might be called "High," "Best," or "Photo." Sure, it uses more ink and takes longer to print, but the difference in sharpness and colour vibrancy is night and day.
Achieve True and Vibrant Colours
Have you ever printed a design, only for the colours to look flat or completely different from what you saw on your screen? It’s a common frustration, and it happens because screens create colour with light (RGB), while printers use ink (CMYK).
While perfect colour matching can be a complex science, you’ll be happy to know that simply selecting the right paper type in your printer settings solves about 90% of the problem. When you tell the printer it's using "Glossy Photo Paper," the printer driver knows exactly how to mix its inks to produce the most accurate and vibrant colours for that specific surface.
A Note on Global Trends: The boom in at-home sticker printing in New Zealand reflects a much larger global trend. The market for digital label printing technology is exploding, valued at roughly USD 5.7 billion in 2022. Inkjet printers are at the forefront of this movement, making high-quality, on-demand sticker production more accessible than ever for everyone from hobbyists to small businesses. You can read the full research on the digital label printer market to see just how much it's growing.
Troubleshooting Common Printing Frustrations
Even with the best settings, things can sometimes go sideways. Don’t panic; most issues have pretty straightforward fixes.
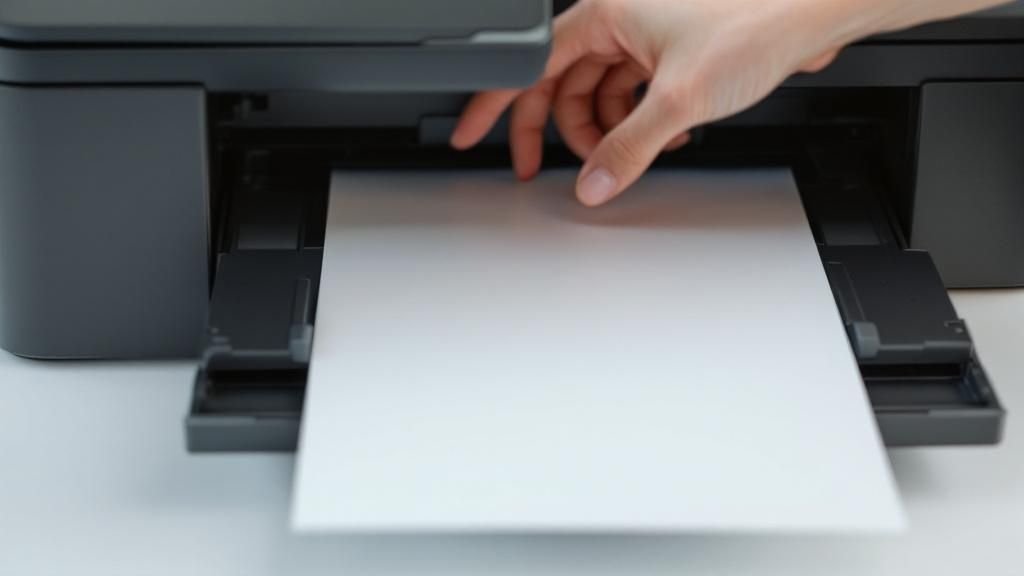
Paper Jams: This is almost always caused by the thickness of the sticker paper. Instead of cramming a full stack into the paper tray, try feeding just one or two sheets at a time. If your printer has a manual feed slot, that’s your best bet—it's designed for thicker media.
Ink Smudging (Inkjet): If your ink is smearing long after it should have dried, you've likely picked the wrong paper setting. The printer is probably laying down too much ink for the paper's coating to handle. Just go back into your settings and choose a "Glossy" or "Photo" paper option to sort it out.
Misaligned Cuts (for Cricut/Silhouette): If your cutting machine can't seem to find your printed registration marks, first check that the paper was loaded perfectly straight in your printer. Even a tiny skew during printing can throw off the entire cutting process. Also, double-check that your design is positioned correctly on your digital mat.
By getting comfortable with these settings and knowing how to handle these little hiccups, you'll be well on your way to producing clean, vibrant, and perfectly finished stickers every single time.
Frequently Asked Questions About Sticker Paper
Once you start making your own stickers, you'll find questions popping up left and right. That's completely normal! Whether you're trying to make your stickers tough enough for a water bottle or wondering why your printed colours look a bit off, I'm here to give you some clear, practical answers.
I've pulled together the most common questions I hear from both beginners and seasoned sticker makers. Think of this as your go-to guide for sorting out those common hiccups and really getting the best out of your sticker paper. Let's get into it.
Can I Use Any Sticker Paper in My Inkjet Printer?
The short answer is no, and this is probably the most critical rule in sticker making. You absolutely have to use sticker paper that’s specifically made for inkjet printers.
Here’s an easy way to think about it: your inkjet printer works by spraying microscopic droplets of liquid ink onto the paper. Inkjet-specific sticker paper has a special coating that acts like a sponge, instantly soaking up that wet ink. This is what stops it from smudging and locks in those vibrant colours.
If you accidentally feed laser sticker paper into your inkjet, you’ll have a mess on your hands. The ink will just pool on the slick, non-absorbent surface and never dry properly, resulting in a smeary disaster. Always, always double-check the packaging to make sure it says it's compatible with your printer.
What Is the Difference Between Removable and Permanent Adhesive?
The real difference here comes down to one thing: how much "sticking power" you need. It’s all about matching the adhesive's grip to what you’re using the sticker for.
-
Removable Adhesive: This one's designed for a lighter touch. It lets you peel the sticker off cleanly later on, without leaving behind that annoying, sticky gunk. This makes it perfect for things you might want to change, like planner stickers or laptop decorations.
-
Permanent Adhesive: This is your heavy-duty option. It creates a powerful, long-lasting bond that’s tough to break. Trying to remove it will likely tear the sticker or leave residue behind. This is the one you want for things that need to stay put.
Here’s how that looks in the real world:
| Adhesive Type | Best Use Cases |
|---|---|
| Removable | Planner stickers, temporary wall decals, laptop decorations, temporary product labels. |
| Permanent | Shipping labels, product branding, safety warnings, outdoor car decals. |
Choosing the right one from the get-go means your sticker will do its job perfectly, whether it's for a bit of temporary fun or a permanent statement.
How Do I Make My Printed Stickers Waterproof?
Getting truly waterproof stickers is a two-part mission, and it all starts with picking the right base material. For any sticker that's going to see moisture, printing on a quality waterproof vinyl sticker paper is non-negotiable. Paper-based stickers just turn to mush when wet, so vinyl is the only way to go.
But just printing on vinyl isn't enough. While the vinyl sheet itself is waterproof, the inkjet ink sitting on top is still vulnerable. Get it wet, and you risk it smudging, fading, or bleeding.
Key Insight: To make a sticker fully waterproof, you have to protect the ink itself. The secret is to add a clear, protective layer over your printed design. This shields the ink from water, UV light, and scratches.
Here are your best bets for sealing your stickers:
- Self-Adhesive Laminate Overlays: These are basically clear, sticky sheets you apply right over your printed sticker sheet before cutting. They give a tough, professional finish and are fantastic for waterproofing.
- Clear Acrylic Spray Sealant: A few light, even coats of a spray like Mod Podge or Krylon also works wonders. This method is great because it easily covers intricate, die-cut shapes.
Combine waterproof vinyl with a good sealant, and your stickers will be ready to take on water bottles, cars, and anything else the elements can throw at them.
Why Do My Printed Colours Look Different from My Screen?
Ah, the classic printing problem! It's frustrating, but there's a straightforward reason for it. It all boils down to the different ways screens and printers create colour.
Your computer monitor, tablet, or phone uses the RGB (Red, Green, Blue) colour model. It's an "additive" process, meaning it creates colours by mixing light. This is why colours on a screen can look so incredibly bright and luminous.
Your printer, on the other hand, uses the CMYK (Cyan, Magenta, Yellow, Black) colour model. It works by layering inks onto paper, which "subtracts" brightness from the white background. This subtractive process has a smaller colour range (or "gamut") than RGB, so it physically can't reproduce some of those super-vibrant screen colours.
While a perfect match is impossible, you can get much closer by making one simple tweak: adjust your printer settings. Before you hit print, dive into the print dialogue box. Look for the paper type setting and change it to match what you’re using, like "Glossy Photo Paper" or "Premium Matte". This tells your printer how to properly mix its inks for that specific surface, leading to much richer, more accurate colours that are far truer to your design.
Ready to bring your creative visions to life with stunning, professional-quality results? At Soni Design, we specialise in turning ideas into tangible expressions. Explore our range of printing services and discover how we can help you create extraordinary stickers, signage, and promotional products that tell your unique story. Let's create something amazing together!
Leave a Comment
Stay home & get your daily
needs from our shop
Start You'r Daily Shopping with Nest Mart