
Your cart is currently empty.
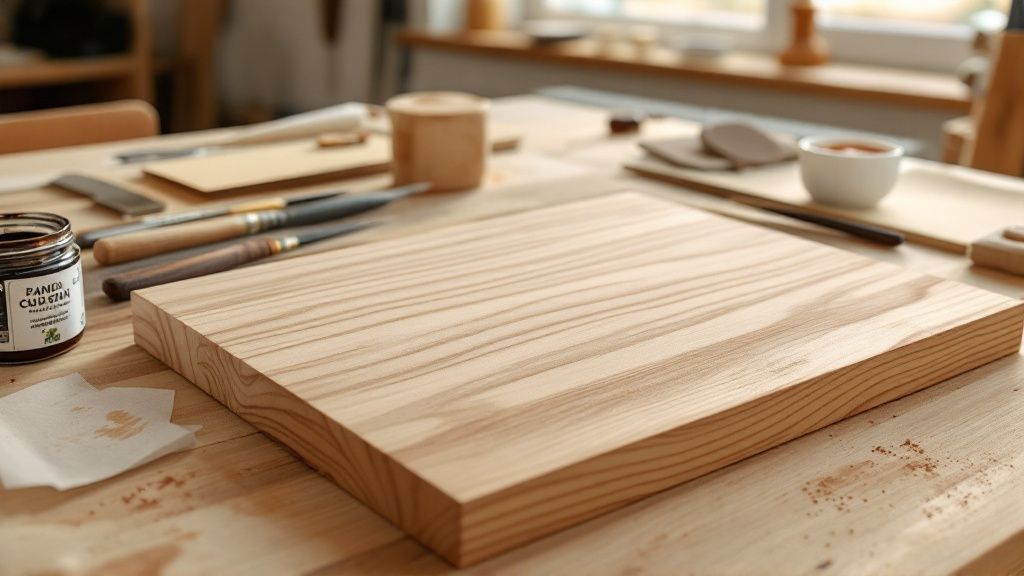
Your journey to creating a brilliant wooden sign doesn't start with a saw or a router—it starts with the wood itself. The timber you choose is the very canvas for your project, defining everything from its look and feel to how long it will last. Here in New Zealand, we have some incredible options, from rugged Macrocarpa to the elegant grains of Rimu, and picking the right one is all about balancing your vision with practical needs.
Selecting the Right Wood and Finalising Your Design
Before a single letter is carved, the most critical decision is made: the material. Getting this right comes down to asking a few simple questions:
- Where will it live? A sign for an indoor reception desk has very different needs from one that’s going to be battered by coastal winds and rain.
- How tough does it need to be? Are you after a robust hardwood that can handle a bit of rough and tumble, or is a softer, more delicate timber a better fit for the job?
- What's the vibe? The wood’s natural colour, grain, and texture are the heart and soul of your sign's final look. Are you going for rustic charm or polished sophistication?
For the Great Outdoors
If your sign is going to brave the elements, weather resistance is non-negotiable. Timbers like Macrocarpa are a fantastic choice. They have natural oils that act as a built-in defence against moisture and rot, which is a huge plus.
Treated pine is another go-to, especially if you're working to a budget. It's a reliable workhorse and, once it's properly sealed, offers excellent durability. The goal here is to pick a timber that won’t warp, crack, or give up the ghost when faced with New Zealand’s famously unpredictable weather.
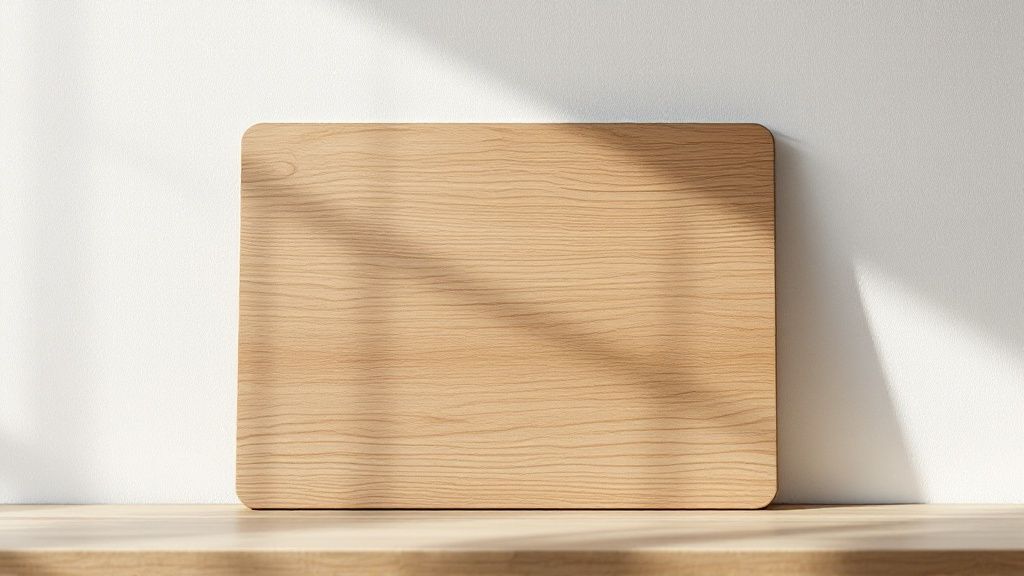
For Indoor Spaces
With indoor signs, you can really let aesthetics take the driver's seat. This is where our beautiful native timbers truly shine. Think of the deep, warm tones of Rimu or the intricate, flowing grain of Kauri—they can bring a real sense of class and warmth to a business lobby, café, or retail shop. You can get away with softer woods here, too, since they won't be in a constant battle with Mother Nature.
A Word of Advice: Always match the timber to the environment. I've seen beautiful indoor-grade woods absolutely destroyed after just one season outside. On the flip side, using a heavy-duty outdoor timber for a delicate interior piece can be a bit of an overkill.
It's worth noting that New Zealand has a fantastic local supply of quality timber. In the year ending September 2019, our forestry sector harvested around 36.6 million cubic metres of round-wood, so you'll have no trouble finding great materials. For a deeper dive into our local industry, the USDA Foreign Agricultural Service offers some fascinating insights.
To make things a bit easier, here’s a quick rundown of some popular local options.
Comparing Common New Zealand Timbers for Signage
This table gives a quick comparison of popular NZ timbers to help you choose the right material for your signage project, focusing on use, durability, and final look.
| Wood Type | Best Use (Indoor/Outdoor) | Durability | Appearance |
|---|---|---|---|
| Macrocarpa | Outdoor | High | Light yellowish-brown with a straight grain. Smells great! |
| Rimu | Indoor | Medium | Rich red-brown with a distinctive, beautiful grain. |
| Treated Pine | Outdoor | High | Pale, uniform look. Cost-effective and versatile. |
| Kauri | Indoor | Medium | Golden-brown with a fine, shimmering grain. |
| Totara | Outdoor | Very High | Reddish-brown, incredibly durable and resistant to rot. |
Choosing the right timber sets a solid foundation, but a great sign needs a great design to match.
Refining Your Design Vision
Once you’ve settled on the wood, it’s time to dial in the design. Even the most stunning piece of timber can be let down by a cluttered or hard-to-read layout.
Clarity is king. Pick fonts that are easy to read from a distance and make sure there’s plenty of contrast between your lettering and the natural wood grain. If you’re including a logo or other graphics, think about how they'll look on the wood. A timber with a really busy grain might swallow up fine details, so a finer-grained wood could be a better choice for intricate designs.
Finally, don't underestimate the power of empty space. Giving your words and images room to breathe makes your message clearer and more impactful. A well-spaced design is instantly easier for people to take in.
Bringing Your Design to Life with the Right Technique
You’ve got the perfect piece of timber and a solid design. Now for the exciting part: actually getting that design onto the wood. This is where your sign truly starts to take shape, and the method you choose will define its final character, from its texture to the crispness of the lettering.
Each technique brings a completely different feel to the table. Are you after something rustic and full of handmade charm, or sleek, modern, and precise? It’s not just about the final look, either. You need to think about the tools, the skill level required, and how much time you’re willing to invest. Let’s walk through the most common ways to create stunning wooden signs.
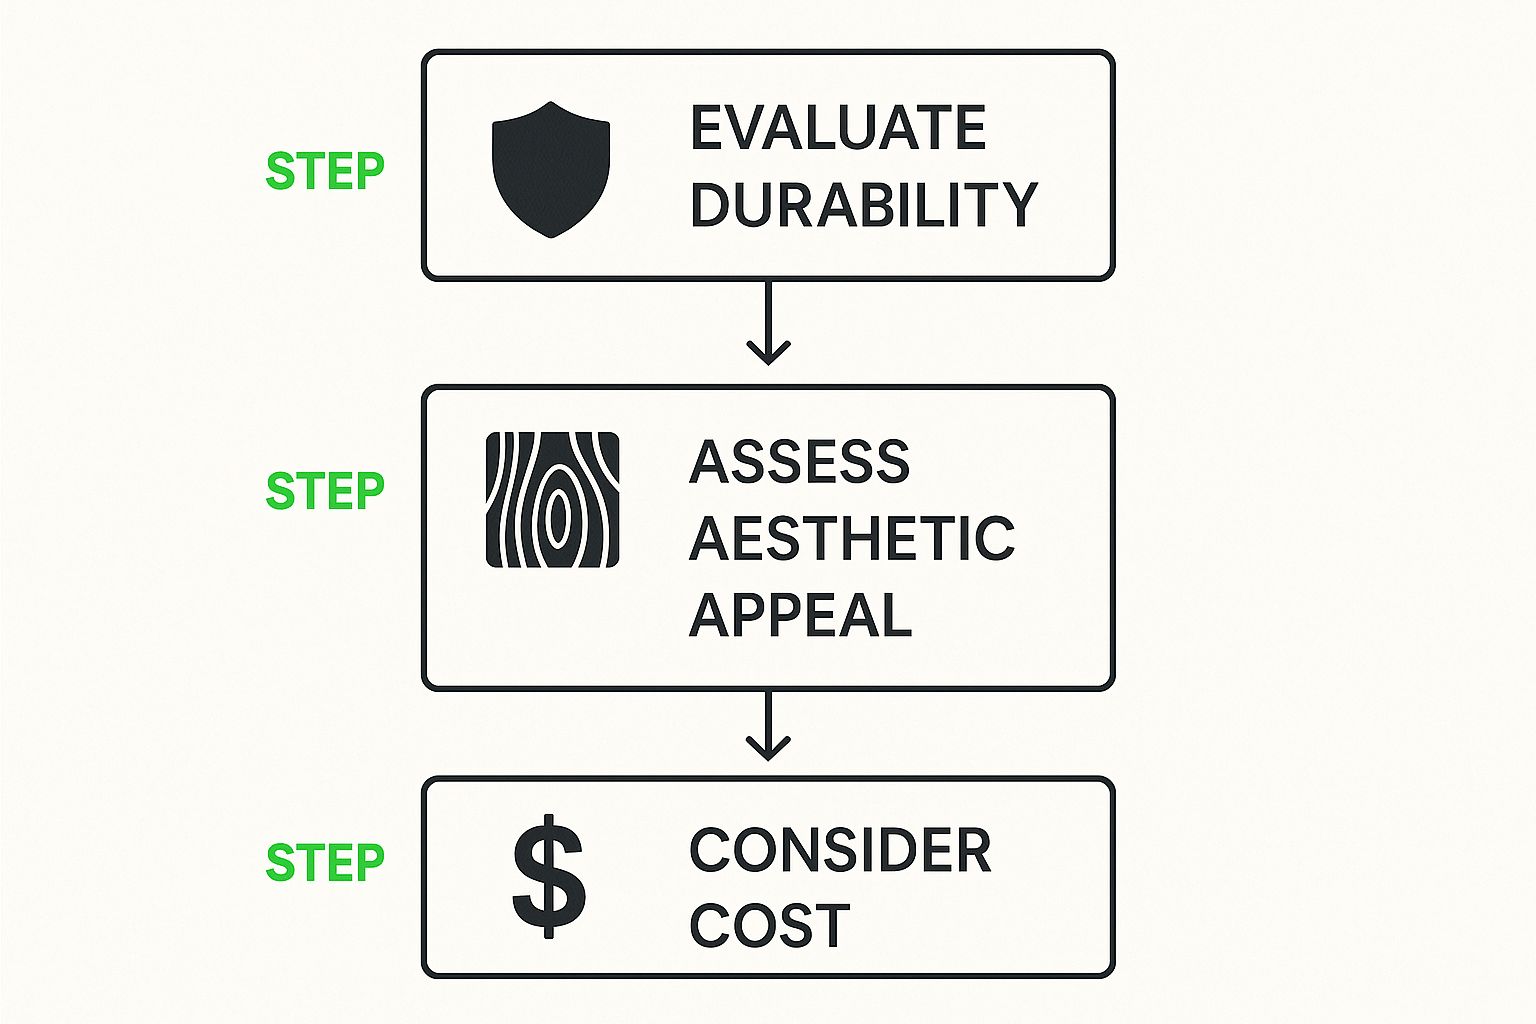
As you can see, a great sign project is a balancing act. It's about finding that sweet spot between durability, visual appeal, and your budget to create something that’s not just beautiful but also built to last.
The Timeless Appeal of Hand Carving
If you want a sign that oozes authenticity and rustic charm, you can’t go past traditional hand carving. It’s an age-old craft, using tools like chisels, gouges, and mallets to carefully sculpt your design directly into the wood. Every single mark is unique. That’s what gives the finished piece an irreplaceable, handcrafted soul.
Hand carving is the perfect fit for a boutique café, a farm stall, or a historic bed and breakfast—anywhere you want to create a warm, organic feel. Just be aware, this isn't a quick job. It demands a serious amount of skill and patience. A beautifully hand-carved sign can easily take many hours, if not days, to finish. It’s a true labour of love.
The Unmatched Precision of CNC Routing
On the completely opposite end of the spectrum, we have Computer Numerical Control (CNC) routing. This is a high-tech approach where a computer-guided cutting tool carves your design with incredible accuracy. You just upload a digital file, and the machine executes every cut flawlessly, time and time again.
CNC routing is the go-to for projects that need absolute consistency, complex logos, or intricate fonts. It’s an excellent choice for corporate branding or any sign where a clean, polished, professional finish is non-negotiable. The process is also much faster than carving by hand, especially if you’re making multiple identical signs for different business locations.
Key Takeaway: The choice between hand carving and CNC routing really comes down to your brand’s personality. If you want to project tradition and craftsmanship, hand carving is your answer. If your brand is modern and precision is key, CNC routing is the way to go.
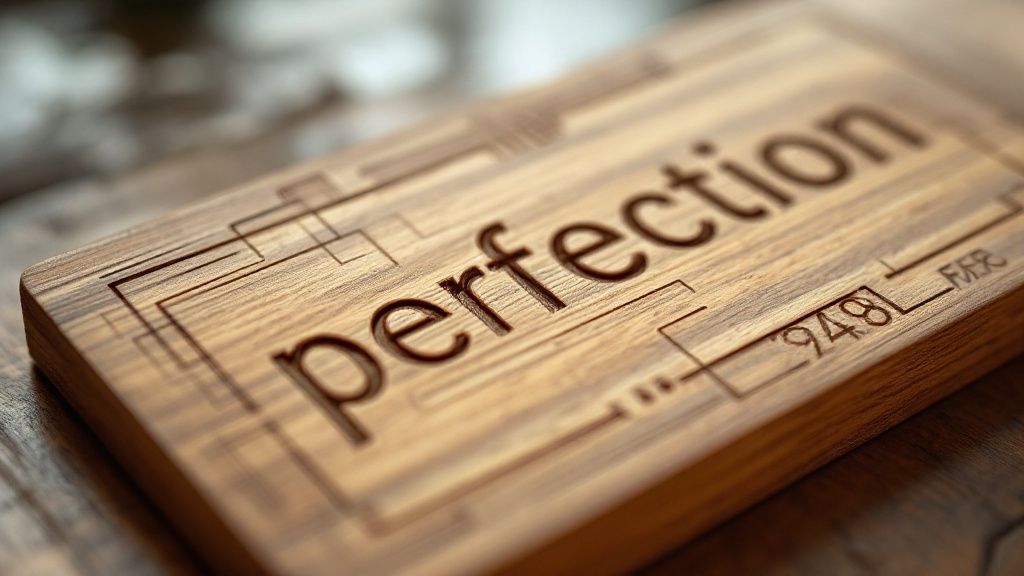
Intricate Details with Laser Engraving
For designs with super-fine details, laser engraving offers a level of precision that other methods simply can't touch. A high-powered laser literally burns the design onto the surface of the wood. The result? Incredibly sharp, clean lines that allow for intricate patterns, tiny text, and even photorealistic images.
This technique is fantastic for detailed company logos, awards plaques, or decorative indoor signs. The colour of the burn itself can also be customised, as it changes depending on the type of wood and the laser's power settings. For a really unique look, you can explore protective finishes that complement the burnt effect, like an epoxy Shou Sugi Ban finish in woodworking projects.
The Artistic Touch of Pyrography
Commonly known as wood burning, pyrography is a freehand art form. It uses a heated tool, much like a soldering iron, to essentially draw with heat onto the wood. It’s a wonderfully expressive technique, allowing for beautiful shading and tonal variations that give a sign real depth and character.
Pyrography is ideal for creating one-of-a-kind, artistic signs that feel personal and bespoke—think custom pieces for artisans, creative studios, or personalised gifts. It’s a slower, more deliberate process that produces a piece of signage that is also a genuine work of art.
Getting Colour onto Your Wooden Sign
Now for the fun part. Once your design is carved, routed, or burned into the wood, it's time to bring it to life with colour. This is the stage where the sign’s real personality starts to shine through, transforming a piece of timber into something that truly speaks.
But hold on. Before you even think about cracking open a can of paint, you need to get the surface ready. Seriously, don't skip the prep work.
A flawless finish is built on a solid foundation, and that starts with sanding. I usually begin with a medium-grit paper, something around 120-grit, to smooth out any rough patches or machine marks. After that, I’ll switch to a finer grit, like 220-grit, to get it silky-smooth to the touch. This extra step is what ensures your paint or stain goes on evenly without any blotchiness.
Once you're done sanding, wipe the entire surface down with a tack cloth to get rid of every last speck of dust. If you’re planning to paint—especially with a lighter colour—a quality wood primer is non-negotiable. It seals the wood, stops the grain from bleeding through, and gives the final colour that extra pop.
Paint or Stain? The Big Decision
This is probably the biggest choice you'll make at this stage: paint or stain? What you choose here will completely define the final look of your sign.
If you're weighing up the options, this comprehensive paint vs stain cabinets guide is a great resource. Although it’s for cabinets, the principles are exactly the same for signage and it really breaks down the pros and cons of each.
Here’s the main difference in a nutshell:
- Paint lays on top of the wood, creating a solid, opaque film. This completely hides the grain but gives you unlimited colour choices and fantastic durability, especially if you use outdoor-grade acrylics.
- Stain soaks right into the wood fibres. Instead of covering the grain, it enhances it, letting the natural beauty of the timber show through.
So, when should you use which? Paint is your best bet for bold, high-contrast designs where you need your message to be super legible from a distance. Think of a classic business sign with crisp white lettering on a dark background.
Stain, on the other hand, is perfect when you’re going for a more rustic, organic feel. It creates a warmth that paint just can't replicate, making the character of the wood a central part of the design.
Techniques for a Pro-Level Finish
Applying your finish well takes a steady hand and a bit of patience. The most common headache I see is paint bleed, where colour seeps under masking tape or into the surrounding wood grain, leaving you with fuzzy, unprofessional-looking edges.
Here’s a great trick to get clean, crisp lines, especially inside engraved letters: apply a thin coat of clear sealant inside the letters first. Let it dry completely. This seals the wood fibres and creates an invisible barrier. When you apply your colour, any bleed that happens will be clear sealant, so you won't see it.
When layering different colours, always—and I mean always—let each coat dry completely before adding the next. This prevents the colours from turning muddy and helps you build up a real sense of depth. Whether you're using a small brush for fine details or a roller for the background, thin, even coats are the way to go. It prevents drips and lets you build the colour up gradually for a much smoother result.
Pro Tip: When painting engraved lettering, I like to slightly overfill the letters with paint. Let the paint get tacky—not fully dry, but not wet. Then, take a sharp scraper or a razor blade, hold it flat against the sign’s surface, and shear off the excess paint. You’ll be left with perfectly filled, incredibly crisp letters.
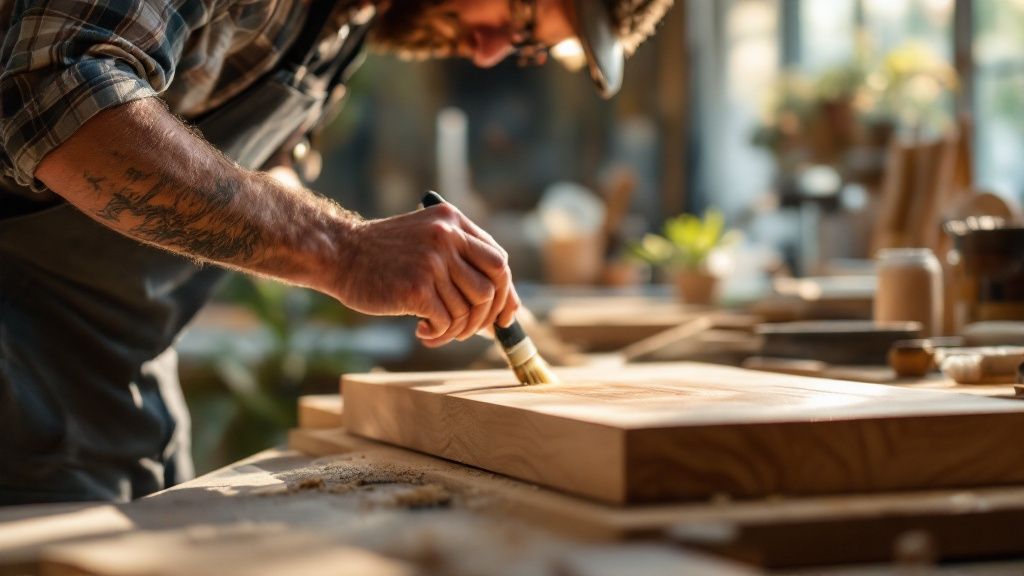
Protecting Your Signage from the Elements
A beautifully crafted wooden sign is a work of art, but without a tough final layer of protection, it's just living on borrowed time. Here in New Zealand, where the weather can turn from brilliant sunshine to driving rain in a single afternoon, this final step is non-negotiable. A proper protective coat is the only thing standing between your masterpiece and the damaging effects of moisture and UV rays.
Choosing the right sealant isn't just a finishing touch; it’s a critical decision that directly impacts how long your sign will last and how good it will look years from now. The product you select really comes down to where the sign will live. An indoor piece has completely different needs from one that’s getting hammered by the elements 24/7.
Selecting Your Protective Finish
Think of this coat as your sign's personal armour. For indoor pieces that won't see rain or harsh sun, a polyurethane varnish is often the perfect choice. It cures to a hard, durable finish that resists scuffs and scratches while adding a beautiful lustre—you can get it in everything from matte to high-gloss. Its excellent clarity lets the natural colour of the wood and your paintwork shine through.
For outdoor signs, you need to bring out the heavy artillery. I always lean towards a good quality spar varnish. It was originally formulated for boats, so you know it's built to withstand the harshest conditions. It’s packed with UV inhibitors to fight sun bleaching and is flexible enough to expand and contract with the wood as temperatures fluctuate, which prevents that awful cracking and peeling you see on failed finishes.
If you're after a more natural, hand-rubbed look, oils like tung or linseed are a great alternative. These oils penetrate deep into the wood fibres, nourishing the timber from the inside out and providing a water-resistant, matte finish. They do a fantastic job of enhancing the grain, but be prepared for more upkeep—they need reapplication far more often, especially outdoors.
A classic mistake I see all the time is using standard indoor polyurethane on an outdoor sign. It might look great at first, but it lacks UV blockers. Within a year, it will almost certainly yellow, crack, and start to peel away, leaving your beautiful sign exposed and vulnerable.
Application for Maximum Durability
The secret to a long-lasting finish isn't just what you use, but how you apply it. Rushing this stage will undo all your hard work. Always, and I mean always, start with a completely clean, dust-free surface before applying your chosen finish in thin, even coats.
Here’s the process I've relied on for years to get a professional result:
- First Coat: Grab a quality natural-bristle brush and apply a thin layer, making sure to follow the grain of the wood.
- Light Sanding: Once it's completely dry (always check the instructions on the tin for times), give the surface a very light sand with fine-grit sandpaper—something around 220-grit is ideal. This just scuffs it up enough for the next coat to get a good grip.
- Wipe Clean: Use a tack cloth to remove every last speck of sanding dust. Seriously, don't skip this.
- Subsequent Coats: Now, just repeat the process. Apply another thin coat, let it dry, sand it lightly, and wipe it clean.
For most projects, three coats seems to be the magic number. It builds up a robust, weatherproof barrier that will keep your wooden sign looking its best for a long, long time.
Getting Your Sign Up and Keeping It Looking Sharp
This is the final, rewarding part of the process—getting your finished wooden sign securely and beautifully displayed. A really well-executed installation is what makes all that hard work pay off, ensuring the sign not only looks professional but is also completely safe.
How you go about mounting your sign really comes down to its design and where it’s going to live. If you’re after a clean, contemporary look against a flat wall, flush-mounting with hidden fixings is a fantastic option. This usually involves routing keyhole slots into the back of the sign or using special mounting hardware that keeps all the screws out of sight.
On the other hand, if you want your sign to have a bit more presence and dimension, hanging it from a decorative bracket can create a classic, eye-catching feel. This is a brilliant choice for storefronts or older, heritage-style buildings. For freestanding signs, like those you see at the entrance to a farm or a park, you’ll want to set them on sturdy posts, ideally concreted into the ground for maximum stability against the weather.
The Right Tools and Hardware for a Secure Install
Before you even think about drilling, getting your gear sorted will make the whole job smoother and safer. A little bit of prep here can save you a world of pain later.
Your essential toolkit should include:
- A decent spirit level – because nothing looks worse than a wonky sign.
- A reliable tape measure for getting the placement spot on.
- A drill with the right bits for whatever you’re drilling into (plasterboard, brick, timber, etc.).
- The correct screws and wall plugs that are properly rated for the sign's weight.
Don't be tempted to skimp on the hardware. Always double-check that your fixings can easily handle the sign’s weight. Using undersized screws is a rookie error that can lead to your beautiful sign taking a tumble.
Pro Tip: Measure twice, drill once. It’s a cliché for a reason. Mark your drill holes with a light pencil and use your level to check and re-check the alignment before you make a permanent hole. Trust me, it’s a lifesaver.
A Simple Care Routine to Keep It Fresh
With your sign now proudly displayed, the job isn’t quite done. A bit of ongoing love will keep it looking its best for years. Wood is a natural material, after all, and a simple maintenance schedule is the key to preserving its character.
Every 3-6 Months: Give it a gentle clean. A soft cloth with some mild, soapy water is all you need to wipe away dust, grime, and pollen. Steer clear of harsh chemicals or abrasive pads, as they’ll strip the protective finish in no time.
Once a Year: Set aside some time for a proper inspection. Get up close and check the protective topcoat for any signs of wear and tear—look for peeling, cracking, or areas where the finish has gone dull. If it’s looking a bit tired, that’s your cue for a touch-up.
Every 2-3 Years: This is the big one. You'll want to plan for a full reapplication of its protective coat. Give the entire surface a very light sand with fine-grit sandpaper, wipe it down thoroughly, and apply a fresh coat of the same sealant you used initially. This single step is the most critical thing you can do to prolong the life of your outdoor wooden sign.
This deep connection to wood has strong roots here in Aotearoa. New Zealand's use of timber in art and culture is inextricably linked to Māori tradition. The practice of whakairo, or intricate wood carving, has been central for centuries, creating powerful symbolic panels and signs that tell stories and express identity. You can discover more about the history of New Zealand art and its immense cultural significance.
Common Questions We Hear About Making Wooden Signs
Even with the best plan in hand, you're bound to hit a few snags or have questions pop up during your sign-making project. Getting ahead of these common challenges can save a lot of headaches and make sure the final piece looks as good in real life as it did in your head.
One of the biggest worries we hear is about wood warping or cracking over time, especially for signs that live outside. The secret here is a two-pronged attack: start with a stable, well-seasoned timber and finish it with a high-quality, flexible sealant. Something like a good spar varnish is perfect because it allows the wood to expand and contract naturally with the weather, preventing splits.
Getting those crisp, clean lines on lettering without any fuzzy edges or paint bleed is another frequent puzzle. Here's a pro tip: once you've carved or engraved your design, apply a very thin coat of clear sealant inside the letters or shapes. Let it dry completely before you add your colour. This simple step seals the wood fibres, creating an invisible barrier so any paint that does try to seep in is clear and won't mess up your sharp edges.
What’s the Best Wood for Really Detailed Designs?
If your sign features delicate lines, small text, or a complex logo, the grain of the wood you choose is critical. You’ll need timber with a fine, tight grain that provides a smooth canvas and doesn’t fight against the details.
- Great Choices: Woods like Rimu or even a high-grade plywood are brilliant for this. They allow a laser engraver or a CNC router to carve out precise details without interference.
- Woods to Reconsider: Timbers with a bold, coarse grain, such as Macrocarpa, can be tricky. The router bit or laser beam might naturally want to follow the wood's prominent grain, which can slightly distort the fine details of your design.
For instance, a café sign with an intricate logo would look incredibly sharp on a fine-grained wood. On the other hand, a rustic farm sign with big, chunky letters would look absolutely stunning on a piece of Macrocarpa full of natural character.
A Quick Word on Cost: It’s a common myth that all wooden signs come with a hefty price tag. While a completely hand-carved, bespoke piece is definitely an investment, there are fantastic budget-friendly options like treated pine. Plus, modern production methods like CNC routing have made professional-quality signage on wood far more affordable than it used to be.
How to Keep Your Sign Looking Bright and New
Faded colours are a real shame, especially after you've put in all that work. The culprit is almost always the sun's UV rays, so your best defence is a good offence. When you're picking out your final topcoat, make sure you choose a product that specifically lists UV inhibitors on the label. Most quality exterior paints and varnishes will have this protection built right in.
To really protect your investment, a bit of simple maintenance goes a long way. Giving the sign a gentle clean and reapplying that protective topcoat every two to three years is the best thing you can do. It's like putting sunscreen on your sign, keeping the colours vibrant and the timber underneath safe from the elements.
At SONI DESIGN, we live and breathe this stuff. We pour our experience and passion into every project, turning a client's vision into a beautifully crafted sign that truly represents them. Let’s create something extraordinary together!
Leave a Comment
Stay home & get your daily
needs from our shop
Start You'r Daily Shopping with Nest Mart