
Your cart is currently empty.

Turning a design on your screen into a high-quality, physical sticker that you can hold in your hand is a pretty cool process. It’s all about printing your idea onto a special vinyl material, adding a protective finish, and cutting it to the perfect shape. Done right, you get a vibrant, durable sticker ready for just about anything.
Your Guide to Printing Awesome Vinyl Stickers in NZ
If you're looking to get custom vinyl stickers printed here in New Zealand, you've come to the right place. Think of this as your complete roadmap, designed to take the guesswork out of turning your creative concept into a professional, long-lasting sticker. Whether you’re branding your business, gearing up for an event, or just making custom labels, knowing the basics will help you get the perfect result.
So, why choose vinyl over a standard paper sticker? It’s like comparing a proper Kiwi raincoat to a paper towel in a downpour. Vinyl is a tough, flexible synthetic material built to handle the elements. Unlike paper, it won’t buckle at the first sign of moisture and is far more resistant to fading under our harsh NZ sun. That resilience is exactly what gives vinyl stickers their professional feel and staying power.
The Main Choices You'll Make
Getting your sticker from concept to completion involves a few important decisions. Nailing these choices is the key to getting a final product that looks just right and does the job you need it to do. Here’s a quick look at what we'll cover:
- Picking the Right Material: The vinyl itself is the foundation of your sticker. You’ll need to decide if you want something permanent for long-term branding or a removable vinyl for a temporary promotion.
- Choosing the Perfect Finish: The laminate does more than just protect the print; it defines the sticker’s whole vibe. A gloss finish gives you a vibrant, shiny look, while a matte finish is more subtle and elegant with no reflection.
- Understanding the Cut: The way your sticker is cut affects its final shape and how it's presented. We'll get into the difference between a 'kiss cut' (which cuts the sticker but leaves the backing paper intact) and a 'die cut' (which cuts right through both layers).
At SONI DESIGN, our job is to make all of this easy. We’ll walk you through every option, making sure your design is set up perfectly for printing and that the final sticker is exactly what you envisioned. We want to make professional-grade sticker printing straightforward for every Kiwi business.
This guide will break down each of these steps in more detail. By the end, you’ll know exactly what you need to order custom vinyl stickers that not only look fantastic but are perfectly suited for your needs. Let's get started.
Choosing the Right Vinyl and Finish
The secret to a truly great sticker isn't just a knockout design—it's the material it’s printed on. Picking the right vinyl and finish is easily the most important decision you'll make. It dictates not only how your sticker looks but how well it holds up in the real world. Get this right, and your sticker will be perfectly suited for its job, whether it's branding a company ute or labelling a new product line.
Think of it like choosing tyres for a car. You wouldn't put standard road tyres on a 4x4 destined for rugged back-country tracks, right? It’s the same logic. You have to match your vinyl's properties to the environment it will face, and that starts with understanding the two main types of adhesive.
This simple path breaks down how to select the right material, finish, and cut for your project.
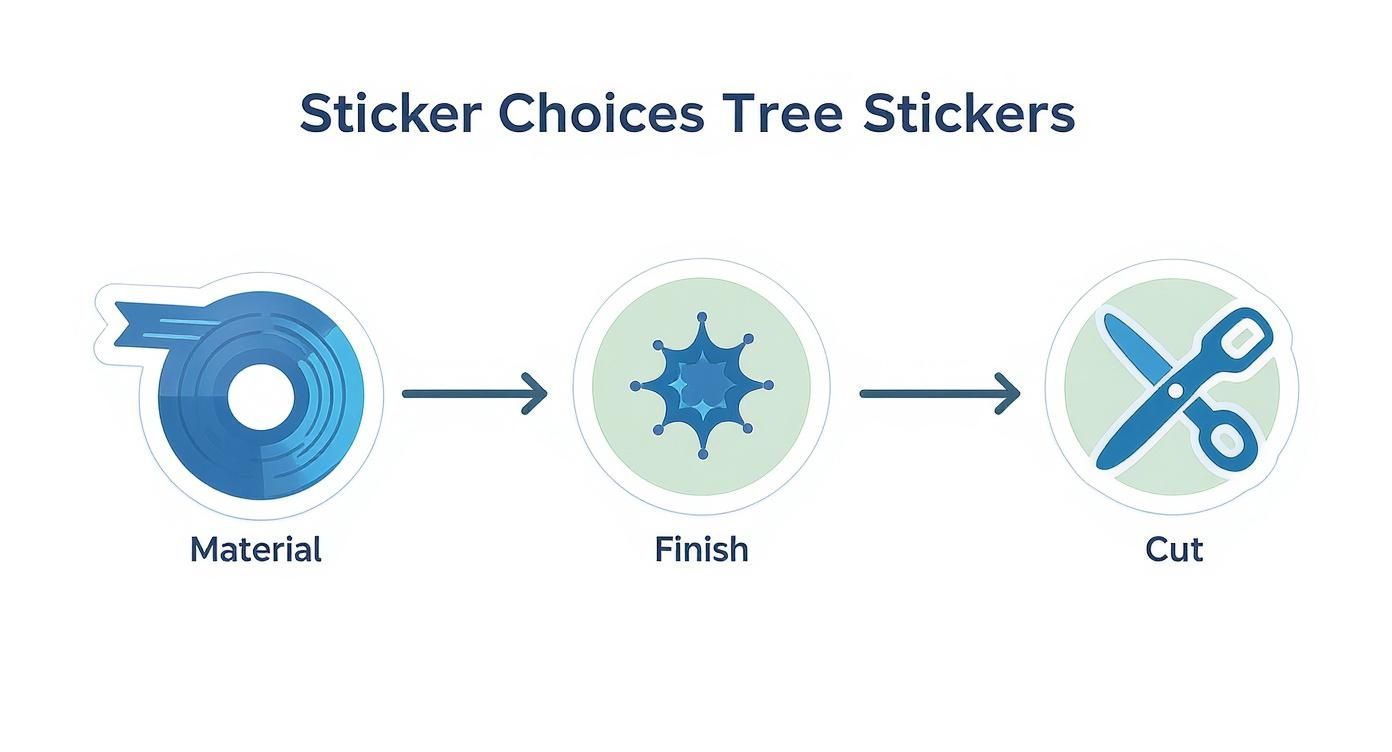
Nailing these three steps—material, finish, and cut—ensures every part of your sticker is purpose-built for its application.
Permanent Versus Removable Vinyl
Your first big decision is whether to go with permanent or removable vinyl. It sounds simple, but the choice has huge implications for how your sticker will perform.
Permanent vinyl is the workhorse. It uses a super-strong adhesive designed to stay put for years, making it the only choice for things like vehicle graphics, outdoor equipment labels, or permanent branding on products. Once it’s on, it’s not meant to come off easily.
On the other hand, removable vinyl is your go-to for anything temporary. Think of it as a high-quality sticky note; it sticks firmly but peels off cleanly later without leaving that frustrating, gummy residue behind. This makes it perfect for promotional window displays, temporary event signage, or laptop stickers.
The demand for these printable self-adhesive vinyl films is massive, showing just how vital they are in modern advertising. The global market was valued at around USD 3.74 billion in 2025 and is tipped to hit USD 5.1 billion by 2030. This boom is fuelled by the need for durable fleet graphics and eye-catching floor displays—both big sectors here in New Zealand. You can dig deeper into these market trends over at Grand View Research.
Specialty Vinyl for Unique Effects
If you want your design to really turn heads, you can move beyond the standard options into the world of specialty vinyls. These materials have unique visual properties that just can't be replicated on plain white vinyl.
- Clear Vinyl: This gives you a "no-label" look, where your design seems to be printed directly onto the surface itself. It’s fantastic for product packaging and window decals where you want the underlying material to show through.
- Holographic Vinyl: With its iridescent, rainbow-like shimmer that changes with light and movement, this one is a real showstopper. It’s a brilliant choice for attention-grabbing brand stickers or special edition product labels that need a bit of magic.
- Metallic Vinyl: Available in finishes like brushed aluminium, gold, or chrome, this vinyl adds an immediate touch of class. It’s perfect for elevating luxury product branding or creating premium anniversary seals.
The right finish not only protects your sticker but also defines its personality. A gloss finish screams vibrancy and energy, while a matte finish conveys sophistication and elegance. Choose the one that best tells your brand's story.
The Finishing Touch Laminates and Durability
Once your design is printed, we apply a protective laminate. This clear layer is your sticker’s armour against the elements. It shields the print from scratches, moisture, and—crucially—New Zealand's harsh UV rays, which are notorious for fading colours over time.
Laminates also dictate the final look and feel of your sticker. The two most popular choices are gloss and matte.
Here’s a quick rundown to help you decide which finish is the best fit for your project.
Comparing Vinyl Finishes and Laminates
| Finish Type | Appearance | Best For | Durability Notes |
|---|---|---|---|
| Gloss | Shiny, reflective, high-contrast | Promotional stickers, vibrant designs, anything that needs to "pop" | Makes colours appear richer. Excellent for grabbing attention. |
| Matte | Smooth, non-reflective, low-glare | Sophisticated branding, easy readability, premium product labels | Hides fingerprints and minor scratches well. Offers a subtle, modern feel. |
| Satin | A gentle sheen, between gloss and matte | Photography, fine art prints, where glare reduction is key but some vibrancy is desired | Provides a balanced look that's not too shiny or too flat. |
| Textured | Has a tactile feel (e.g., leather, carbon fibre) | Vehicle wraps, unique product labels, high-end decorative applications | Adds a physical dimension to the sticker, enhancing the user experience. |
Ultimately, whether you choose a high-impact gloss or an understated matte, the laminate is a non-negotiable step for ensuring your stickers look great and last as long as they should.
How Your Stickers Are Printed and Cut
Ever wondered how a digital file on a computer screen transforms into a real-life, peelable sticker? It’s a pretty neat process that combines high-tech printing with razor-sharp precision. Knowing a bit about how it all works—from printing to cutting—helps you appreciate what goes into a quality sticker and make the right choices for your own project.
Let's pull back the curtain and see how your designs come to life.
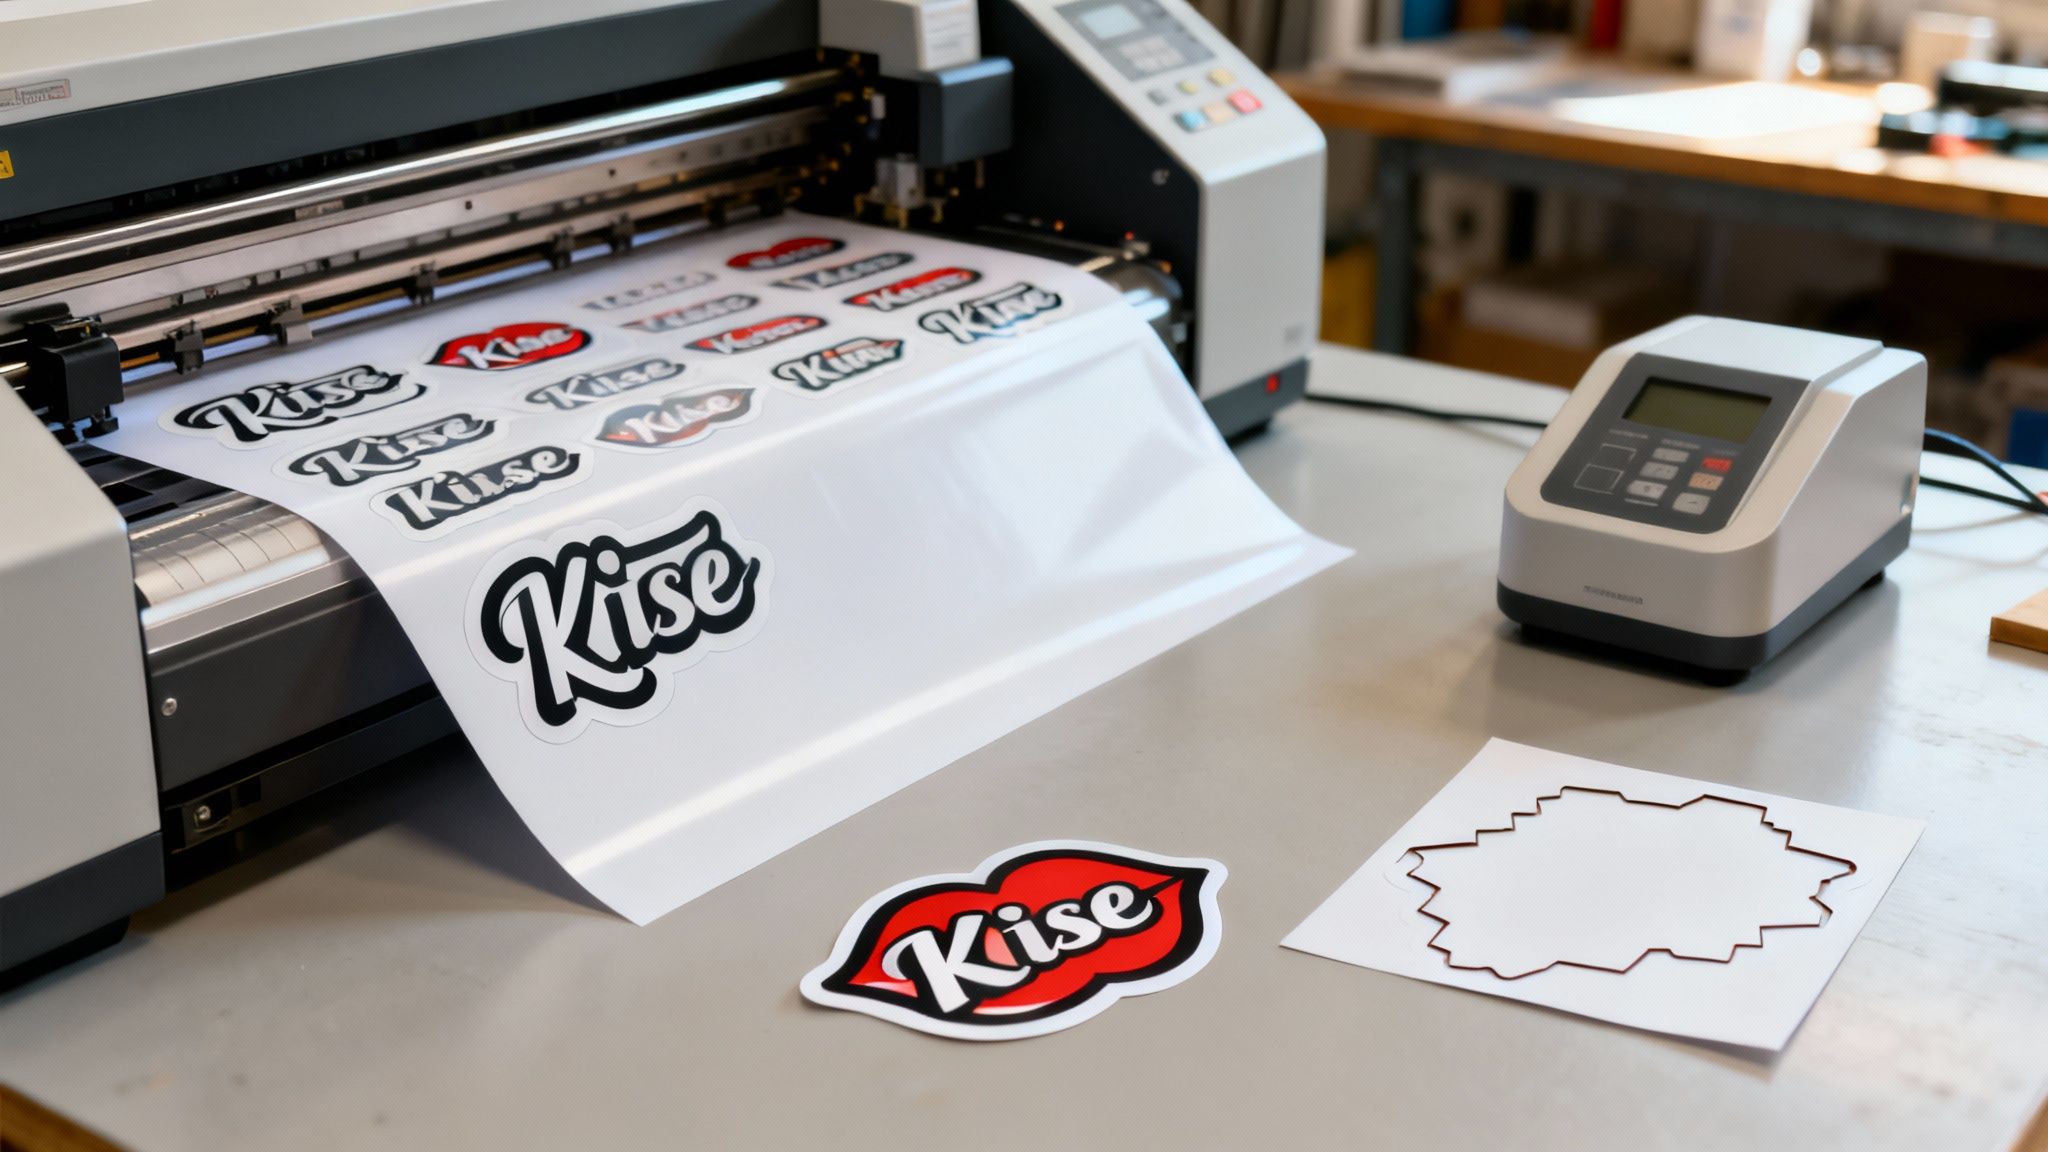
The journey starts the moment your artwork gets the green light. We load it into a large-format printer—a serious piece of equipment built specifically for printing vinyl stickers. Unlike your desktop printer at home, these machines are calibrated to handle rolls of vinyl and use specialised inks that create a vibrant, tough finish.
Choosing the Right Printing Method
Not all printing is created equal. The technology used to get your design onto the vinyl has a massive impact on how it looks and how long it lasts. While you can technically print on some vinyl with a home inkjet, the ink just sits on the surface and won't stand up to much abuse. For professional results, you need professional methods.
Here are the main players in the world of sticker printing:
- Digital Inkjet Printing: This is the workhorse of the industry. It uses specialised eco-solvent inks that chemically etch into the vinyl, creating a bond that’s incredibly resistant to scratches and fading. It’s versatile and delivers stunning detail.
- UV Printing: This method is a game-changer for durability. As the ink is applied, powerful ultraviolet (UV) lights cure it instantly, hardening it into a tough, resilient layer. It's a fantastic choice for stickers that will live outdoors, especially under the harsh New Zealand sun.
- Screen Printing: This is a more traditional technique, but it still has its place. It involves pushing ink through a fine mesh screen (a stencil, essentially) onto the vinyl. It's perfect for large runs of simple designs with bold, solid colours.
At SONI DESIGN, we rely on state-of-the-art digital printing. This gives us the flexibility to produce crisp, full-colour designs with fantastic durability, whether you need a small batch of fifty stickers or a run of several thousand.
The Art of the Perfect Cut
Once your design is printed and the ink is set, the vinyl moves on to the final, crucial step: cutting. This is where your sticker gets its shape, and it’s a process that demands absolute precision. A computer-guided plotter with a tiny, sharp blade follows the cut lines you've set up in your design file.
There are two main ways we can cut your stickers, each serving a different purpose.
1. Kiss Cut Stickers
Think of this as a very light, delicate cut—like a gentle "kiss" from the blade. A kiss cut slices cleanly through the top vinyl layer but leaves the paper backing completely untouched. This is perfect for producing sheets with multiple stickers, making them super easy to peel and use.
2. Die Cut Stickers
A die cut is more like a cookie cutter. The blade cuts right through both the vinyl and the paper backing, creating a custom-shaped sticker where the backing paper perfectly matches the sticker's outline. These are great for handing out individually at events or tucking into product packaging because their unique shape really stands out.
Ultimately, the choice between them just comes down to how you plan to use and hand out your stickers. Both methods take a sheet of printed vinyl and turn it into a polished, professional product ready for action.
Preparing Your Design for Flawless Printing
A brilliant sticker is only as good as the file it’s printed from. Honestly, getting your design print-ready is the single most important thing you can do to make sure the final product looks crisp, vibrant, and professional. It's a common pitfall to rush this step, which can lead to blurry images, awkward borders, or colours that just look *off*—turning an exciting project into a frustrating one.Before you can get your hands on those eye-catching vinyl stickers, you obviously need a design. For many businesses, this journey starts with a custom logo design that captures their brand's identity. Once you have that core element sorted, a few simple technical checks will guarantee it translates perfectly from your screen to the sticker itself.
Vector Versus Raster Graphics Explained
The first thing to get your head around is the difference between vector and raster files. This choice has a huge impact on your sticker’s quality, especially when it comes to sharpness and resizing.
Think of a vector graphic as a set of instructions, like a recipe. It's built from mathematical equations that define points, lines, and curves. Because it’s a recipe, you can scale it up or down to any size—from a tiny sticker for a product to a massive wrap for a van—and it will stay perfectly sharp every single time. The file types you'll see for vectors are usually AI (Adobe Illustrator), EPS, and SVG.
A raster graphic, on the other hand, is more like a photograph. It’s made from a fixed grid of tiny coloured squares called pixels. Raster files are great for photos with lots of detail, but they have a major limitation: you can't make them bigger without losing quality. Stretching a raster image just makes the individual pixels visible, creating that blocky, blurry look we all hate. Common raster files include JPEGs, PNGs, and GIFs.
For printing vinyl stickers, vector is almost always the way to go. It's your guarantee that any logo, text, or graphic will be razor-sharp, no matter how big or small the final sticker is. If you absolutely have to use a raster image, just make sure it's high-resolution.
Setting Up Your File for Success
With your design created, a few pre-press checks are vital for a perfect print run. Think of these settings as telling our printers exactly how to interpret your artwork to sidestep common problems.
- Resolution (DPI): If you're using any raster elements (like a photo), they must be at least 300 DPI (dots per inch) at the actual size they will be printed. Anything less than that will almost certainly look fuzzy up close.
- Colour Mode: Your design file should be set up in CMYK (Cyan, Magenta, Yellow, Key/Black). This is the standard colour model for professional printing. If you design in RGB (Red, Green, Blue), which is for screens, the colours will shift when we convert it for print, and they might not look how you expected.
- Outlined Fonts: Always convert your text to outlines (or "create outlines"). This simple step turns the letters into vector shapes, so the font will print exactly as you designed it, even if we don't have that specific font installed on our systems.
Don't Forget Bleed and Safe Zones
To get that professional, edge-to-edge colour and make sure nothing important gets chopped off, you need to add a bleed and a safe zone to your artwork.
The bleed is a small, extra margin of your background colour or design that extends beyond the final cut line. Why? Because cutting machines have a tiny margin of error. This bleed gives the cutter some wiggle room, ensuring your colour goes right to the very edge of the sticker without any weird white slivers.
The safe zone is the opposite—it’s an internal margin inside the cut line. You should keep all your important text and logos within this area. It acts as a buffer, ensuring that even if the cut is a fraction of a millimetre off, nothing vital gets trimmed away.
For most projects, a standard bleed and safe zone of 3mm on all sides is perfect.
Real-World Vinyl Sticker Applications
It's one thing to talk about the technical side of printing, but where do vinyl stickers actually make a difference? Let's be honest, they're more than just pretty decorations. For Kiwi businesses, they are hardworking, versatile tools that solve real-world problems every single day.
From a boutique shop in Wellington to a construction site in Queenstown, custom stickers are out there building brands, sharing crucial information, and leaving a lasting mark. Their magic lies in combining eye-catching design with serious staying power.
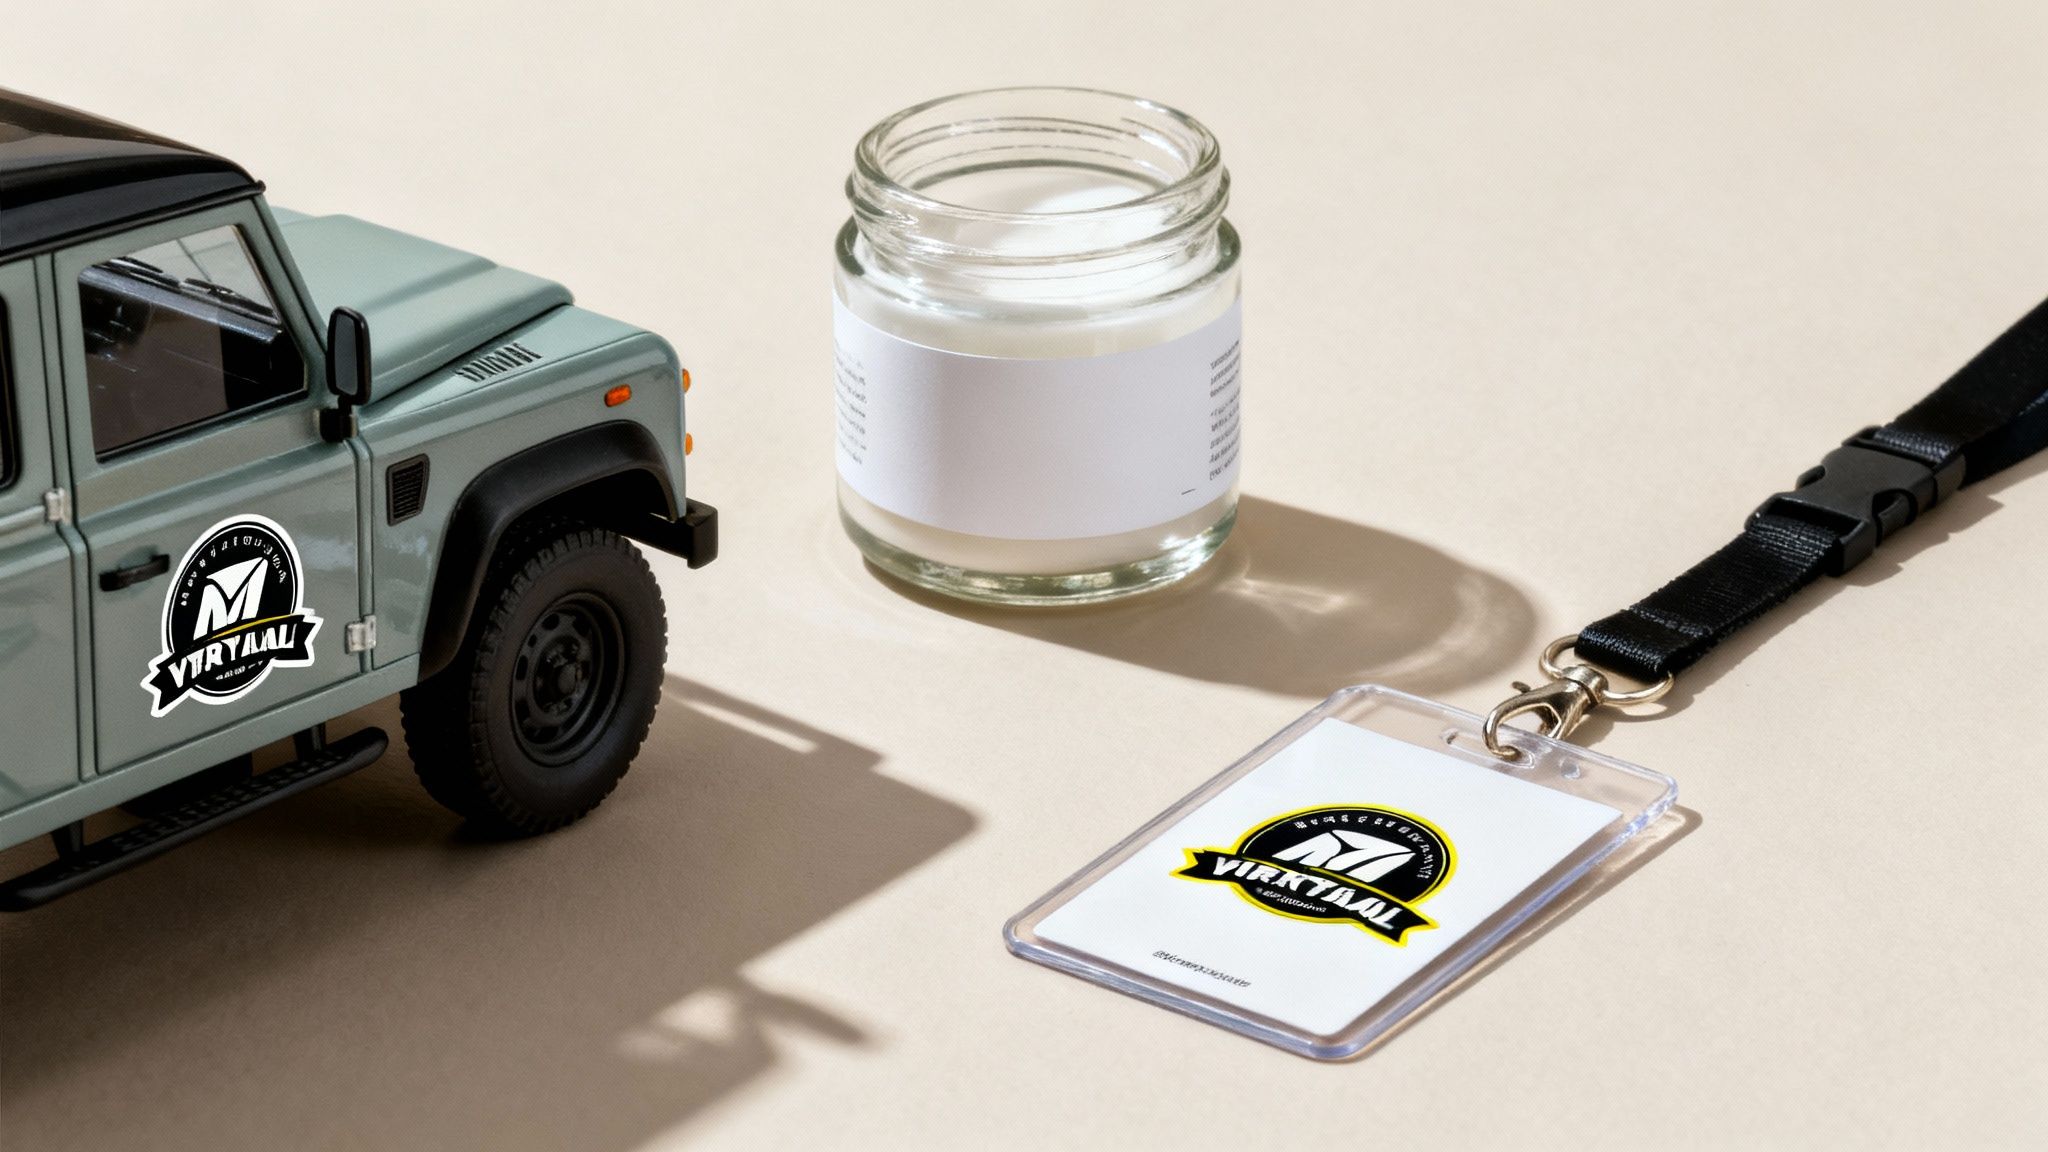
Let’s dive into how these sticky solutions are being put to work right here in New Zealand.
Branding and Promotion in Retail
For any retailer, stickers are an absolute must-have in the marketing toolbox. That cool, custom die-cut sticker you slip into a customer's shopping bag? It's not just a freebie; it’s a mobile billboard. Imagine a local surf shop handing out weatherproof logo stickers that end up on laptops, utes, and chilly bins across the country. That's brand awareness in action.
But they're also workhorses inside the shop itself.
- Window Graphics: Big, bold vinyl decals are perfect for plastering a massive sale announcement across your front window or just displaying your opening hours clearly. They grab attention from the street without any permanent changes.
- Product Labelling: Got a small-batch product, like a homemade hot sauce or a craft gin? A professionally printed vinyl label instantly makes your packaging look polished and premium.
- Floor Decals: Need to direct foot traffic, highlight a special offer, or manage queues? Tough, non-slip floor stickers are a brilliant, visually engaging way to do it.
The demand for this kind of custom marketing is booming. The global vinyl sticker market is set to climb from about USD 4.6 billion in 2025 to over USD 6.5 billion by 2035. This growth is all about the increasing need for personalised promo gear, a trend we're definitely seeing here in NZ. You can get more insights on this trend from market analysts like Wise Guy Reports.
Durability for Trades and Services
Let's face it, a paper sticker won't last five minutes on a digger or the side of a work ute. Tradies and service-based businesses operate in the real world, exposed to mud, rain, and harsh Kiwi sun. This is exactly where the toughness of professionally printed vinyl stickers comes into its own.
Laminated, weatherproof vinyl is the only sensible choice for:
- Vehicle and Fleet Branding: A clean logo and contact details on a van turn every trip to the job site or supply store into a marketing opportunity.
- Tool and Equipment Labelling: Brand your expensive gear, slap on critical safety warnings, or add service info that won’t fade or peel off after a few hard weeks.
- Service Reminders: Electricians, plumbers, and heat pump installers often leave a small, durable vinyl sticker on the unit. It’s a genius way to ensure the customer knows exactly who to call next time.
For any job where your brand has to brave the elements, a high-quality, weatherproof vinyl sticker isn’t a nice-to-have—it’s essential. Think of it as a small investment that protects your professional image, no matter what the weather throws at it.
Impact and Organisation for Events
Whether it’s a corporate conference or a local music festival, events are all about clear communication and creating a vibe. Vinyl stickers are a surprisingly affordable and flexible way to nail both. Organisers use them for everything from practical signage to fun giveaways that people actually want to keep.
A conference, for example, could use removable vinyl name tags that stick to any fabric without leaving gunk behind. At the same time, a food festival might hand out awesome die-cut stickers of its logo. People stick them on their phones and drink bottles, sharing photos online and turning every attendee into a brand ambassador. It just goes to show how adaptable printing vinyl stickers can be for any occasion.
Vinyl Sticker Applications by Industry in NZ
To give you a clearer picture, we've broken down how different New Zealand sectors are using custom vinyl stickers to their advantage. From branding and safety to pure promotion, their applications are incredibly diverse.
| Industry | Common Application | Recommended Vinyl Type | Key Benefit |
|---|---|---|---|
| Retail & Hospitality | Window graphics, product labels, loyalty cards | Removable or Permanent Vinyl | High-impact branding, drives sales |
| Trades & Construction | Vehicle branding, tool labels, safety warnings | Laminated Weatherproof Vinyl | Extreme durability, professional image |
| Real Estate | "For Sale" sign details, open home directions | UV-Resistant Vinyl | Weather resistance, clear communication |
| Events & Entertainment | Giveaways, name tags, directional signage | Die-Cut or Kiss-Cut Vinyl | Memorable promotion, cost-effective |
| Healthcare & Medical | Equipment labels, informational notices, patient charts | Easy-to-clean Permanent Vinyl | Clarity, hygiene, long-lasting information |
| Food & Beverage | Packaging labels, bottle branding, floor decals | Food-Safe Laminated Vinyl | Premium look, brand recognition |
As you can see, the right sticker, made from the right material, can do a specific and important job for almost any business. It’s all about matching the sticker's features to the task at hand.
Let's Get Your Stickers Made: Working with SONI DESIGN
You've got the technical basics down, but actually getting your stickers printed shouldn't feel like a chore. That's where we come in. Working with a dedicated local printer like SONI DESIGN means you can skip the guesswork and get a finished product that looks fantastic and lasts. We handle the tricky stuff, so you can focus on your business.
Think of it as a partnership. We're here to walk you through the entire process, from that first spark of an idea to holding a stack of vibrant, perfectly cut stickers in your hands. We’ve designed our process to be simple, supportive, and efficient, ensuring your vision comes to life exactly as you imagined.
Your Simple Path to Custom Stickers
We’ve boiled down the journey into four easy steps. Our workflow is completely transparent, so you’ll always know what’s happening with your order. Our mission is to make professional printing straightforward and stress-free for every Kiwi business.
Here’s a look at how we get it done:
- Get Your Quote: It all starts with a chat. Reach out with your project details – the size, shape, quantity, and your design ideas. We'll come back to you with a clear, itemised quote with no hidden costs, explaining how things like quantity can bring your cost-per-sticker down.
- Submit Your Artwork: Once you're happy with the quote, it's time to send over your print-ready design files. Our team personally reviews every single file, checking for anything that might cause issues on the press. This pre-flight check catches potential problems before they happen.
- Approve Your Proof: Before we print anything, we’ll send you a digital proof. This is your final chance to see exactly how your sticker will look, complete with cut lines. You can check every detail and give us the green light with total confidence.
- Production and Delivery: With your approval, we fire up the machines! Your stickers are printed, laminated, and cut with precision. We then carefully package them up and ship them straight to your door, ready to be peeled and stuck.
Why Partner with a Local NZ Printer?
It’s true that the wider printing industry in New Zealand has seen some changes, with revenue forecast to be around NZD 1.4 billion for 2025. But specialised areas are booming. The demand for high-quality, custom products has created real growth in niches like vinyl sticker printing, which remains a strong and vibrant part of the market. You can dive deeper into these trends by checking out the full printing industry report for New Zealand.
When you work with a local expert like SONI DESIGN, you get benefits that you just can't find with faceless online printers. We're on the ground here, we understand the needs of Kiwi businesses, and we offer a personal touch that makes a real difference.
Choosing a professional printer isn't just about handing off a job; it's about getting a partner invested in your success. We bring our expertise to your project, ensuring a level of quality, durability, and polish that DIY methods simply can't compete with.
Our hands-on approach means we obsess over every detail, from getting the colours just right to ensuring every cut is perfect. We work to your deadlines, getting your project done efficiently without ever cutting corners. Let us handle the technical side of things, so you can get a final product that does your brand proud.
Common Questions About Printing Vinyl Stickers
Getting into the world of custom stickers can definitely spark a few questions. To help you feel confident about your project, we’ve put together answers to some of the queries we get asked the most. Think of this as your cheat sheet for getting your vinyl sticker printing just right.
How Long Do Vinyl Stickers Last Outdoors in NZ?
This really comes down to the quality of the materials. A top-notch vinyl sticker, properly protected with a UV laminate, can easily stand up to New Zealand’s harsh sun and wild weather for 3 to 7 years.
The secret lies in the combination of durable vinyl, a strong laminate, and fade-resistant inks like UV-cured or solvent types. Without that protective layer, you'd see fading much, much sooner.
What’s the Difference Between Kiss Cut and Die Cut?
The main difference is all in the backing paper. It's a simple concept but makes a big difference in how you use the sticker.
- A kiss cut is a light cut that goes through the vinyl layer only, leaving the backing paper whole. This is perfect for sticker sheets, letting you peel off different designs from one page.
- A die cut, however, cuts clean through both the vinyl and the backing paper. This gives you a custom-shaped sticker that's perfect for giveaways or as a standalone product.
Think of it like this: a kiss cut just scores the sticker itself, while a die cut is like a cookie cutter, stamping out the entire shape, backing and all. Both look fantastic; it just depends on whether you want a sheet or individual stickers.
Can You Write on Vinyl Stickers?
You sure can, but the finish you pick is crucial. A matte finish is your best bet by far. Its slightly textured surface gives the ink from a permanent marker or pen something to grab onto.
Trying to write on a gloss finish is a recipe for smudges. The ink just sits on top of the slick surface and won't dry properly. If you need to write on your stickers – say, for labelling products or adding dates – a matte laminate is absolutely the way to go.
What Is a Typical Minimum Order Quantity?
This has changed a lot over the years. Thanks to modern digital printing, those huge minimum orders are often a thing of the past. We can now do much smaller, more flexible print runs, which opens up custom stickers to everyone, from small businesses to large-scale events.
Here at SONI DESIGN, we can handle orders of all sizes. It's good to remember, though, that the price per sticker gets a lot better the more you order. Setting up the printer is the same for 50 stickers as it is for 500, so bigger quantities are always more cost-effective. The best move is to get in touch for a custom quote based on what you need.
Ready to bring your sticker ideas to life with a team that's all about quality? At SONI DESIGN, we're here to guide you through every step and make sure you get a result you'll be proud of. Get a free quote for your custom vinyl stickers today!
Leave a Comment
Stay home & get your daily
needs from our shop
Start You'r Daily Shopping with Nest Mart