
Your cart is currently empty.
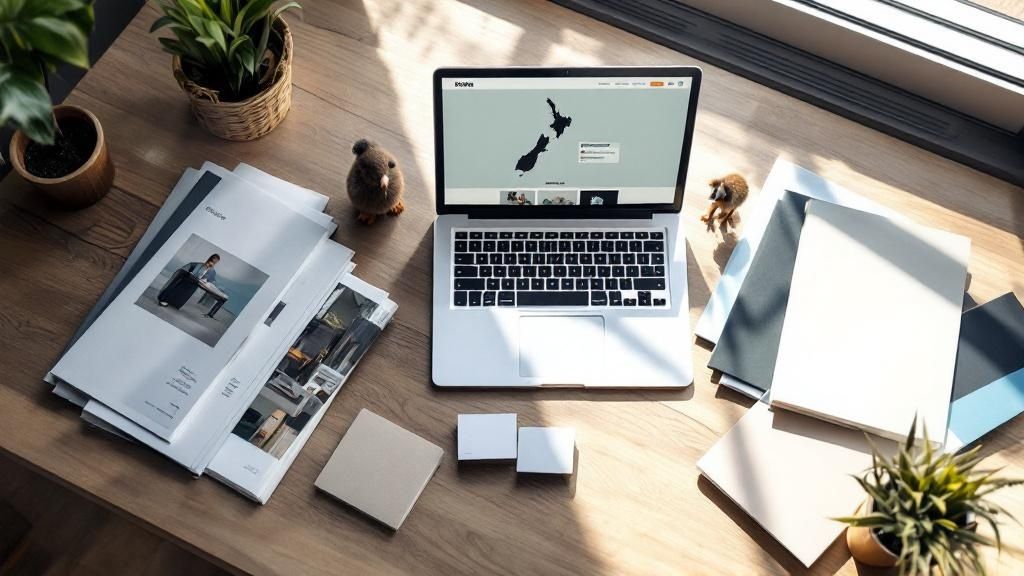
More and more Kiwi businesses are turning to online printing to get their marketing materials sorted, and for good reason. From business cards to massive banners, it’s become the go-to way to get professional results without the hassle. It offers unbeatable convenience and competitive pricing, letting you run the whole show from your desk and get the finished goods delivered right to your doorstep.
Why More Kiwi Businesses Are Printing Online
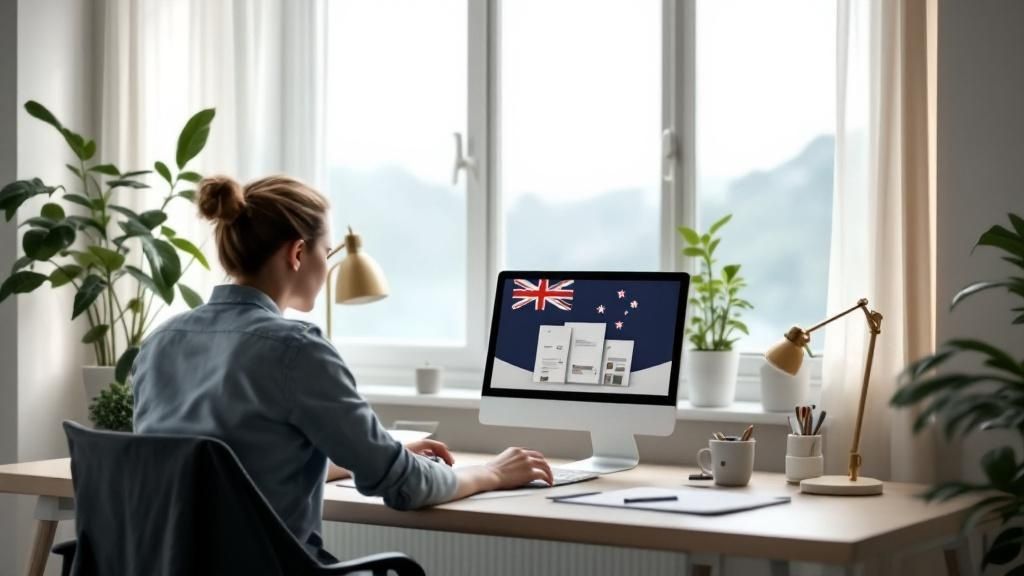
The move from the old-school print shop down the road to online platforms isn't just a fleeting trend. It's a real shift in how we do business. Think of it like swapping a trip to the local video store for Netflix—the convenience, choice, and sheer efficiency are on another level. For businesses of all sizes, online printing services have become an incredibly accessible and powerful tool.
This digital evolution has certainly shaken up New Zealand's printing scene. In the five years before 2023, the industry's revenue actually dropped by an average of 4.8% each year. A big part of that is down to how efficient and appealing the online alternatives are. As businesses look for digital-first ways of working, the need for flexible, on-demand printing keeps climbing, especially for things like custom packaging for e-commerce stores. You can dig deeper into the numbers in this NZ printing market analysis.
The Core Advantages of Online Printing
For any business in New Zealand, the perks of taking your printing needs online are pretty clear right from the get-go. It gets rid of location barriers and makes the entire process, from design to delivery, a whole lot smoother.
Here are the key wins:
- Cost-Effectiveness: Online printers generally have lower overheads, and that saving gets passed on to you. It's easy to shop around and compare prices to find a deal that suits your budget without skimping on quality.
- Unmatched Convenience: Being able to upload your designs, pick your paper, and place an order any time of day is a game-changer. No more trying to schedule appointments or driving across town.
- Greater Product Selection: Digital storefronts can offer a massive catalogue of products all in one spot, from your standard flyers and posters to all sorts of custom promotional gear.
By using online platforms, you get to sit in the driver's seat for your printing projects. This control means you can make exact choices on every little detail, making sure the final product is a perfect match for your brand's vision.
From Concept to Delivery: A Step-by-Step Process
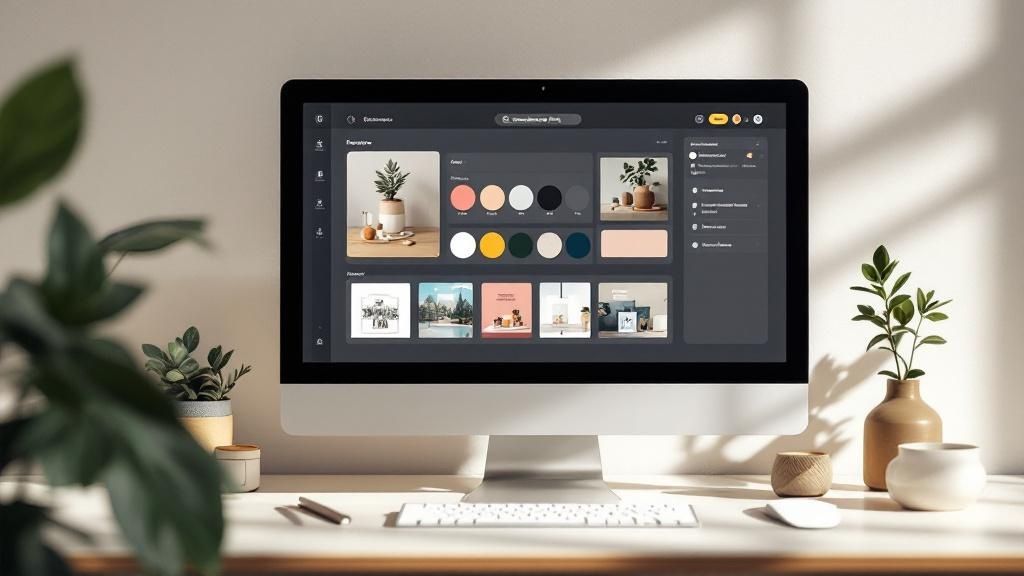
Ordering your marketing materials online might feel a bit daunting at first, but it’s actually a surprisingly straightforward journey. Think of it less like some complex technical task and more like ordering a custom coffee—you just need to pick your size, type, and any extras before it’s made exactly to your liking. The best printing online NZ services are designed to be user-friendly, guiding you from that initial idea to a box of professional, polished products landing on your doorstep.
The whole thing really boils down to three main phases: selection, upload, and confirmation. Each step logically builds on the last, putting you in complete control of the final outcome without needing to be a design whiz.
To give you a clear picture, here's a simple visual guide that shows the basic workflow for getting your prints done online.
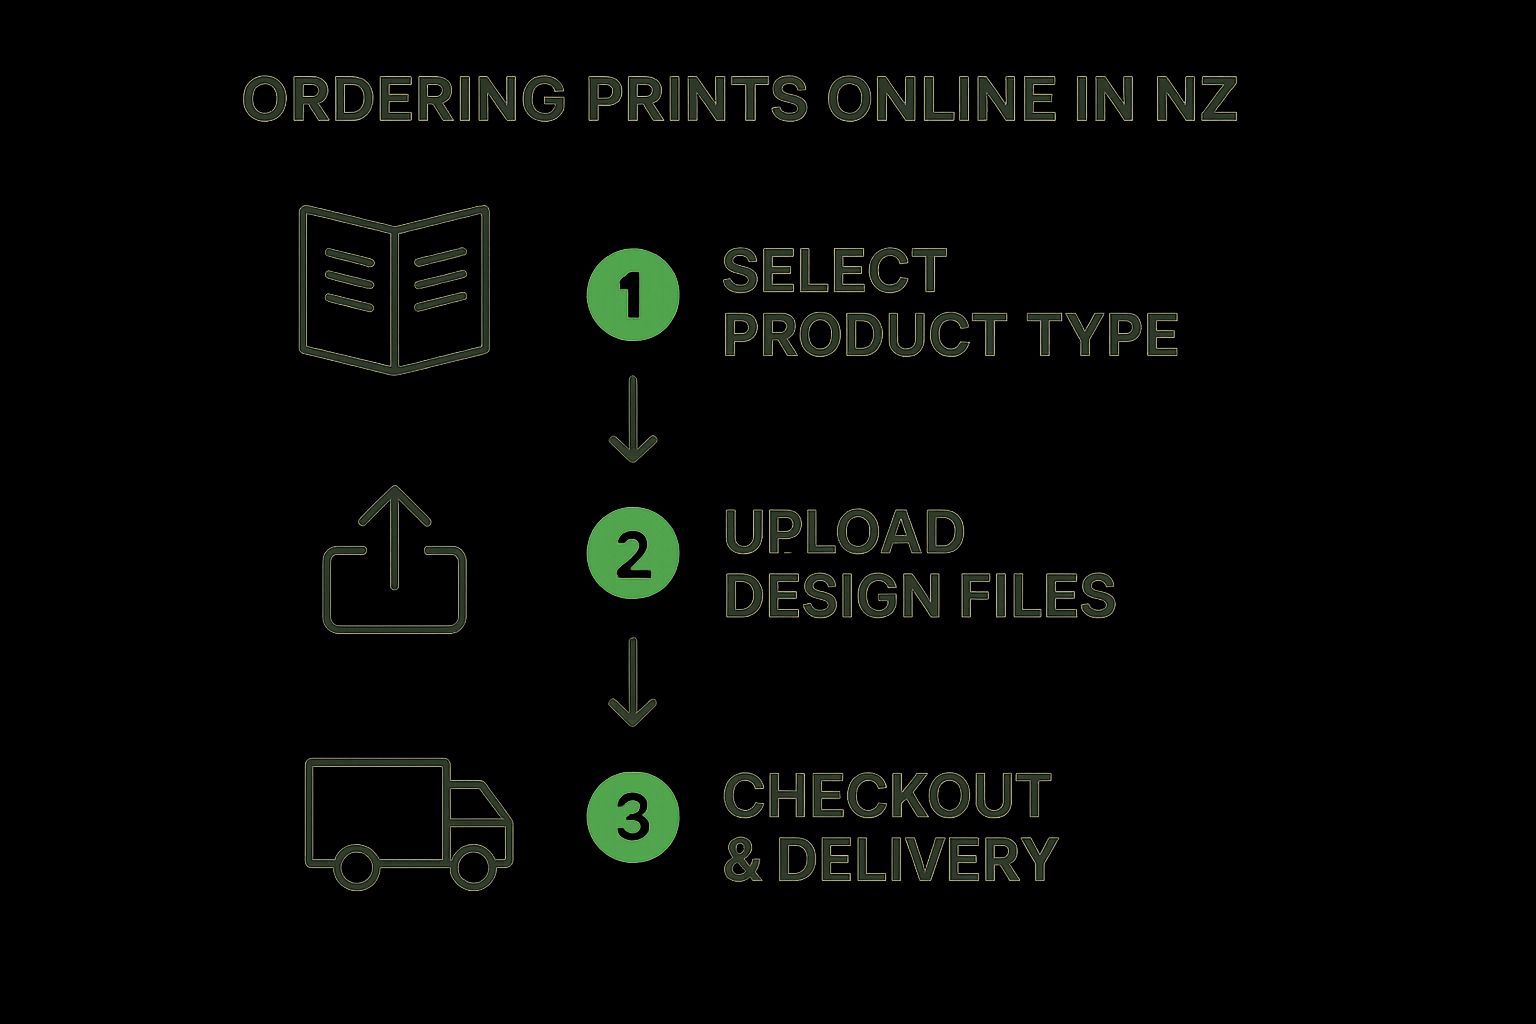
As you can see, it's a simple progression: choose what you need, supply your design, and then lock in the delivery details. Easy as.
Step 1: Select Your Product and Specifications
First things first, you need to decide what you want to create. This is where you’ll browse the online catalogue to find the perfect product for your goal, whether that’s business cards for a networking event, flyers for a local letterbox drop, or slick brochures for your sales team.
Once you've picked your product, you get to customise it. This is the fun part, where your vision starts to become a tangible thing. You’ll be asked to make a few key decisions that will directly shape the look, feel, and price of your final prints.
Here are the key specs you'll need to choose:
- Size: Pick from standard dimensions like A4 for flyers or DL for brochures, or you can often enter custom measurements if you have something specific in mind.
- Quantity: How many do you need? A good tip to remember is that ordering in larger quantities almost always brings down the price per item.
- Paper Stock: This is all about the paper's weight and type. You'll have options ranging from a light 150gsm (grams per square metre) for simple flyers to a sturdy, premium 350gsm for business cards that make a real statement.
- Finish: This is the coating applied to the paper after printing. The most common choices are gloss (shiny and vibrant), matte (smooth and non-reflective), or uncoated for a more natural, raw texture.
Getting these choices right is like laying the foundation for a house—it ensures the rest of the project goes off without a hitch.
Step 2: Upload Your Artwork
With your product specs locked in, it's time to provide your design. This is the point where you upload your "print-ready" artwork file. Most online printers in NZ happily accept common file formats like PDF, AI, or high-resolution JPEGs.
This step is absolutely critical for getting a high-quality result. Your uploaded file is the blueprint the printer will follow, so it needs to be set up correctly to avoid any nasty surprises like blurry images or off-brand colours.
Think of your artwork file as a precise recipe. If an ingredient is missing or a measurement is wrong, the final dish just won't turn out as you'd hoped. The same logic applies to printing; a well-prepared file is your ticket to a perfect result.
Uploading is usually a breeze, often with a simple drag-and-drop tool on the website. Many platforms will also show you a digital proof, which is a final preview of how your artwork will look once printed. Always review this proof carefully—it’s your last chance to catch any mistakes before you give the final thumbs-up.
Step 3: Finalise and Confirm Your Order
The last stage is the checkout. Here, you'll get a final summary of your order, detailing everything you've selected, from the product and quantity to your chosen paper and finish. Take a moment to double-check that every single detail is exactly as you want it.
Next, you'll provide your delivery address—anywhere in New Zealand—and choose a shipping option. Most printers offer both standard and express delivery, so you can pick what best suits your timeline and budget.
After popping in your payment details, you’ll get an order confirmation emailed to you. This email will usually include an estimated delivery date, giving you a clear idea of when to expect your new materials. From there, you can sit back and relax while the printer takes over, bringing your digital concept to life.
Choosing the Right Paper Stocks and Finishes
The jump from a digital design to a physical product is where the real magic happens. Your choice of paper and finish is at the heart of that transformation—it’s what your customers will see, touch, and remember.
This is what separates an average print job from one that feels truly professional. Think of the paper as the foundation of your project. A flimsy business card feels cheap, but a thick, sturdy one instantly conveys quality and confidence. When you're looking at printing online NZ, getting your head around a few key terms will help you make choices that perfectly suit your brand.
Decoding Paper Weight: GSM Explained
You’ll see the term GSM everywhere. It stands for Grams per Square Metre, and it's simply a measure of the paper's density and weight. The higher the GSM number, the thicker, heavier, and more durable the paper will be.
It’s the difference between a flimsy sheet of office paper (around 80-100 GSM) and a premium wedding invitation (often 300-400 GSM). You feel the quality straight away. The right GSM sets the tone before a single word is even read.
To make this a bit easier, here’s a quick guide to what different paper weights feel like and what they’re typically used for here in New Zealand.
Choosing the Right Paper GSM for Your Project
| GSM Range | Description | Common Uses | Feel & Durability |
|---|---|---|---|
| 90-120 GSM | Lightweight and flexible, similar to standard office paper. | Internal documents, notepads, letterheads, basic flyers. | Thin and very flexible. Not ideal for double-sided prints where ink might show through. |
| 130-170 GSM | A noticeable step up in quality and thickness. | Posters, professional flyers, takeaway menus, booklet pages. | Feels more substantial and professional. A popular, cost-effective choice. |
| 200-300 GSM | A heavier, more card-like stock. | High-quality brochures, booklet covers, art prints, premium flyers. | Sturdy with a quality feel, offering good rigidity and durability. |
| 300-400+ GSM | The premium end of the scale, very thick and stiff. | Business cards, invitations, postcards, presentation folders. | Feels substantial and luxurious, making a strong, lasting impression. |
Picking the right weight is always a bit of a balancing act between your project's purpose and your budget. For a flyer that’s going to be handed out widely, a 150 GSM stock is often perfect. But for a business card that needs to land with impact, investing in a 350 GSM or higher stock is a very smart move.
Coated vs. Uncoated Paper Stocks
Beyond the weight, the surface of the paper plays a huge role in the final look. The main decision you’ll face is whether to go with a coated or an uncoated stock.
-
Coated Stocks: These papers have a sealant applied to the surface, which smooths it out and makes it less porous. This is why colours look so much sharper and more vibrant on coated paper. They generally come in two main flavours:
- Gloss: Shiny and reflective, a gloss finish makes photos and bright colours really pop. It’s perfect for promotional flyers, photo prints, and magazine covers where you want maximum visual impact.
- Matte (or Silk): This finish is smooth but with no shine, giving you a more subtle, sophisticated look. It’s a fantastic choice for brochures, reports, and business cards because it doesn’t show fingerprints as easily as gloss.
-
Uncoated Stocks: This is paper in its natural state—just the fibres, no coating. It has a slightly textured, porous surface that absorbs ink, giving colours a softer, warmer feel. It’s also super easy to write on, making it the go-to for letterheads, notepads, and appointment cards. People often choose uncoated stock for a more organic, rustic, or eco-friendly vibe.
Your choice between gloss, matte, and uncoated is a direct reflection of your brand's personality. A vibrant tech startup might lean towards a high-gloss finish, while an artisanal bakery may prefer the natural feel of an uncoated stock.
Adding the 'Wow' Factor with Special Finishes
If you really want your print materials to stand out from the crowd, special finishes can take your design from great to unforgettable. These are extra processes applied after printing that add texture, shine, and a premium feel.
Sure, they add a bit to the cost, but the return can be massive when you need to make a powerful first impression.
Consider these popular options for your next project:
- Lamination: This is where a thin plastic film is sealed onto the surface. It offers brilliant protection against wear and tear while making the colours look richer. You can get both gloss and matte lamination, making it perfect for things like business cards, menus, and book covers that need to last.
- Spot UV: This is a cool one. A high-gloss UV coating is applied to specific areas of your design—like your logo or a headline. The contrast between that shiny spot and the matte paper around it creates a striking visual and tactile effect that people can't help but touch.
- Foiling: A thin metallic foil (usually gold, silver, or copper) is pressed onto parts of your design using heat. It adds an immediate touch of luxury and sophistication, making it ideal for high-end invitations and premium business cards.
By thinking carefully about the GSM, paper type, and any special finishes, you can make sure your next online printing project in NZ delivers a product that not only looks fantastic but also feels just right.
Getting Your Artwork Ready for a Flawless Print
Getting your file ready for the printer is easily the most critical step in the whole process. Think of your artwork file as the detailed architectural plans for a building—if the plans are wrong, the final structure is going to have problems. Nailing your file setup from the get-go is the secret to avoiding common (and costly) mistakes like fuzzy images, weird colours, or important details getting chopped off.
Don't worry, this isn't as complicated as it sounds. We'll walk through the essentials in plain English. Once you've got these basics down, you'll be able to make sure the brilliant design on your screen translates perfectly onto paper, every single time.
Resolution: The Secret to Sharp, Crisp Images
Ever seen a printed photo that looked blurry or jagged? That’s almost always a resolution problem. Resolution is measured in DPI, or Dots Per Inch. It’s simply the number of tiny ink dots a printer crams into a one-inch line.
Your computer screen looks perfectly fine at 72 DPI. But for print, that’s nowhere near enough information. Printing needs a much higher density of dots to create those sharp, clean details you expect from professional quality.
The gold standard for high-quality printing is 300 DPI. If you send a file with a lower resolution, especially one with photos, you're almost guaranteed to get a blurry, pixelated result. Always double-check that your images are set to 300 DPI at their final print size before you save your file.
Understanding Your Colours: CMYK vs. RGB
This is another classic trip-up. Your monitor, phone, and digital camera all create colour using the RGB model—Red, Green, and Blue light. It’s an additive process, meaning light is mixed together to make different colours. When all three are combined at full strength, you get white.
Commercial printers are completely different. They use the CMYK model: Cyan, Magenta, Yellow, and Key (which is Black). This is a subtractive process. Ink is layered onto paper, absorbing (or subtracting) light. The colours we see are the light waves that bounce back.
Because these two systems work in opposite ways, an image created in RGB will look different when printed. Those bright, glowing colours on your screen can often look a bit dull or flat on paper. The solution? Design and save your artwork in CMYK mode right from the start. It gives you a much more accurate preview of how the final colours will actually look.
Bleed: The Safety Margin You Can't Afford to Skip
Picture a huge stack of paper being sliced by an industrial guillotine. No matter how precise the machine is, there’s always going to be a tiny, microscopic shift as the blade comes down. If your design has colour running right to the edge, that tiny shift can leave an ugly sliver of white along the border.
That’s where bleed comes in. Bleed is simply a safety margin you add around your design by extending your background colour or image past the final trim line.
- The NZ Standard: Most online printers here require a 3mm bleed on all sides of your artwork.
- How it Works: So, if you're designing an A4 flyer (210mm x 297mm), your actual file size needs to be 216mm x 303mm.
- The Result: That extra 3mm on each side gets trimmed off after printing. This ensures your colour goes perfectly to the very edge, with no risk of those nasty white borders.
Forgetting to add bleed is one of the top reasons files get sent back by printers. Always check the specific requirements and build it into your file setup.
Your Final Print-Ready Checklist
Before you hit that upload button, give this list a quick once-over. Getting these details right will save you a world of time, money, and hassle, making your whole printing online NZ experience a breeze.
- Correct File Format: A high-quality PDF (Portable Document Format) is what every printer wants to see. It’s a self-contained package that locks in all your fonts, images, and layouts, so nothing changes or goes missing when they open it.
- Embed Your Fonts: If you can't supply a PDF, make sure you embed or outline your fonts. If the printer doesn’t have the exact font you used, their system will swap it for a default one, which can completely mess up your design. Outlining turns your text into fixed shapes, so it can’t be changed.
- Check Image Links: Are all the images in your design properly embedded in the final file? A broken link means the printer will either see a blank box or a low-resolution placeholder.
- Proofread and Check Margins: Give your text one last read for typos. Just as important, keep your key text and logos at least 5mm away from the trim line. This "safe area" guarantees nothing important gets accidentally sliced off.
These technical details are a crucial part of the puzzle. They tie into the bigger picture of how printing in New Zealand is changing. The move from old-school offset to modern digital printing has made high-quality prints more accessible and faster than ever. It also supports more sustainable practices, with many printers now offering eco-friendly inks and recycled paper options. It's all part of a modern approach to business driven by technology and a lighter environmental footprint. You can discover more insights about the key trends impacting NZ businesses on aaband.co.nz.
Understanding Print Costs and Turnaround Times
Getting a handle on costs and delivery dates is the secret to a stress-free print project. When you're looking at printing online NZ, the price you see isn't just pulled out of thin air; it’s a direct reflection of the choices you make for your job. If you know what drives the price, you can balance your budget and deadline like a seasoned pro.
It’s a bit like ordering a custom-built piece of furniture. The basic model has a starting price, but as you choose a premium timber, add intricate carvings, or ask for it to be delivered urgently, the final cost and wait time will naturally adjust. Printing works the same way.
What Influences Your Final Print Cost
A few key factors come together to build your final quote. Understanding them means you can tweak your order to hit that sweet spot between what you want and what you can afford, without cutting corners on the important stuff.
Here’s a breakdown of what really moves the needle on pricing:
- Order Quantity: The bigger the print run, the cheaper each individual item becomes. This is all down to economies of scale—the setup cost gets spread thinly across a larger number of units, bringing the per-item price right down.
- Paper Stock and Weight: This is a big one. A thick, premium 350 GSM card stock will always cost more than a standard, flexible 150 GSM paper used for flyers. The raw material is a fundamental part of the cost.
- Special Finishes: Want to add a bit of flair? Things like lamination, spot UV, or metallic foiling look fantastic but require extra machine time and materials, which nudges the price up.
- Print Size and Complexity: A standard A5 flyer is straightforward and cost-effective. A large, custom-shaped brochure with several folds, on the other hand, requires more intricate work and will be priced accordingly.
Knowing this gives you control. If the budget is tight, you might choose a slightly lighter paper stock or hold off on the fancy finishes. This can free up funds to order a larger quantity, which in turn gives you a much better price per unit.
The Power of Economies of Scale
If there's one concept to get your head around in printing, it's economies of scale. Every print job has fixed setup costs—calibrating the press, preparing the printing plates, and running a few test sheets. That cost is the same whether you’re printing 50 brochures or 5,000.
This is why bulk orders are so much more cost-effective.
With a small run of 50, that entire setup cost is divided by only 50 items, making each one feel quite expensive. But when you order 5,000, that same cost is spread so thin it’s barely noticeable on a per-item basis. Suddenly, the price for your 5,000th brochure is a fraction of what your 50th would have cost.
Distinguishing Production Time from Shipping Time
Here's something that trips people up all the time: the difference between production time and shipping time. They are two separate stages of the process, and you absolutely need to factor in both to meet your deadline.
1. Production Time (or Turnaround Time) This is how long the printer needs to actually create your order. The clock starts ticking once your artwork is approved and payment is sorted. It covers the printing itself, plus any cutting, finishing, and packing. A standard job might take 3-5 business days, but more complex work will take longer.
2. Shipping Time This is the journey from the printer's warehouse to your doorstep anywhere in New Zealand. It only begins after the production is finished. How long it takes depends on where you are and the courier service you pick.
So, if a printer quotes a 3-day production turnaround and you choose a standard 2-day shipping option, your total wait time from placing the order will be at least 5 business days.
Most online printers will give you options to fit your schedule:
- Standard: The cheapest option, perfect when you’re not in a rush.
- Express: A faster service for production, shipping, or both. It costs a bit more but is a lifesaver for tight deadlines.
Always, always check the estimated delivery date at checkout. It should combine both the production and shipping estimates, giving you a clear, realistic idea of when your box of beautiful new print will arrive. No nasty surprises.
How to Choose the Best Online Printer in NZ
Picking the right online printer in New Zealand is a lot like choosing any key supplier for your business. Get it right, and you get quality and reliability you can count on. Get it wrong, and you’re in for some serious headaches. With so many options out there, it pays to know what to look for.
A great place to start is their product range. Can they print what you need right now, and what about future projects? A solid partner will have a deep catalogue, covering everything from the basics like business cards and flyers to more specialised gear like presentation folders or custom promotional products. This makes keeping your brand consistent across all your marketing a whole lot easier.
Look at Customer Feedback and Support
Next up, do a bit of detective work and check out their customer reviews. Don't just stick to the glowing testimonials on their homepage; dig into independent platforms to get the full story. Keep an eye out for comments on print quality, colour accuracy, and—most importantly—how they handle things when they don't go to plan.
Tied directly to this is the quality of their customer support. Before you commit to a big order, give them a test run. Shoot them an email or give them a call with a question. Are they quick to respond? Do they know their stuff? And are they actually based in New Zealand? Good, local support is worth its weight in gold when you're in a jam or just need a bit of advice on your artwork.
You really see a printer's true colours not when an order goes perfectly, but when they have to fix a mistake. A company with accessible, helpful Kiwi-based support shows they’re invested in their customers, not just the transaction.
Check Out Their Website and Order a Sample Pack
The vibe of their website tells you a lot. A well-designed, easy-to-use site makes the whole process a breeze. You want clear pricing, simple upload tools, and no mysteries about turnaround times. If you find yourself clicking around in confusion, it might be a red flag for their overall attention to detail.
Finally, here’s a pro tip: order a sample pack. Seriously, it’s one of the smartest things you can do. It’s your chance to get your hands on their work. You can feel the different paper stocks, check the print quality with your own eyes, and see how the various finishes look in person. It’s a tiny investment that gives you a massive amount of confidence before you splash out on a bigger order.
Choosing a local, NZ-based printer comes with some real perks, too. You'll get faster shipping, you can actually talk to someone during your business hours, and you'll be supporting the local economy. The New Zealand printing scene is a lively one, with around 775 printing businesses running as of 2025. While that number has shifted with the move to digital, going local helps keep this important industry humming. You can find more insights on the state of NZ printing businesses on IBISWorld.
By weighing up all these factors, you’ll be in a great position to pick an online printer you can truly rely on.
Your Online Printing Questions, Answered
Jumping into online printing for the first time can feel like learning a new language. There are a few technical terms and concepts that pop up, but don't worry—they're much simpler than they sound. We get these questions a lot from our fellow Kiwis, so let's clear them up.
Think of this as your cheat sheet to getting your head around the lingo, so you can order with confidence.
What's the Difference Between CMYK and RGB?
Ever noticed how colours on your screen can look slightly different when printed? That's the difference between RGB and CMYK.
RGB (Red, Green, Blue) is the colour system for screens. Your phone, laptop, and TV all mix red, green, and blue light to create the vibrant images you see. On the other hand, commercial printers use CMYK (Cyan, Magenta, Yellow, Black), which involves layering these four ink colours onto paper.
To make sure your final print looks just as you intended, it’s a non-negotiable step to set up your design files in CMYK mode from the start.
What Does Print Bleed Mean and Why Do I Need It?
Bleed is a small, extra margin of your design (usually 3mm) that extends beyond the final trim edge. Since cutting a large stack of paper can have tiny variations, this bleed ensures that no unprinted white edges appear on your finished product after trimming. It’s a safety net for a professional, edge-to-edge finish.
Imagine you're printing business cards with a solid blue background. Without bleed, the cutting blade might shift by a fraction of a millimetre, leaving a tiny, unprofessional-looking white sliver along one edge. Bleed gives the printer that little bit of "colour outside the lines" to work with, guaranteeing a flawless result every time.
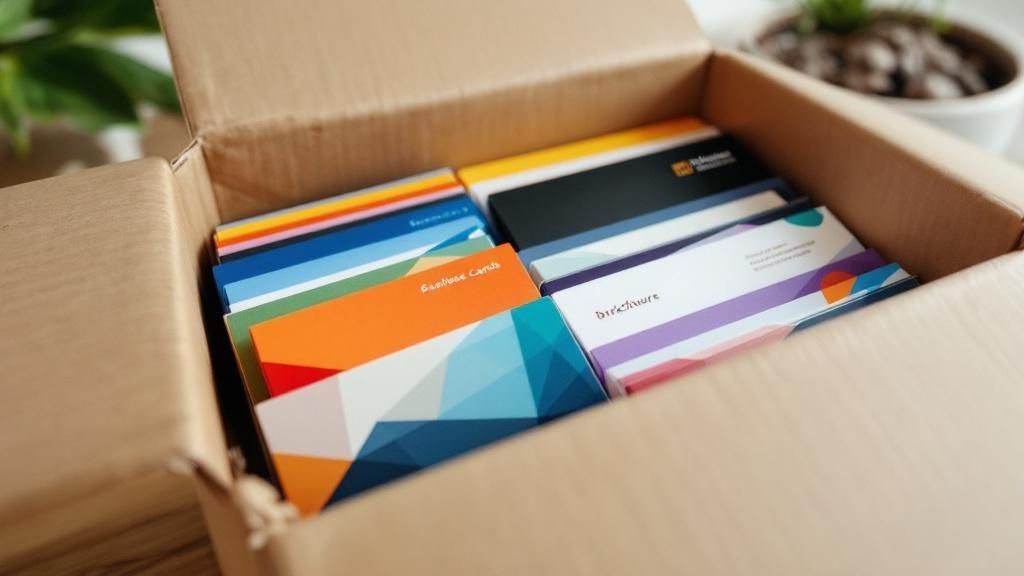
Can I Get a Sample Before Placing a Large Order?
Absolutely, and you definitely should! Any good online printer in New Zealand will happily send you a sample pack. These usually include swatches of their different paper stocks, weights, and finishes like gloss or matte.
Getting your hands on these samples is the best way to feel the quality for yourself and see how the different options look in person. It takes the guesswork out of choosing the perfect paper for your project.
At SONI DESIGN, we're passionate about bringing your vision to life with high-quality printing solutions. Explore our services and start your next project with us today at https://www.sonidesign.co.nz.
Leave a Comment
Stay home & get your daily
needs from our shop
Start You'r Daily Shopping with Nest Mart