
Your cart is currently empty.

Printing stickers here in NZ is a pretty straightforward way to bring your ideas to life. Whether you're creating marketing tools, product labels, or just something for fun, the whole process can be really rewarding.
The trick is knowing what you're doing before you start. You need to get your head around the different material options—from tough vinyl that’ll last on a ute bumper to eco-friendly paper for your packaging—and make sure your artwork is set up correctly for a perfect print. This guide will walk you through it all.
Your Guide to Printing Stickers in New Zealand
Turning a digital design into a stack of professional-quality stickers is an awesome feeling, especially for small businesses, artists, and event organisers across New Zealand. These days, modern printing tech has made it super accessible to get custom results without needing a huge budget or committing to a massive print run. A good place to start is understanding the difference between printing methods like digital vs. offset printing, as this affects how your stickers get made.
This guide is here to give you the confidence to nail every part of the process. We'll get into the key decisions you'll need to make, covering:
- Key Material Choices: How do you pick the right material and finish for what you need? We’ll look at what works best, whether it's for a tradie’s van or artisan jam jars.
- Artwork Essentials: I’ll give you simple, practical steps to get your design file print-ready and avoid common headaches like weird colours or blurry lines.
- The Ordering Process: A no-fluff breakdown of how to place an order with a Kiwi printer, from picking quantities to figuring out turnaround times.
The New Zealand printing label market, which is where custom stickers fit in, is always on the move. Local printers are known for jumping on new technology and having a real focus on sustainability. The market is actually tipped to grow by about 3.62% each year from 2025, and that growth is expected to continue right through to 2029. It's largely driven by all the awesome local food, beverage, and cosmetic businesses needing quality labels. You can dive deeper into these NZ printing market trends if you're interested.
Takeaway: At the end of the day, a successful sticker project comes down to three things: picking the right material, supplying a solid print-ready design, and knowing what to expect from the ordering process. Get these fundamentals right, and you'll get a great result every time.
Just follow the practical advice in the next few sections, and you'll be set to take your project from a cool idea to a finished product you can be proud of.
Choosing the Right Sticker Material and Finish
The material you pick is the very foundation of a great sticker. It doesn't just decide how your sticker looks and feels—it dictates how well it stands up to the job you've got for it. When you're looking to print stickers in NZ, the first big decision is usually between a tough, waterproof vinyl or a more classic paper stock.
For anything that needs to survive the great outdoors, vinyl is your best bet. Think about stickers for a tradie’s ute, a surfboard, or even a drink bottle that gets thrown in a bag every day. It’s built to last, fully waterproof, and UV-resistant, so your design won’t fade or peel after a few weeks in the Kiwi sun.
On the other hand, paper stickers are brilliant for indoor applications. They're a really cost-effective way to brand product packaging, slap a logo on takeaway bags, or create labels for a one-off event. They might not have the ruggedness of vinyl, but they bring a classic, organic feel that a lot of brands are after.
The whole process can seem like a lot at first, but it boils down to a few key decisions. This graphic gives you a quick snapshot of the things you'll need to think about, from materials to artwork, in the growing NZ sticker scene.
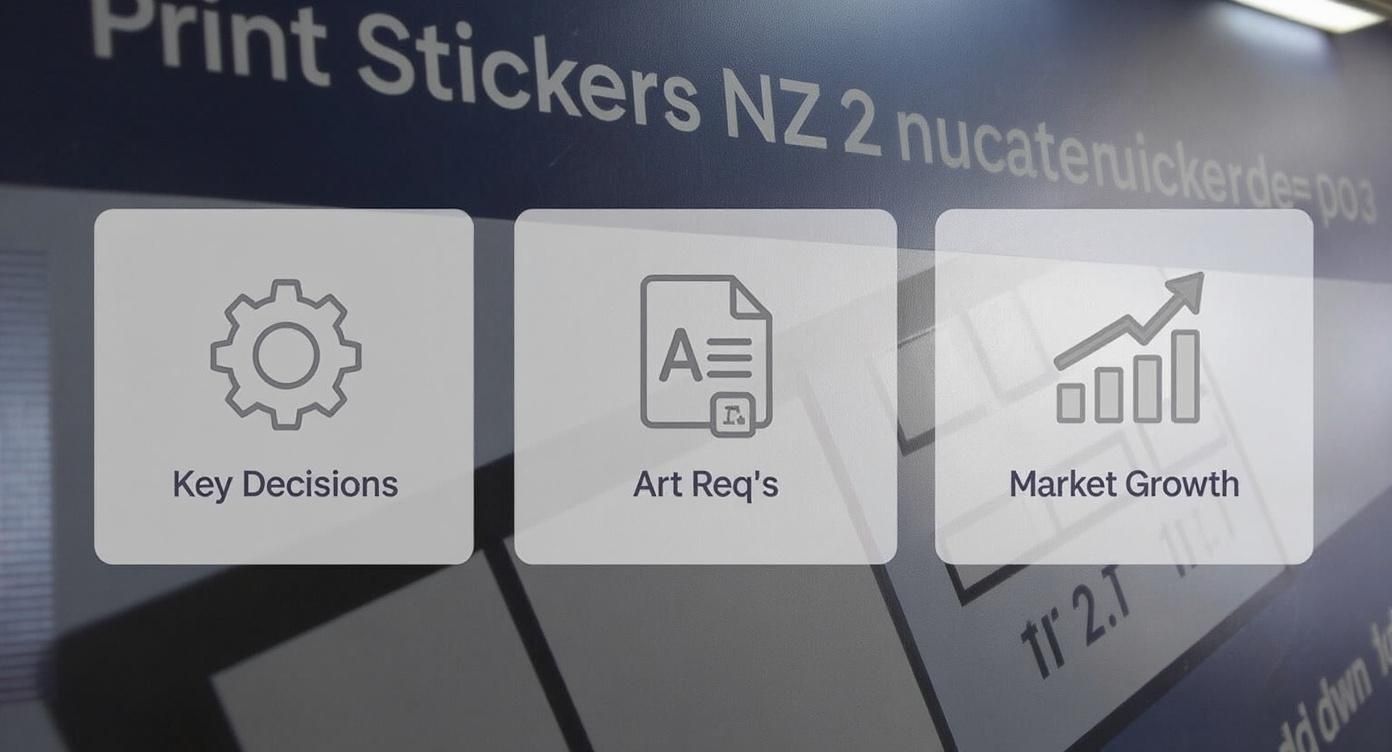
As you can see, getting a handle on a few core concepts—like choosing the right materials and prepping your art—is what really sets you up for a successful print run.
Diving Deeper into Materials
Beyond the standard vinyl and paper, local Kiwi printers offer some awesome specialty materials that can really make your design pop. Each one has its own unique vibe and purpose.
- Clear Vinyl: This is perfect for window decals or any time you want the design to look like it's printed directly onto a surface. Your artwork is the hero, with no background to get in the way.
- Holographic Vinyl: An absolute crowd-pleaser. This material has a stunning, rainbow-like shimmer that shifts with light and movement. It's a hugely popular choice for artists and brands wanting a premium, eye-catching finish.
- Metallic Vinyl: Think brushed silver or gold foil. This option adds a touch of class and sophistication, making it brilliant for high-end product labels or special edition merch.
We're seeing a real demand for more diverse and sustainable options here in New Zealand. This lines up with the boom in small businesses using e-commerce platforms that need affordable, customisable packaging. There's also a big push for sustainability; Kiwi consumers are often happy to pay a bit more for eco-friendly products, which is driving printers to offer more biodegradable and recyclable materials. You can find more global trends on the sticker market at verifiedmarketresearch.com.
Selecting the Perfect Finish
Once you've locked in your material, the last piece of the puzzle is the finish. This is a protective laminate that not only adds durability but also completely defines the final look and feel of your sticker.
To make it easier, here's a quick comparison of the most common options you'll find with NZ printers.
Sticker Material and Finish Comparison for NZ Businesses
| Material/Finish | Best For | Durability | Look and Feel |
|---|---|---|---|
| Gloss Vinyl | Bumper stickers, outdoor gear, vibrant art | High - UV and water-resistant | Shiny, reflective, makes colours pop |
| Matte Vinyl | Product labels, sophisticated branding, tech | High - Scuff-resistant and waterproof | Smooth, non-reflective, modern, and subtle |
| Satin Vinyl | All-purpose use, when you want balance | High - Hides fingerprints well | A gentle, low-sheen lustre |
| Holographic | Limited edition drops, artistic designs, branding | Medium to High | Iridescent, eye-catching, dynamic |
| Paper | Indoor packaging, short-term promotions | Low - Not water-resistant | Natural, classic, cost-effective |
Choosing the right finish is all about matching it to your brand's personality and the sticker's intended use.
A gloss finish adds a layer of shine that makes colours look richer and more saturated. It's also extra tough, making it the go-to for anything that will live outdoors.
A matte finish, by contrast, gives you a sophisticated, non-reflective surface. It feels smooth and modern to the touch and is fantastic for elegant product labelling where you want to avoid any glare.
Pro Tip: Always think about the environment where your sticker will end up. For a local coffee brand’s packaging, a matte or satin finish might feel more organic and premium. But for a local band’s bumper stickers, a high-impact gloss finish is going to grab more attention on the road.
At the end of the day, there’s no single "best" option—only what’s best for your specific project. By carefully matching the material and finish to your sticker's purpose, you can be sure the final product not only looks incredible but also performs perfectly.
Getting Your Artwork Ready for a Flawless Print
Getting your design file right is probably the single most important thing you can do to get stickers you'll love. I’ve seen it countless times: a brilliant design on screen just doesn't translate to the final printed product because of a few technical oversights. Let's walk through how to prepare your artwork so it looks just as good in your hand as it does on your monitor.
First up, we need to talk about file types. Understanding the difference between vector and raster is non-negotiable if you want a professional finish.
-
Vector Files (.AI, .EPS, .SVG): This is what you should always aim for. Think of vector graphics as being built from mathematical formulas, not pixels. This means they can be scaled up or down to any size—from a tiny 1cm sticker to a huge sign—and the lines will stay perfectly crisp and clean.
-
Raster Files (.JPG, .PNG): These are pixel-based images, like photos. They're fine for digital use, but when you try to enlarge them for printing, they can get blurry or "pixelated." If you absolutely have to use a raster file, make sure it’s high-resolution. The industry standard is 300 DPI (dots per inch) at the exact size you want it printed.
Honestly, providing a vector file makes everything smoother. It gives your printer the clean, scalable data they need for a razor-sharp print and a perfect cut line every single time.
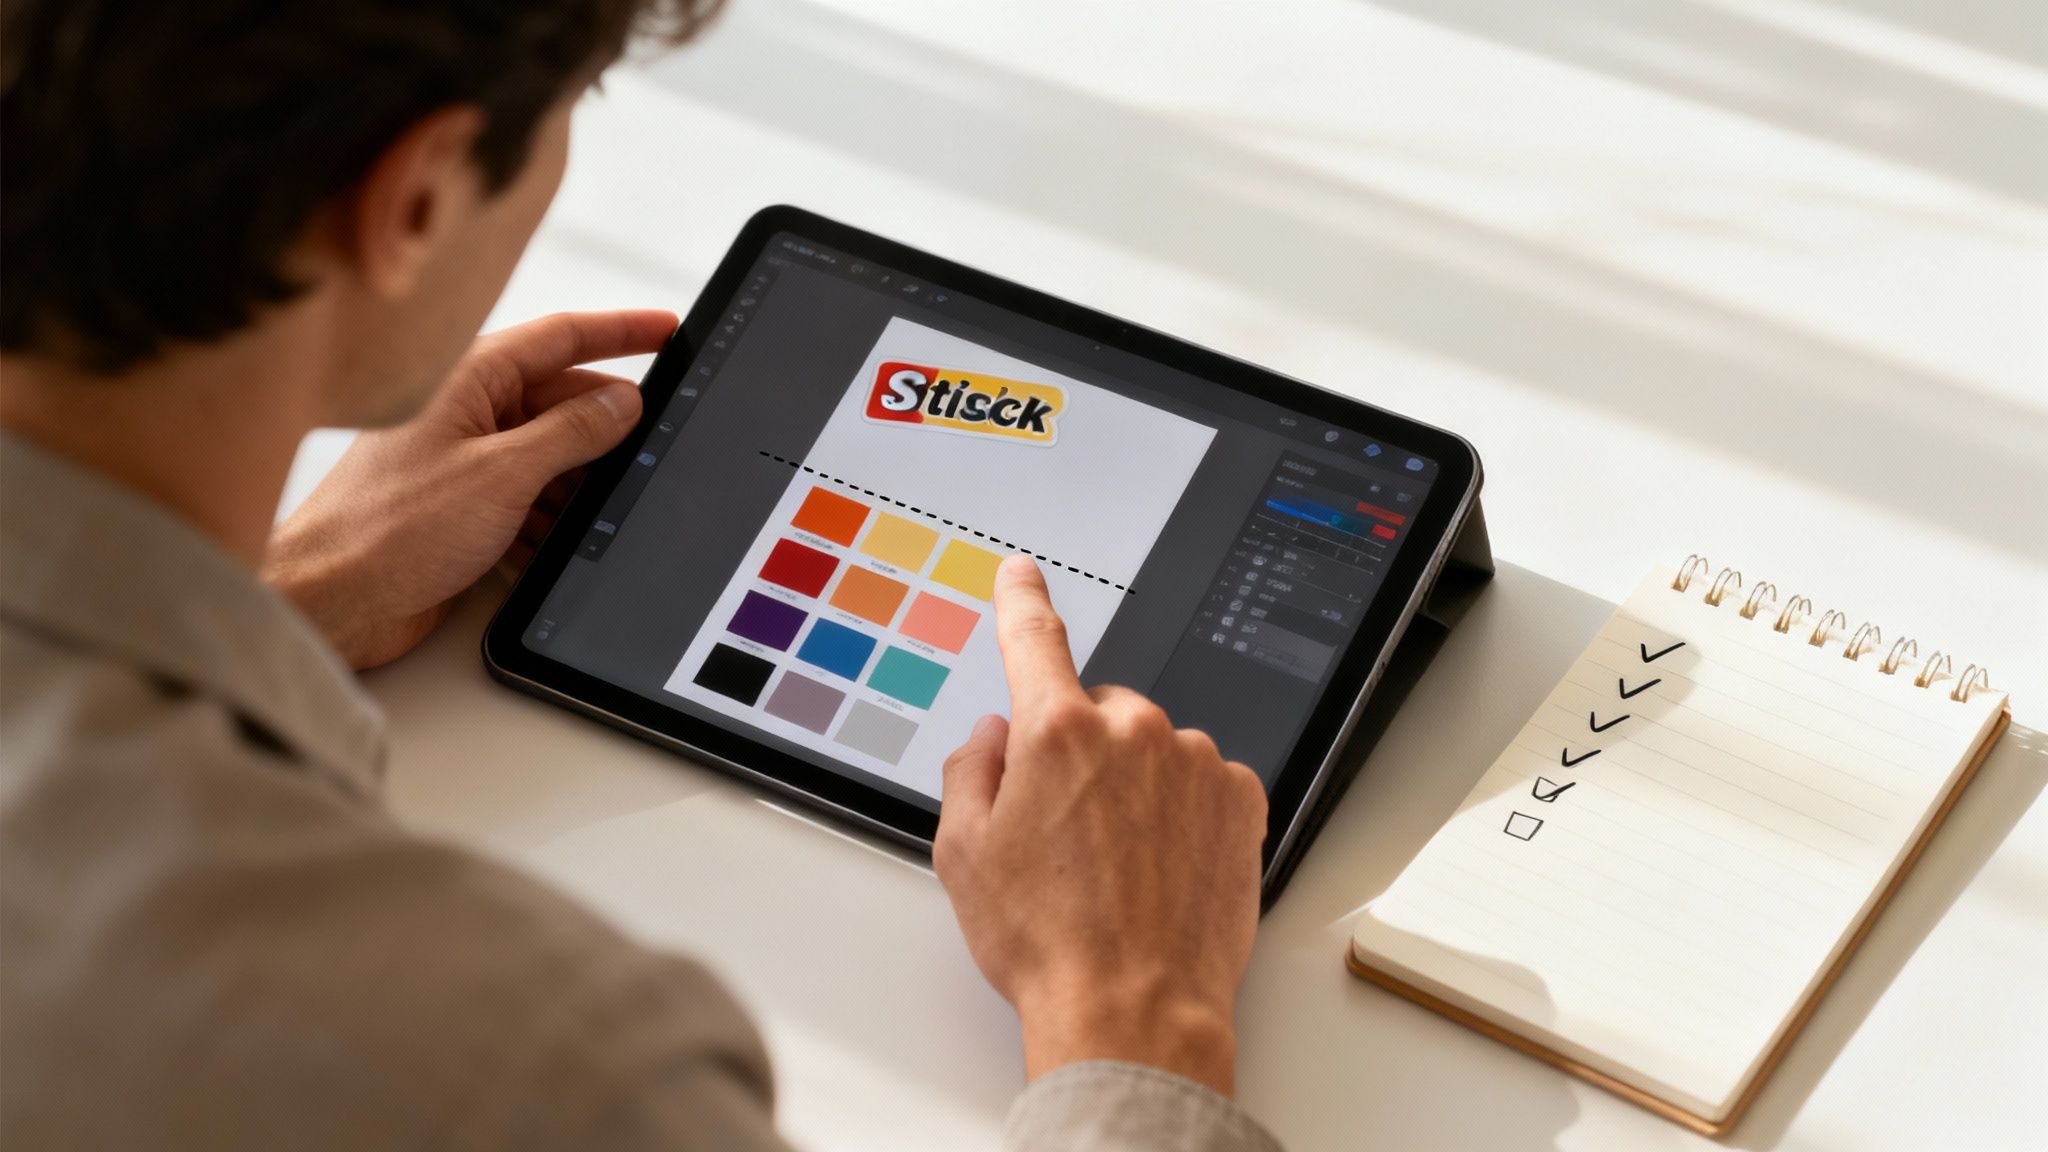
Nailing Your Colours
Ever printed something at home and wondered why the colours looked a bit off compared to your screen? It’s all down to colour models.
Your screen glows, using an RGB (Red, Green, Blue) light-based model to create vibrant colours. It's an "additive" process. Commercial printers, however, use ink. They work with a CMYK (Cyan, Magenta, Yellow, Black) "subtractive" model.
To avoid any nasty surprises, it's a great habit to set your design file's colour mode to CMYK right from the start. This will give you a much more accurate on-screen preview of how the final colours will look on paper (or vinyl, in this case).
A Quick Tip from Experience: While CMYK is the safest bet, many modern digital printers here in NZ use some pretty clever software that can actually get a wider range of colours from an RGB file. If in doubt, just have a quick chat with your printer or check their file specs before you dive into designing. It can save a lot of hassle.
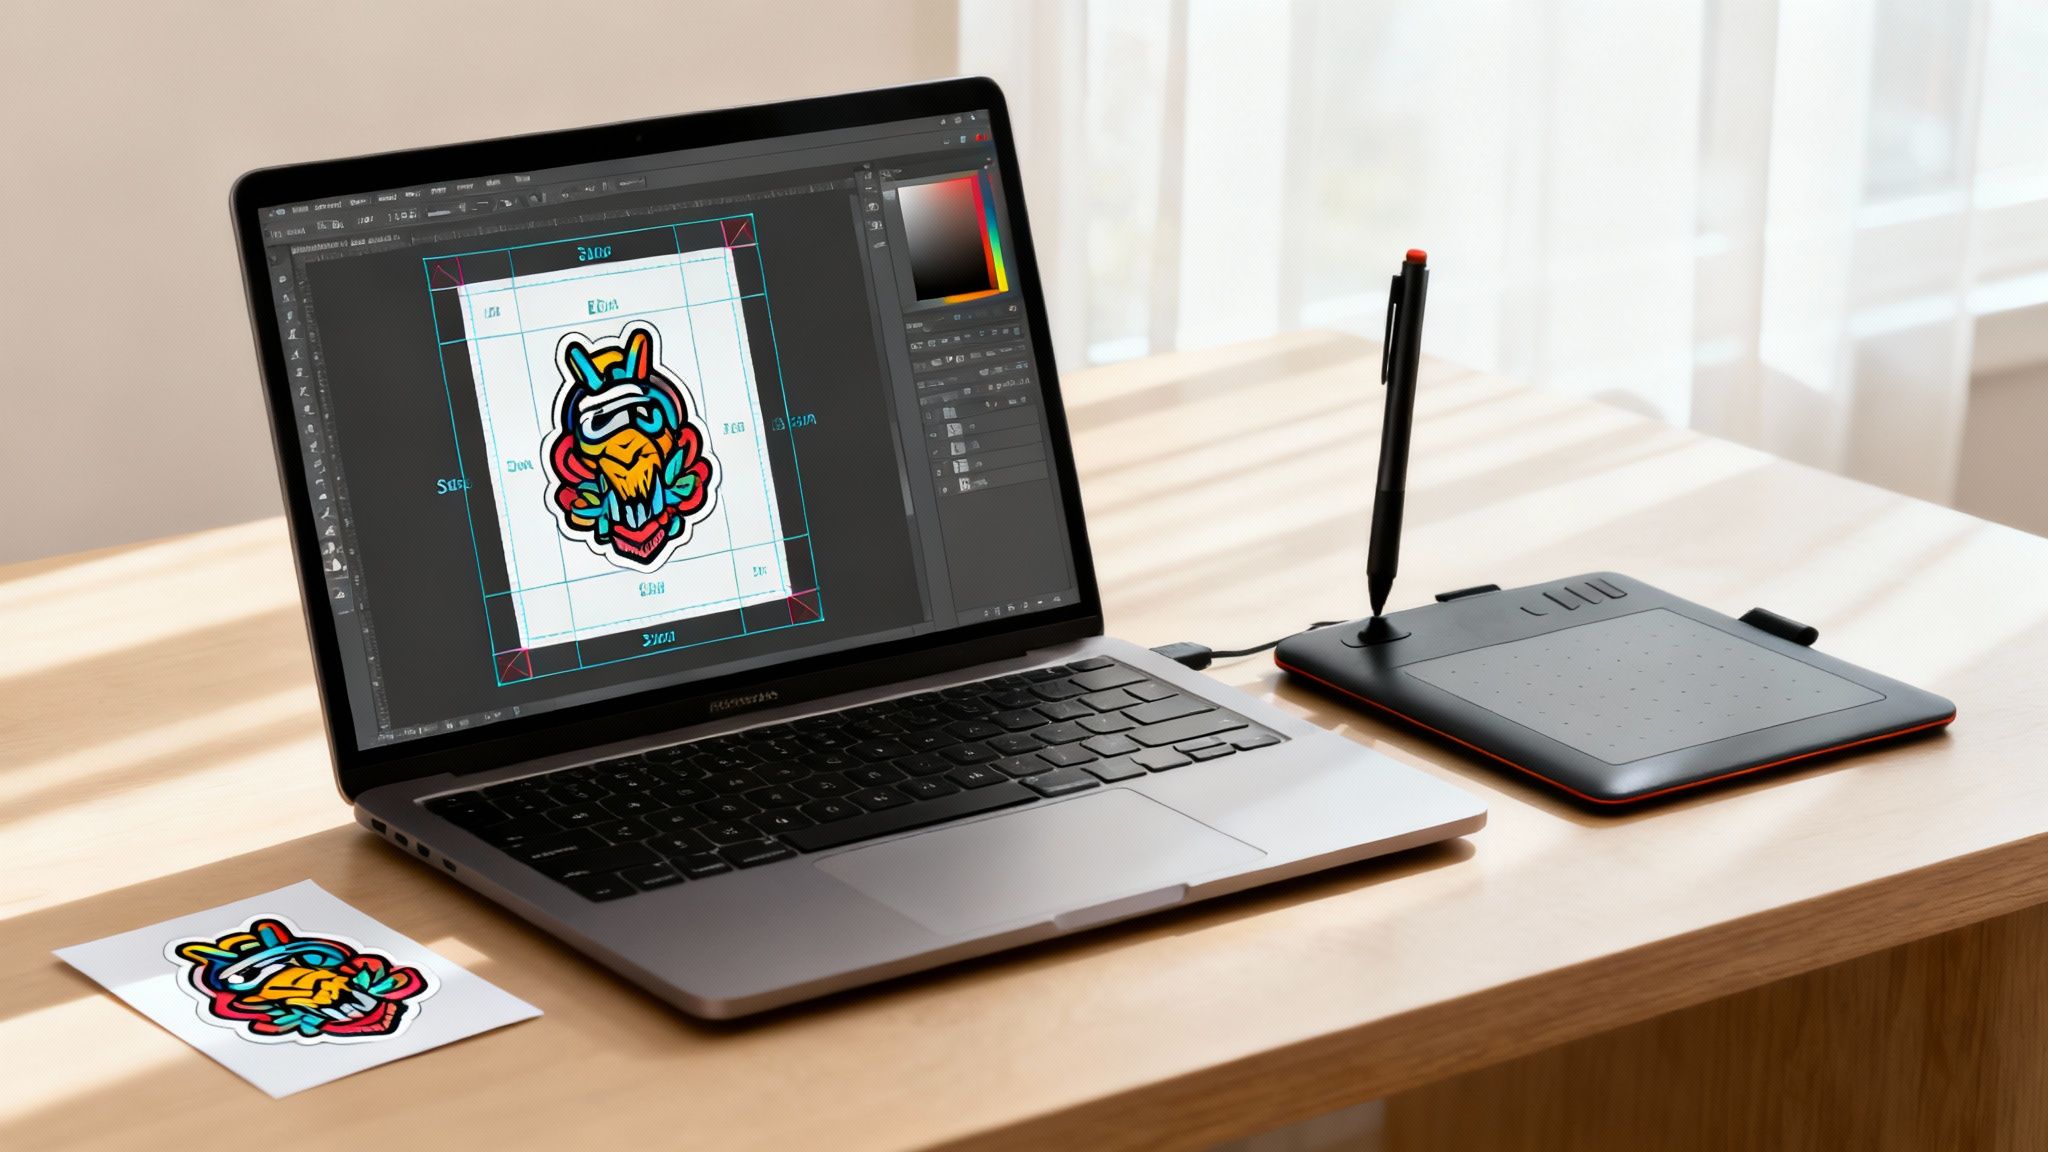
Don't Forget Bleed, Trim, and Safe Zones
These three terms might sound like technical jargon, but they are essential for making sure your design isn't butchered during the cutting process.
Think of it like this: your sticker design has three invisible boundaries.
- The Trim Line: This is simply the final edge of your sticker—the line where the blade will cut.
- The Bleed: This is a small safety margin, usually 2-3mm, that extends beyond the trim line. If you have a background colour or an image that touches the edge of your sticker, you must extend it into this bleed area. It’s there to prevent any ugly white slivers from appearing if the cutting machine is off by a fraction of a millimetre.
- The Safe Zone: This is an inner margin, tucked inside the trim line. You'll want to keep all your important bits, like text and logos, well within this zone to guarantee they don't get accidentally sliced off.
Getting your bleed and safe zones sorted is one of those small details that makes a massive difference. It's the secret to a polished, professional-looking sticker.
Getting Your Stickers Printed in New-Zealand
Placing your first order for custom stickers can feel like you're wading through a sea of new terminology, but most Kiwi printers have made their online portals pretty straightforward. After you’ve uploaded your artwork, you'll be guided through a few simple choices to lock in the final product.
The first thing you’ll probably be asked is about the sticker shape. You'll see options like "die-cut," which cuts the sticker and its backing paper to your design's unique outline. Then there's "kiss-cut," where only the vinyl layer is cut, leaving a handy square backing that makes peeling a breeze.
Next up, you'll punch in the dimensions. Be specific here. Entering the exact width and height in millimetres is crucial to making sure the sticker that arrives is the size you pictured in your head.
Nailing the Quantity and Getting the Best Price
This is where you can get a bit strategic and save some money. You'll quickly notice that the price-per-sticker plummets as you order more. Grabbing 50 stickers might seem like the cheapest option upfront, but ordering 250 could easily slice your per-sticker cost in half, or even more.
Insider Tip: Before you commit to a small run, always click to see the price for the next quantity up. You'll often find that getting an extra 50 or 100 stickers adds just a few dollars to the total cost, giving you way better bang for your buck.
It all comes down to the economies of scale. The initial setup is where the printer spends most of their time; once the machine is calibrated and running, printing more is pretty efficient. This kind of pricing works out well for everyone.
Finalising the Details
Once you've settled on a quantity, you’re on the home stretch—checkout and delivery. This is the last chance to spot any details that could trip you up later.
Keep a close eye on these final points:
- Setup Fees: Most good NZ printers have done away with setup fees for standard sticker orders, but it never hurts to check. You're more likely to see them on really complex, specialised jobs.
- Turnaround Times: The printer will give you an estimated production time, like 5-7 working days. Just remember, that countdown usually starts after you've signed off on the digital proof, not the moment you place the order.
- Shipping Costs: Don't forget to factor in courier time and cost. If you’re based somewhere rural or need your stickers sent across the Cook Strait, it’s wise to allow an extra day or two for delivery.
New Zealand’s sticker industry is a solid part of our wider print sector, which holds its own on the world stage. While most printers are focused on the local market, a look at the data for NZ print label export analysis shows the sector is stable, with a year-on-year growth rate of 0% from March 2024 to March 2025. This points to a mature, reliable industry you can count on. By keeping these steps in mind, you can order with confidence and get a top-notch result every time.
Approving Your Digital Proof Like a Pro
Right, you’ve placed your order and sent your artwork off. What happens next? Your printer in New Zealand will send you a digital proof. This is a big deal – it’s your last chance to spot any issues before your design goes to print. Think of it as the final dress rehearsal.
This is your moment to catch any little mistakes, request a quick tweak, and give the final green light knowing everything is perfect.
Essentially, this digital mockup is the agreement between you and the printer. It shows exactly what your finished sticker will look like. Much like how product designers use mockups to visualise their final product, this proof ensures your design translates from screen to sticker just as you imagined. For more on this concept, check out this guide to understanding mockups for custom products.
Giving it a quick "yep, looks good" without a proper review is a classic mistake and often leads to regret. Take your time with it.
Your Proof-Checking System
Don't just give it a cursory glance on your phone. To do this properly, open the file on a decent-sized computer screen and work through a checklist. Being methodical here can save you a world of pain later on.
Here’s what I always look for:
- Spelling and Grammar: Read every single word out loud. Then, try reading it backwards. It sounds silly, but this little trick forces your brain to see the words individually, not just the sentences they form, making it much easier to spot typos.
- Contact Details: Meticulously check every phone number, email, web address, and social media handle. A single incorrect digit can make your stickers completely useless.
- Image Quality: Get right in there and zoom in on your logos and graphics. Do they look crisp and sharp? Or are they starting to look a bit fuzzy and pixelated?
This really isn't the time to be in a hurry. It’s always cheaper and faster to ask for a revision now than it is to get a whole new batch of stickers reprinted because of a glaring mistake.
A cautionary tale: I once saw a local cafe order 500 stickers to promote their new Instagram page. After they arrived, they realised the handle was missing an underscore. That tiny error meant the entire batch was unusable. A careful proof review would have caught that in a flash.
The Technical Review
Okay, beyond the text and images, the proof also shows you the technical details of the job. This is where you confirm the physical aspects of your sticker.
Confirm the Cut Line
You’ll see a coloured line on the proof (it’s often a bright magenta or cyan) that shows exactly where the machine will cut your sticker. Look at it closely. Does it follow the outline of your design exactly as you want? Is it too close to the edge in some spots, or is there an awkward-looking gap? A wonky cut line can completely throw off the look of a custom-shaped sticker.
Check the Safe Zone
Remember that safe zone we talked about earlier? Now’s the time to make sure all your important bits – your logo, the text – are sitting comfortably inside that boundary. Anything that strays too close to the cut line is at risk of being trimmed off.
Finally, have a look at the colours. It's important to know that the colours on your screen (which is backlit and uses RGB) will never look exactly the same as printed ink on paper (CMYK). The proof is the closest preview you'll get, so a slight shift is normal.
What you're really looking for are major, unexpected colour changes. For instance, if your deep navy blue suddenly looks like a bright royal blue, that’s a red flag. If anything seems drastically off, let your printer know straight away. Clear communication at this stage is the key to getting the perfect print stickers nz result you’re paying for.
Common Questions About Printing Stickers in NZ
Diving into the world of custom sticker printing for the first time? You're bound to have a few questions. It’s completely normal, and getting the right answers upfront is the key to ordering with confidence and loving the final result.
We get asked a lot of the same things by Kiwis looking to get their designs printed, so we've put them all in one place. Think of this as your go-to guide for a stress-free order.
What Is the Difference Between Die-Cut and Kiss-Cut Stickers?
This is probably the number one question we hear, and it all comes down to the cut.
A die-cut sticker is cut straight through both the vinyl and the paper backing, matching the exact shape of your design. This gives you a clean, standalone sticker that looks super professional, making it perfect for giveaways or retail.
With a kiss-cut sticker, the blade only slices through the vinyl layer, leaving the square or rectangular paper backing intact. This makes them incredibly easy to peel off, which is a lifesaver for really detailed or intricate designs. It's also how sticker sheets are made.
How Much Does It Cost to Print Custom Stickers in New Zealand?
The cost really depends on three things: the size of your sticker, the material you choose, and how many you order. The biggest thing to remember is that the price-per-sticker drops significantly as your quantity goes up.
For instance, a small run of 50 custom vinyl stickers might work out to be a few dollars each because of the initial setup costs. But if you bump that order up to 1,000, the price per sticker could plummet to just a few cents. Most local printers have a calculator on their website, so you can play around with the numbers and get an instant quote.
Pro Tip: Always check the price for the next quantity tier up. Sometimes doubling your order from 100 to 200 stickers costs very little extra, giving you way better value and plenty of spares for later.
What Is the Typical Turnaround Time?
A little bit of planning goes a long way here.
For most printers across New Zealand, you can expect a standard production time of 5 to 10 working days. It’s crucial to know that this clock starts after you’ve signed off on your digital proof, not the moment you place the order.
Don't forget to factor in shipping time on top of that, especially if you're working towards a hard deadline for an event. If you find yourself in a real jam, some printers offer a rush service for an extra fee.
Can I Get a Sample Before a Large Order?
Absolutely! Well, sort of.
Most NZ printers are more than happy to post you a pre-made sample pack. This is a fantastic way to see and feel their different materials—like gloss vinyl, matte laminate, or holographic finishes—before you lock anything in.
Getting a single, one-off sample of your actual design, however, is usually not practical. The setup process for one sticker is the same as it is for a thousand, so it can be surprisingly expensive. The industry-standard way to check everything is with the digital proof, which shows you exactly how your design, colours, and cut lines will look before the full print run gets underway.
At SONI DESIGN, we're all about making it easy to bring your ideas to life. From eye-catching custom stickers to professional signage, our team is here to help you create something special. Start your project with us today!
Leave a Comment
Stay home & get your daily
needs from our shop
Start You'r Daily Shopping with Nest Mart