
Your cart is currently empty.
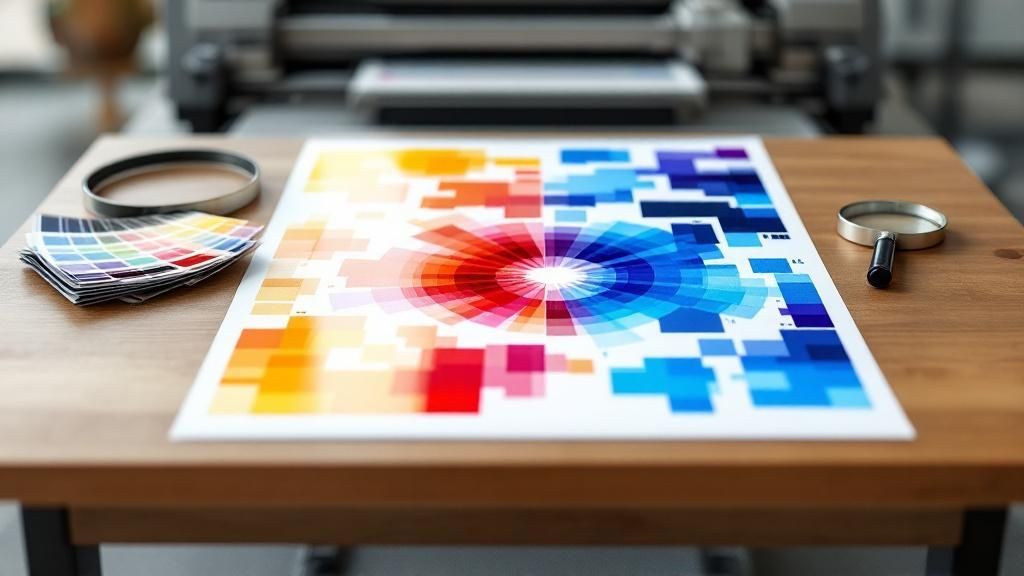
In the world of design and professional communication, the final printed product is often the culmination of hours of creative work. Whether it's eye-catching signage, vibrant digital-offset prints, or unique promotional products, the quality of the print can make or break its impact. However, achieving that perfect, crisp output isn't always straightforward. Many businesses and individuals face common yet frustrating print quality problems, from distracting banding and ghosting to inaccurate colours that misrepresent a brand's identity. These issues not only waste valuable resources like ink and paper but can also undermine the professional image you've worked hard to build.
This guide is designed to transform your printing experience. We'll move beyond generic advice and delve into the seven most significant areas that influence print output. For each one, we will provide a detailed breakdown of the causes and offer practical, actionable steps you can implement today. Think of this as your comprehensive roundup for diagnosing and solving the issues that stand between your digital vision and a flawless physical reality. Maintaining this level of visual consistency is crucial, and you can elevate your branding with a comprehensive brand style guide to ensure every print aligns perfectly with your established identity. By understanding these key factors, you can take control of your printing process.
1. Proper Printer Maintenance and Cleaning
Just as a car needs regular servicing to run smoothly, your printer requires consistent maintenance to deliver high-quality prints. Neglecting this crucial step is a leading cause of many common print quality problems, as dust, paper fibres, and dried ink residue accumulate over time. This build-up can interfere with delicate components, leading to smudges, streaks, and faint prints that misrepresent your business's professional image.
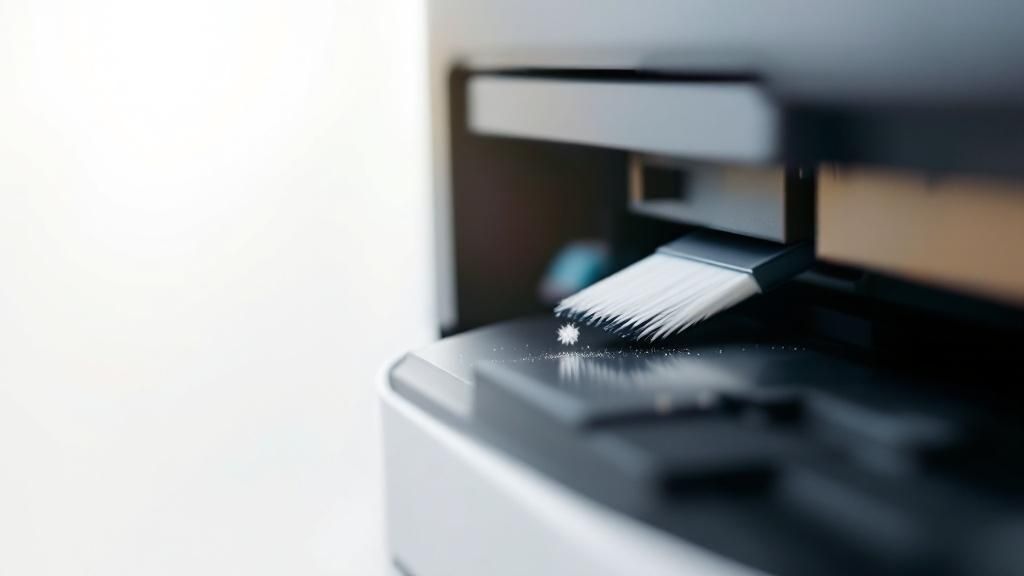
Regular maintenance involves cleaning key parts like printheads, rollers, and the paper path. Most modern printers have automated cleaning cycles built-in, popularised by brands like HP with their Smart Tank series and Canon's PIXMA maintenance alerts. These routines are your first line of defence against poor output.
Why It's a Top Solution
Consistent cleaning prevents minor issues from escalating into costly repairs or premature printer replacement. A clean paper path ensures smooth feeding, reducing jams and misalignments, while clean printheads guarantee precise ink droplet placement for sharp text and vibrant colours. For businesses in marketing, design, or real estate, where visual presentation is paramount, this preventative care is non-negotiable for producing professional-grade materials.
Actionable Maintenance Tips
To keep your printer in optimal condition and avoid print quality degradation, integrate these practices into your workflow:
- Follow the Manufacturer's Schedule: Your printer's manual provides a recommended maintenance schedule. Adhering to it is the most effective way to prevent build-up.
- Use Automated Cleaning Cycles: Regularly run the built-in head cleaning, nozzle check, and printhead alignment functions, especially if the printer has been idle for a week or more.
- Perform Manual Cleaning: For heavy users, manually clean the paper rollers with a lint-free cloth lightly dampened with distilled water or an approved solution monthly. This prevents paper dust from causing feed issues.
- Keep It Covered: When not in use for extended periods, cover your printer to protect its internal mechanisms from airborne dust and debris.
By dedicating just a few minutes each month to maintenance, you can significantly extend your printer's lifespan and ensure every print is as crisp and professional as the last.
2. High-Quality Paper Selection and Handling
The type of paper you choose is just as critical as the printer itself. Using low-quality or incorrect paper for the job is a common source of print quality problems, leading to issues like ink bleeding, poor colour saturation, and a flimsy, unprofessional feel. The paper's weight, finish, and brightness directly influence how ink is absorbed and reflected, ultimately determining the final output's sharpness and vibrancy.

Choosing the right media is about matching the paper to the purpose. Specialised papers, popularised by brands like Mohawk for premium business stationery and Red River Paper for photography, are engineered for specific outcomes. For example, using HP Premium Photo Paper for images ensures brilliant colours, while Hammermill Color Copy Paper is designed to make graphics in presentations pop.
Why It's a Top Solution
Selecting the correct paper prevents many common frustrations. A paper with the right coating and weight stops ink from feathering or bleeding through, ensuring crisp text and defined lines. For businesses producing marketing materials, client proposals, or high-end photography, the right paper elevates the perceived value and professionalism of the work, reinforcing a quality brand image. It’s a simple change that delivers a significant improvement in results.
Actionable Paper Selection Tips
To ensure your prints always look their best, follow these guidelines for selecting and handling your paper stock:
- Match Paper to Printer Specs: Always check your printer's manual for recommended paper weights (measured in gsm) and types. Using paper that is too thick can cause jams, while paper that is too thin may absorb too much ink.
- Store It Properly: Keep paper in its original packaging in a cool, dry place to protect it from humidity, which can cause curling and feeding issues.
- Acclimatise Before Printing: Allow paper to adjust to the room's temperature and humidity for at least 24 hours before use. This prevents print defects caused by static or moisture.
- Test Small Batches First: Before committing to a large print run for a critical project, print a few test pages to ensure the paper and printer settings are delivering the desired quality.
By being deliberate about your paper choice, you can avoid disappointing results and ensure your printed materials consistently meet a high professional standard.
3. Genuine Ink and Toner Cartridges
The ink or toner you choose is the lifeblood of your printer, and opting for genuine, manufacturer-original cartridges is a critical decision in preventing print quality problems. While third-party or refilled cartridges might seem like a cost-saving measure, their inconsistent chemical formulations and lack of rigorous quality control can lead to poor colour accuracy, clogged printheads, and even printer damage. Genuine cartridges are specifically engineered to work seamlessly with your printer model, ensuring optimal performance.
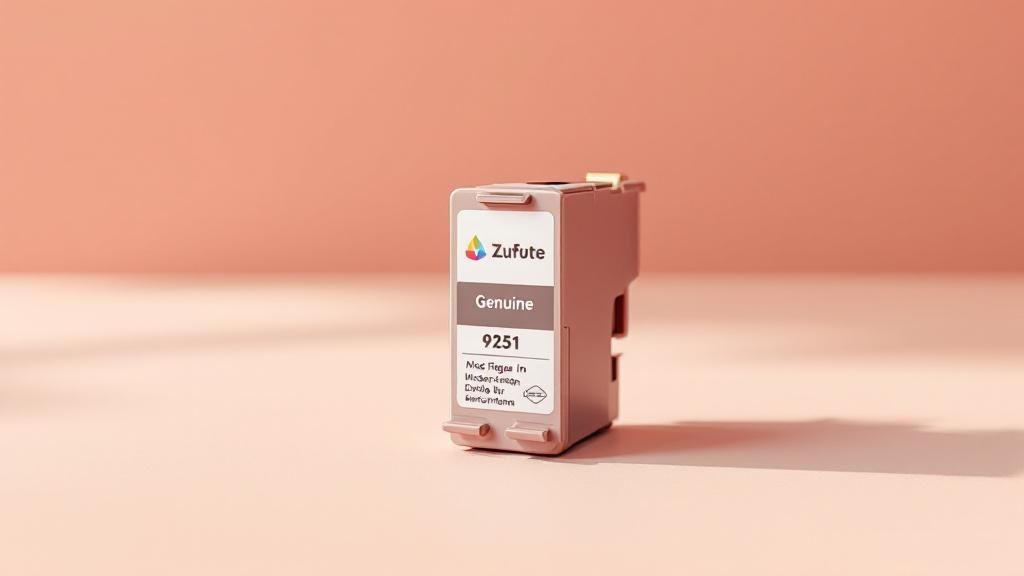
This synergy between printer and cartridge is championed by leading brands. HP’s original ink guarantee programmes, Epson's specialised Claria ink technology for photo printing, and Canon's ChromaLife100+ systems are all built on the principle that the hardware and consumables must be developed together. Using genuine supplies like the Brother TN-760 toner or HP 564XL ink cartridges guarantees that you get the quality and reliability the manufacturer intended.
Why It's a Top Solution
Choosing genuine cartridges eliminates a major variable in print troubleshooting. It guarantees consistent colour matching, print longevity, and machine reliability, which is vital for businesses where brand presentation is key. For marketing agencies producing client-facing brochures or real estate agents printing property flyers, accurate colours and sharp text are non-negotiable. Genuine supplies protect your investment in high-quality printing hardware and deliver dependable, professional results every time.
Actionable Cartridge Tips
To ensure your printer consistently performs at its best, adopt these best practices for your ink and toner:
- Buy From Authorised Dealers: Purchase your cartridges from reputable, authorised retailers to avoid counterfeits, which can cause significant damage and poor quality.
- Check Expiration Dates: Ink and toner have a shelf life. Using expired cartridges can result in clogs and inconsistent output, so always check the date before installing.
- Store Cartridges Properly: Keep new cartridges in their sealed packaging in a cool, dark place. Store them upright or in their recommended orientation to prevent ink from settling incorrectly.
- Use High-Yield Options: For offices with high-volume printing needs, high-yield (XL) cartridges offer a lower cost-per-page and reduce the frequency of replacements, improving workflow efficiency.
By investing in genuine supplies, you are actively preventing many of the most common print quality frustrations and ensuring your documents reflect the professionalism of your business.
4. Print Driver Updates and Software Optimisation
The software connecting your computer to your printer, known as a driver, is just as critical as the physical hardware. Outdated or corrupt drivers can cause a host of frustrating print quality problems, including incorrect colours, poor alignment, garbled text, or a complete failure to print. Manufacturers frequently release updates to fix bugs, improve performance, and ensure compatibility with new operating systems and applications.
Neglecting these updates is like trying to run the latest smartphone app on a five-year-old operating system; the communication breaks down. Modern management tools like the HP Smart app and Brother Mobile Connect app have streamlined this process, often providing automatic update notifications. Similarly, major operating systems like Microsoft Windows and Apple macOS integrate driver updates into their standard system update routines, simplifying maintenance for users.
Why It's a Top Solution
Keeping your print drivers and software current is one of the easiest and most effective ways to solve mysterious print quality issues. An update can instantly correct colour profile inaccuracies that lead to washed-out or oversaturated images. It also ensures your printer can correctly interpret data from design software or new document formats, preventing errors that disrupt your workflow and waste valuable resources like ink and paper.
Actionable Software Tips
To ensure your printer's software is always optimised for the best performance and to avoid unexpected print quality degradation, follow these steps:
- Enable Automatic Updates: Where possible, use the manufacturer’s software (like Epson Connect or Canon IJ Printer Assistant Tool) to enable automatic driver updates. This is the most hands-off way to stay current.
- Check Manufacturer Websites: If automatic updates aren't an option, make a habit of visiting your printer manufacturer's support website every few months to check for new driver versions manually.
- Create a Restore Point: Before installing a major driver update on a Windows PC, create a system restore point. This gives you a safe and easy way to revert to the previous version if the update causes unforeseen problems.
- Test After Updating: After any update, run a test print using a document with both text and images. This helps you immediately confirm that the update has resolved issues or, at the very least, hasn't introduced new ones.
5. Colour Calibration and Profile Management
What you see on your screen rarely matches the final printed output without a managed workflow. This discrepancy is one of the most frustrating print quality problems for businesses where colour accuracy is vital. Implementing proper colour management through calibration and profiling creates a consistent, predictable bridge between your digital designs and physical prints, ensuring the vibrant red on your monitor is the same vibrant red on your brochure.
This professional approach involves using hardware like a colorimeter to calibrate your monitor and software to create custom ICC (International Colour Consortium) profiles for your specific printer and paper combinations. Systems like Datacolor's SpyderX and X-Rite's ColorMunki have made these once-complex workflows accessible, while software like Adobe Creative Suite and Canon Professional Print & Layout integrate these profiles directly.
Why It's a Top Solution
Consistent colour management eliminates guesswork and costly reprints. For marketing agencies, designers, and real estate professionals, it ensures brand colours are reproduced accurately across all materials, from online ads to printed flyers. This level of precision builds brand trust and maintains a professional image, preventing washed-out or inaccurate colours that can undermine a campaign's impact.
Actionable Colour Management Tips
To ensure what you see is what you get, integrate these colour management practices into your workflow:
- Calibrate Your Monitor Regularly: Your monitor's colour and brightness shift over time. Use a calibration device like a Datacolor SpyderX Pro to calibrate it at least once a month for consistent on-screen viewing.
- Control Your Viewing Environment: View your screen and prints in controlled, neutral lighting. Avoid glare and coloured walls that can trick your eyes and skew colour perception.
- Use Custom Printer Profiles: Don't rely on generic profiles. Create a unique ICC profile for each specific printer, ink, and paper combination you use to achieve the highest level of accuracy.
- Standardise Your Workflow: Document your colour management settings and processes. Ensure anyone involved in design or printing follows the same standardised workflow to maintain consistency across the team.
By mastering colour calibration, you take control of your creative output, guaranteeing that your printed materials precisely reflect your digital vision every time.
6. Print Resolution and DPI Optimisation
Sending a file to print without checking its resolution is like building a house without a proper blueprint. The resolution, measured in Dots Per Inch (DPI), dictates the density of ink dots your printer will place on the paper. A low DPI setting results in grainy, pixelated images and fuzzy text, which is one of the most common and avoidable print quality problems for businesses trying to create professional marketing collateral.
Matching the resolution to the document's purpose is crucial for balancing quality with efficiency. Software suites like Adobe Creative Cloud and even Microsoft Office have made it easier than ever to configure these settings, ensuring that your output is optimised for its intended viewing distance and use. For instance, a detailed architectural plan requires a much higher DPI than a simple internal memo.
Why It's a Top Solution
Optimising your DPI settings prevents wasted resources, including expensive ink and paper, on prints that don't meet quality standards. It ensures that every document, from a high-impact brochure to a detailed photograph, is produced with the intended clarity and sharpness. For prints where the original image quality is a concern, such as blurriness or underexposure, exploring AI image enhancement techniques can significantly improve your source material before printing, directly impacting the final print quality. This control is vital for any business where visual presentation is key.
Actionable Optimisation Tips
To ensure your printed materials always look their best, follow these resolution guidelines:
- Use 300 DPI for Standard Documents: This is the industry standard for most professional business materials, including flyers, reports, and brochures, offering a perfect balance of quality and file size.
- Choose 600+ DPI for Photos and Graphics: For high-detail prints like photographs or intricate graphic designs, setting the resolution to 600 DPI or even 1200 DPI will capture fine details and smooth colour gradients.
- Use Draft Mode (Approx. 150 DPI): For internal documents, drafts, or simple text-based proofs where top quality isn't necessary, use your printer's 'draft' or 'economy' mode. This saves significant ink and speeds up the printing process.
- Match Resolution to Final Output Size: Always set your resolution based on the final intended size of the print. A small image cannot be enlarged to a poster-sized print without losing quality unless its initial resolution is exceptionally high.
By taking a moment to select the correct DPI, you gain complete control over the final appearance of your documents, ensuring they reflect your business's high standards.
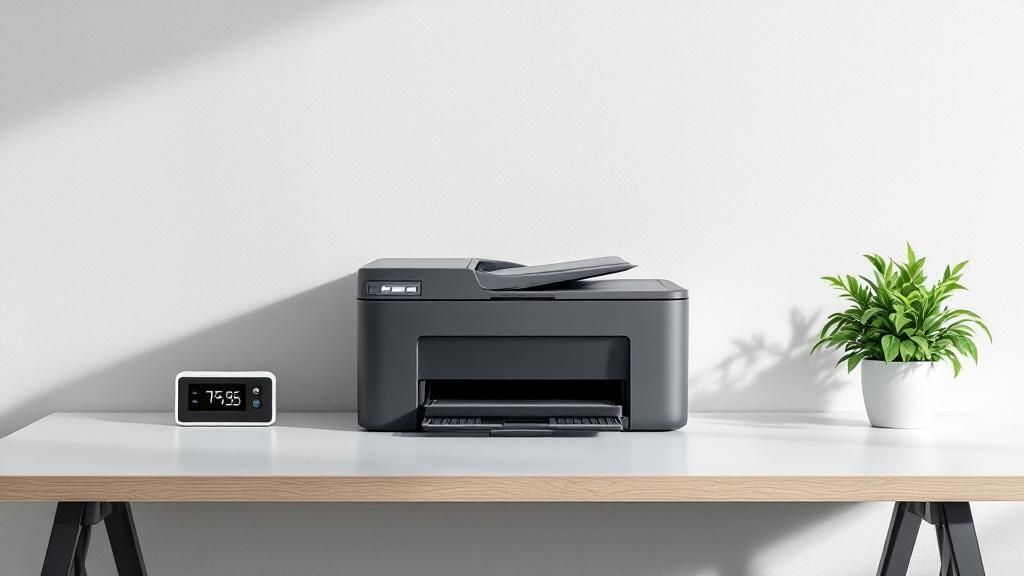
7. Environmental Control and Printer Placement
The environment where your printer operates plays a surprisingly significant role in its performance. Extreme temperatures, high humidity, and poor air quality can directly impact how ink adheres to paper and how paper feeds through the machine, causing a host of print quality problems. Placing your printer in an unstable environment, such as near a draughty window or a heat source, can lead to issues like smeared ink, curled paper, and inconsistent colour output, undermining the quality of your professional documents.
Controlling the printer's physical surroundings is a proactive strategy popularised by professional printing facilities, photography studios, and design agencies that cannot afford inconsistencies. By managing factors like temperature and humidity, these businesses ensure their equipment performs reliably. This might involve creating dedicated, climate-controlled print rooms or simply being more strategic about where office equipment is placed.
Why It's a Top Solution
A stable environment ensures consistent and predictable results. Paper is highly susceptible to moisture; high humidity can cause it to swell and curl, leading to jams and poor ink absorption, while low humidity can create static electricity that makes pages stick together. Regulating these conditions prevents such material-based faults, guaranteeing smoother operation and protecting delicate internal components from damage caused by condensation or excessive dust. For businesses where colour accuracy is vital, like marketing or design, environmental control is key to achieving true-to-life prints every time.
Actionable Environmental Tips
To mitigate environmental factors and prevent print quality degradation, consider the following best practices for your printer's location and surroundings:
- Avoid Direct Sunlight and Heat: Position the printer away from windows, radiators, and other heat-emitting appliances. Direct sunlight can fade plastic components and heat can dry out ink cartridges prematurely.
- Maintain Stable Temperature and Humidity: Aim for a consistent room temperature between 20-24°C and a humidity level of 40-60%. Use a dehumidifier or humidifier if necessary, and consider a small hygrometer to monitor conditions.
- Ensure Adequate Ventilation: Place the printer in a well-ventilated area to allow heat to dissipate and prevent the build-up of airborne particles, but avoid placing it directly in the path of fans or air conditioning vents.
- Keep It on a Level, Stable Surface: An unstable or tilted surface can disrupt the internal mechanics, affecting printhead alignment and leading to skewed prints. Ensure the printer is on solid, level ground.
By optimising your printer's immediate environment, you create the ideal conditions for it to perform at its peak, safeguarding your investment and ensuring every document reflects your organisation's high standards.
Print Quality Factors Comparison
| Item | Implementation Complexity 🔄 | Resource Requirements ⚡ | Expected Outcomes 📊 | Ideal Use Cases 💡 | Key Advantages ⭐ |
|---|---|---|---|---|---|
| Proper Printer Maintenance and Cleaning | Moderate - requires regular effort and some technical knowledge | Low to Moderate - cleaning supplies and tools | Improved print quality; extended printer lifespan | Regular user maintenance; preventing print issues | Cost-effective; user-performable; extends device life |
| High-Quality Paper Selection and Handling | Low - choosing and storing paper properly | Moderate - higher cost paper and storage needs | Immediate print quality uplift; better color reproduction | Professional prints; photo and presentation materials | Enhanced appearance; reduced paper jams; better ink absorption |
| Genuine Ink and Toner Cartridges | Low - simple replacement process | Moderate to High - higher cartridge cost | Consistent color accuracy; reliable print longevity | Professional and volume printing; warranty protection | Guaranteed compatibility; reliable performance; color accuracy |
| Print Driver Updates and Software Optimization | Low - usually automatic or simple update process | Low - internet and occasional time investment | Improved print stability and features; bug fixes | All printer users needing updated functionality | Free updates; better system compatibility; new features |
| Color Calibration and Profile Management | High - requires specialized equipment and setup | High - cost of calibration tools and ongoing maintenance | Accurate and consistent color reproduction | Professional photo, graphics, and print production | Professional results; reduced reprints; client satisfaction |
| Print Resolution and DPI Optimization | Moderate - depends on user knowledge | Low - mainly time and software settings | Balanced print quality, speed, and resource use | Varied print jobs needing optimal resolution | Optimized quality and speed; reduced ink use; better resource management |
| Environmental Control and Printer Placement | Moderate - involves environment setup and monitoring | Moderate to High - climate control and filtration equipment | Consistent print quality; fewer mechanical issues | Offices with heavy print use; photo labs; studios | Extended equipment life; consistent quality; fewer jams |
Bringing Your Vision to Life with Perfect Prints
Navigating the landscape of print production can feel complex, but as we have explored, the most persistent print quality problems are almost always rooted in a handful of controllable factors. From banding and ghosting to inaccurate colours, the path to a perfect print is not about luck; it's about a systematic and proactive approach. By mastering the fundamentals detailed throughout this guide, you transform from a reactive troubleshooter into a confident quality controller, ensuring your final output is always a true reflection of your original vision.
The journey begins with the foundation of your printing setup. Diligent maintenance, including regular cleaning of print heads and rollers, is your first line of defence against many common issues. This, paired with the strategic selection of high-quality, appropriate paper and the use of genuine ink or toner cartridges, creates a powerful baseline for consistency and excellence. These are not minor details; they are the essential building blocks of professional-grade printing.
From Technical Settings to Tangible Results
Beyond the physical components, your control extends deep into the digital realm. Ensuring your print drivers are up-to-date and your software settings are optimised for the job at hand is crucial. This is where you can fine-tune details like resolution and DPI to prevent pixilation and ensure crisp, clear lines. Furthermore, implementing a robust colour management strategy, complete with regular monitor and printer calibration, is the single most effective way to eliminate the frustration of colour inconsistencies. It bridges the gap between what you see on screen and what you hold in your hand.
Finally, never underestimate the impact of the physical environment. A stable, clean, and climate-controlled space prevents many issues related to paper feed errors, static, and ink performance. By addressing these seven pillars of print quality, you create a holistic system for success.
Key Takeaway: Proactive management is the core principle. Instead of waiting for print quality problems to appear, establish a routine that incorporates maintenance, material selection, software optimisation, and environmental control. This shift in mindset saves time, reduces waste, and elevates the standard of every single print.
Ultimately, mastering these elements is about more than just avoiding smudges or streaks. It is about honouring the effort, creativity, and intention behind your work. Whether you are printing a crucial business proposal, a vibrant marketing brochure, or a treasured photograph, the quality of the print directly communicates the value of its content. It is the final, tangible touchpoint that can make a lasting impression, reinforce your brand's professionalism, and ensure your message is received exactly as you intended. Armed with this knowledge, you are now equipped to produce prints that are not just technically flawless but also powerful and impactful.
When your project demands absolute perfection and you need a partner who understands the nuances of professional printing, SONI DESIGN is here to help. We specialise in turning digital designs into stunning, tangible realities, handling all the technical complexities so you can focus on your vision. Let us take care of the printing, ensuring your brand always looks its best. Learn more about our professional printing services at SONI DESIGN.
Leave a Comment
Stay home & get your daily
needs from our shop
Start You'r Daily Shopping with Nest Mart