
Your cart is currently empty.
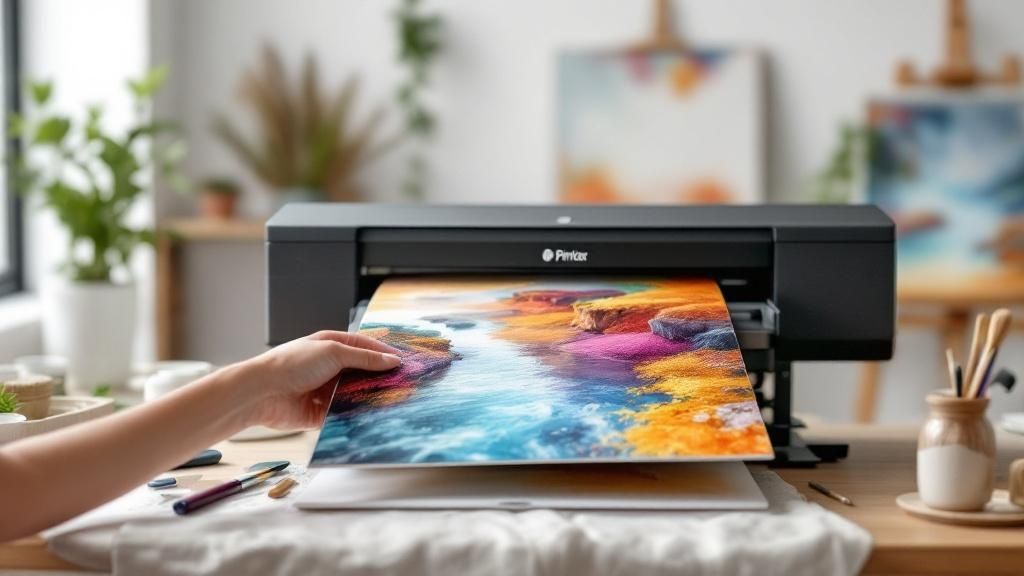
Printing a photo onto canvas is all about turning a digital image into a real piece of art. The process involves printing your chosen picture directly onto a woven fabric, which is then stretched over a sturdy wooden frame. This transforms a simple photo from your phone or camera into durable, textured wall décor with a sophisticated, gallery-quality feel.
Turn Your Photos Into Canvas Masterpieces
 Ever looked at one of your favourite photos and thought it deserved to be more than just a file on your computer? This guide is for you. We’ll walk you through exactly how to turn those cherished memories into beautiful, lasting art for your walls. It’s time to move beyond generic posters and add a personal, elegant touch to your space.
This isn’t just a niche hobby; the desire for personalised art is huge. In New Zealand, the arts and creative sectors—which include canvas photo printing—employed 115,114 people in 2022. That’s a significant 4.3% of the national workforce. With a self-employment rate of 32%, this dynamic industry is perfectly positioned to meet the growing demand from Kiwis wanting unique decorations for their homes and offices. You can read more about the growth of NZ's creative sector.
From Digital File to Wall Art
The path from a digital file to a stunning canvas print involves a few important choices. Think of this as your roadmap to creating a piece you'll be proud to display.
We'll cover the essentials:
- Picking the Perfect Picture: Not every photo translates well to canvas. We'll show you what works best.
- Understanding Resolution: Getting the image quality right is crucial to avoid a disappointing, blurry print.
- DIY vs. Professional Services: We’ll break down the differences in cost, effort, and final quality for both options.
The negative is the equivalent of the composer’s score and the print the performance. — Ansel Adams
This classic quote from Ansel Adams perfectly sums it up. A digital photo is just the plan; the physical print is the final, tangible expression of that captured moment. To get inspired, checking out some of the best custom photo gifts can give you even more creative ideas for bringing your pictures to life.
Prepare Your Digital File for a Flawless Print
The secret to a stunning canvas print actually starts long before any ink touches fabric. It all comes down to your digital file. Getting your photo properly prepared is the single most important thing you can do to avoid a blurry, pixelated, or off-colour result.
Think of your digital file as the blueprint for your final piece of art. If the foundation is weak, the end product will be disappointing, no matter how fancy the printing equipment is. Let's break down what you need to know in simple, practical terms.
Getting the Resolution and DPI Right
Resolution is all about the amount of detail your image holds, which we measure in pixels. When you want to print photos onto a canvas, you need enough pixels to create a sharp image at the size you've chosen. If you stretch too few pixels over a large area, you get that dreaded blocky or fuzzy look.
You'll often hear the term DPI (Dots Per Inch), which is about how many ink dots a printer puts down on each inch of canvas. While your digital file uses PPI (Pixels Per Inch), most professional print services here in NZ recommend a file that works out to at least 150 DPI at the final print size. For truly exceptional sharpness, 300 DPI is the gold standard.
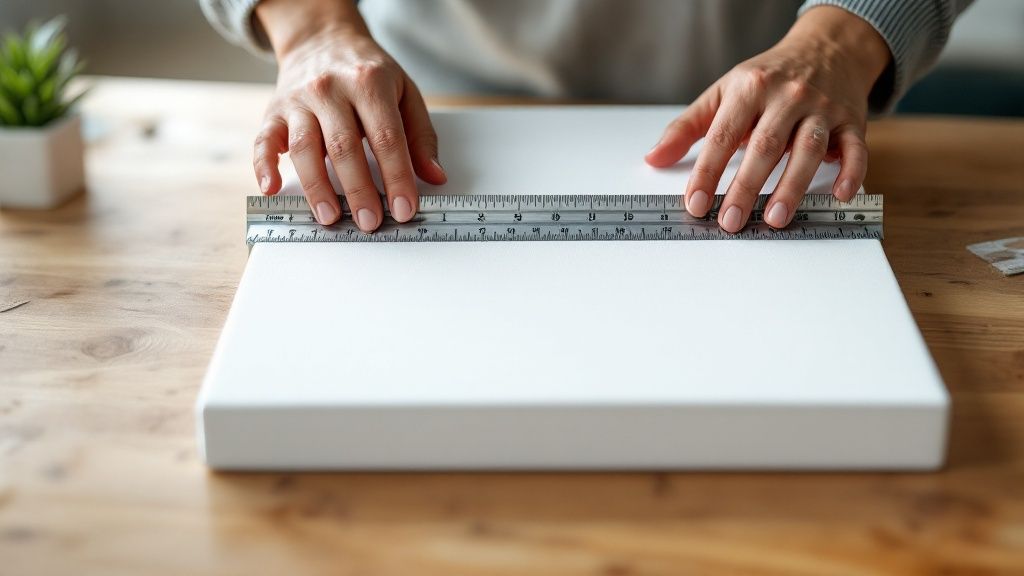
Not sure if your photo is up to the task? It’s easy to check. Find your photo’s pixel dimensions (e.g., 4000 x 3000 pixels). Just divide each of those numbers by your target DPI (let’s use 150) to find the maximum size in inches you can print it without losing quality. In this case, a 4000 x 3000 pixel image could be printed up to roughly 26 x 20 inches and still look great.
"The truth is revealed when the ink hits the paper. Printing your work highlights issues you may not have noticed on the computer, forcing you to pay closer attention to detail from the moment you take the shot."
This is so true. A bright, high-resolution screen can easily hide small imperfections that a physical print will put on full display. Always, always start with the highest quality file you have—straight from your camera or smartphone, not a compressed version you've downloaded from social media.
To make things easier, here's a quick reference table. It'll help you see if your photo’s pixel dimensions are high enough for some of the most popular canvas print sizes.
Image Resolution Guide for Common Canvas Sizes
| Canvas Size (Inches) | Minimum Recommended Resolution (Pixels) | Optimal Resolution (Pixels) |
|---|---|---|
| 8 x 10 | 1200 x 1500 | 2400 x 3000 |
| 11 x 14 | 1650 x 2100 | 3300 x 4200 |
| 16 x 20 | 2400 x 3000 | 4800 x 6000 |
| 20 x 24 | 3000 x 3600 | 6000 x 7200 |
| 24 x 36 | 3600 x 5400 | 7200 x 10800 |
| 30 x 40 | 4500 x 6000 | 9000 x 12000 |
Using this as a guide ensures you're starting with a file that has enough detail to produce a crisp, clear print you’ll be proud of.
Choosing the Right Colour Profile
Colour can be a bit tricky because the way your screen shows it is different from how a printer creates it. Your monitor uses an sRGB (Standard Red, Green, Blue) colour profile, which is designed for digital displays. Printers, on the other hand, use a CMYK (Cyan, Magenta, Yellow, Black) process to mix inks on the canvas.
Here’s the good news: most reputable canvas printing companies will automatically convert your sRGB file to their specific CMYK profile for you. Because of this, it's almost always best to submit your file in the sRGB colour space. If you try to convert it to a generic CMYK profile yourself, you might get some unexpected and disappointing colour shifts in the final print.
I’ve also picked up a few quick editing tricks over the years to make photos really pop on canvas:
- Boost the Brightness Slightly: The texture of a canvas can absorb a bit of light, which can make prints appear a little darker than they do on your backlit screen. A small bump in brightness helps compensate for this.
- Increase the Contrast: Pushing the contrast between the light and dark areas of your photo adds depth and stops the image from looking flat on the fabric.
- Sharpen Mindfully: A touch of sharpening can really bring out the details. Just be careful not to overdo it, as that can create weird, unnatural-looking halos around objects.
Selecting the Best File Format
The format you save your image in also makes a difference. For a more general overview on this topic, this guide on optimizing digital files for printing has some useful information.
Essentially, it comes down to two main options for printing: JPEG and TIFF.
| Feature | JPEG (.jpg) | TIFF (.tif) |
|---|---|---|
| Compression | Lossy: A little bit of data is lost every time you save, which can lower the quality if you edit it a lot. | Lossless: Keeps every single piece of original image data, giving you the absolute maximum quality. |
| File Size | Much smaller, which makes it faster and easier to upload and store. | Significantly larger, which can make uploading a slow process. |
| Best For | Perfect for submitting your final, edited photo to a print service. Just make sure to save it at the highest quality setting. | The choice for professional photographers or anyone doing extensive editing before saving the final version. |
For most of us, saving the final edited image as a high-quality JPEG is perfectly fine and is what the vast majority of online printing services prefer. But if you're a pro looking for archival-level quality, a TIFF file will give you the best possible detail.
By getting these few simple file prep steps right, you're setting yourself up for a flawless and vibrant canvas print that you’ll be excited to hang on your wall.
Choosing the Right Canvas and Finishes
With your digital file perfected, it’s time for the fun part: picking the physical materials that will turn your photo into a piece of art. The choices you make here are about so much more than just looks; they dictate the texture, the vibrancy, and how long your print will last. Think of it as choosing the perfect ingredients for a gourmet meal—every single one matters.
Not all canvases are created equal, and the material you select will have a huge impact on how your colours look and the overall feel of the finished product. Getting this right is the key to creating a print that truly matches your vision.
Selecting the Ideal Canvas Material
When you print a photo onto canvas, you’ll usually be choosing between cotton and polyester blends. They might look similar at a glance, but they each bring something different to the table.
Cotton Canvas: This is the traditional artist's choice, and for good reason. It has a beautiful, natural weave that gives prints a classic, fine-art feel. Cotton is fantastic at absorbing ink, which often results in incredibly rich, deep colours. The one thing to watch for is its sensitivity to humidity—if it's not stretched and protected properly, it can sometimes loosen or tighten over time.
Polyester-Blend Canvas: This is the modern workhorse. By blending cotton with polyester, you get the best of both worlds. It keeps some of that classic cotton texture while gaining the strength and stability of polyester. This makes it far more resistant to moisture and less likely to sag, which is a huge plus for larger prints or for canvases hanging in places with fluctuating temperatures, like a sunroom or kitchen.
These material advancements are part of a massive global trend. The canvas roll market is actually projected to hit USD 1.48 billion by 2035, all thanks to innovations in printing. For us here in New Zealand, this means local print shops can offer higher quality, more vibrant photo canvases to meet the growing demand for personalised home decor. You can see how the canvas market is evolving to get a sense of the industry's direction.
Understanding Stretcher Bars and Wrap Styles
Once you've picked your canvas, the next decision is how to display it. This comes down to the wooden frame, known as stretcher bars, and the way your canvas is wrapped around them. These might seem like minor details, but they completely change the final look.
The depth of the stretcher bar—usually a standard 2 cm or a chunkier 4 cm—gives your canvas its profile from the side. A deeper profile creates a more substantial, three-dimensional presence on the wall, giving it that high-end gallery feel.
Just as important is the wrap style, which is all about what happens on the edges of your canvas.
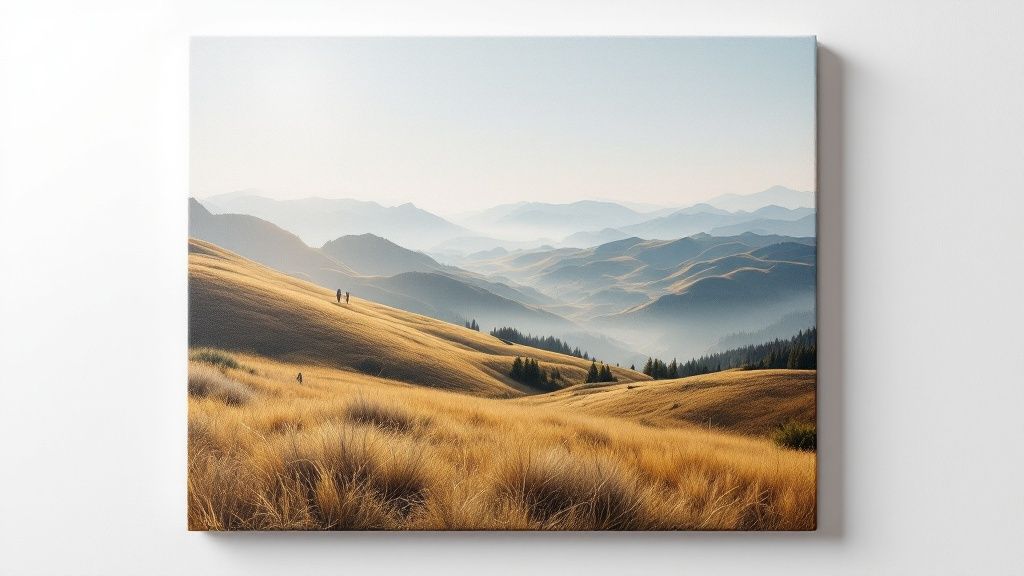
- Gallery Wrap: This is where the image itself extends around the sides of the frame. It creates a seamless, modern look that's ready to hang straight out of the box. This style is perfect for sweeping landscapes or abstract photos where losing a tiny bit of the image at the edges won’t hurt the composition.
- Museum Wrap: With this style, your entire photo is kept on the front surface. The sides are then finished in a solid colour—often black, white, or a complementary tone pulled directly from your image. It’s the ideal choice for portraits or any photo where important details are right near the edge.
A great print has a presence. It’s not just an image on a surface; it’s an object that commands attention and connects with the viewer on a physical level.
Ultimately, choosing a wrap style is about respecting your photo's composition. For a tightly-cropped family portrait, a museum wrap is the smart move to avoid cutting off someone's arm. But for that sprawling beach sunset, a gallery wrap will create a much more immersive, edge-to-edge experience.
Applying the Perfect Protective Finish
The final touch is the protective finish, or coating, that goes over the printed canvas. This isn't just for looks; it's a crucial shield for your artwork. A quality finish creates a barrier against UV light (which prevents fading) and also protects against dust, moisture, and scratches.
Here’s a breakdown of the common finishes and how they’ll affect the final look:
| Finish Type | Appearance | Best For | Considerations |
|---|---|---|---|
| Matte | A completely non-reflective, flat finish. | Rooms with bright, direct light, as it minimises glare. Black and white photos often look stunning in matte. | Colours can appear slightly softer or less punchy compared to other finishes. |
| Satin (or Semi-Gloss) | A subtle sheen that sits perfectly between matte and gloss. | This is the most popular choice for a reason. It offers a great balance of vibrant colour and low reflection. | Can still catch some glare if placed directly under a strong light source. |
| Gloss | A high-shine, very reflective finish. | Making colours pop with maximum vibrancy and contrast. It can give photos a sleek, modern look. | Prone to significant glare, making it a poor choice for brightly lit rooms. It also shows fingerprints easily. |
The finish you choose should complement both your photo and the room it’s destined for. A glossy canvas might look incredible with a colourful abstract piece, but the reflections could be seriously distracting in a sunny living room. On the other hand, a matte finish on a dramatic landscape can give it a sophisticated, museum-quality feel without any annoying glare. Taking a moment to think through these final details ensures your canvas print is not only beautiful but also perfectly at home.
Professional Service or DIY Project?
So, you’ve got your photo dialled in and a good idea of the materials you want. Now for the big question: do you hand your image over to a professional, or do you roll up your sleeves and make this a DIY project?
There’s no single right answer here. It really boils down to what you value most – is it perfect quality, the cost, your time, or the satisfaction of creating something yourself?
Let’s be clear, both paths can lead to a stunning canvas on your wall, but they are very different journeys. One is about getting a polished, predictable result with minimal fuss. The other is a hands-on craft where the personal touch is part of the final charm. Let's weigh up the options so you can choose the right route for you.
Why Go With a Professional Printing Service?
For most people, using a professional service is the most reliable and efficient way to get a photo onto canvas. These businesses are set up for one thing: turning digital files into high-quality physical prints with consistency and precision. Their whole workflow is optimised for it.
A huge advantage is their gear. Professional print shops use commercial-grade, large-format printers that are specifically calibrated for canvas. They run on archival pigment inks, which produce a much richer range of colours and last far longer than anything you could get from a home printer. This means your print won’t just look great when it arrives; it will resist fading for decades to come.
Beyond the machinery, you’re paying for expertise. A good print technician understands the subtleties of colour management. They know exactly how an image on a backlit screen will translate to an absorbent canvas fabric and can make tiny adjustments to ensure the final print is true to your vision. Getting colour right is an art in itself and is incredibly tricky to replicate at home.
When you use a professional lab, you are effectively outsourcing the task to print your work. If you choose a good lab... you can end up with quality prints easily enough.
This is really the heart of it. You offload all the technical headaches and, in return, get a perfectly stretched, coated, and finished product that's ready to hang. It saves you time, prevents costly mistakes, and guarantees a level of quality that’s tough to achieve on your own.
Finding the Right NZ Print Partner
Choosing a local service here in New Zealand isn’t just about finding a printer; it's about finding a partner. While the number of general printing businesses in New Zealand saw a slight annual decline of 3.4% between 2019 and 2024, the market for specialised services like canvas printing is holding strong. That’s because smaller, expert-driven shops thrive on personalised service and niche skills. You can find more detail on the NZ printing industry's structure on ibisworld.com.
When you’re checking out a company, keep an eye out for:
- Clear Material Specs: They should be totally upfront about the type of canvas they use (cotton vs. poly-blend), the ink (archival pigment is what you want), and any protective coatings they offer.
- A Simple Proofing Process: Many great services provide a digital proof. This is a final preview of your image showing the crop and wrap before it goes to print, giving you one last chance to spot any issues.
- Customer Reviews and Galleries: Have a good look at examples of their finished work. Are the colours vibrant? Are the gallery wraps tight and neat? Photos from real customers are often the best sign of quality.
The DIY Photo Canvas Adventure
If you're a hands-on type who loves a good craft project, the DIY approach can be incredibly rewarding. This method isn't about printing directly onto canvas. Instead, you transfer a printed photo onto a blank canvas using a special medium, creating a unique, rustic, and perfectly imperfect look.
The most popular technique involves a gel medium like Mod Podge. You print your photo onto regular paper (a laser printer is a must, as inkjet ink will smear!), coat a blank canvas with the medium, then press the photo face-down onto it. Once it’s completely dry, you use a damp cloth to gently rub away the paper backing. The ink stays behind, transferred onto the canvas surface.
The result has a distinct, weathered charm. The canvas texture shows right through the image, and any minor flaws in the transfer just add to its handmade character. It's an amazing way to create a vintage or artistic vibe.
But, it's really important to go in with realistic expectations. The DIY method is not a shortcut to a professional-grade print.
- Common Pitfalls: It’s so easy to rub too hard and accidentally remove some of the ink with the paper. Getting an even transfer without bubbles or tears takes a bit of practice.
- Cost and Time: While the supplies might seem cheaper upfront, the cost of blank canvases, mediums, brushes, and sealant can add up. More importantly, it’s a time-consuming process that demands patience.
- Quality Limitations: Your final image will never be as sharp or colour-accurate as a professional print. It's a completely different artistic style.
Making your own canvas is less about flawless reproduction and more about the creative journey. It’s a fantastic weekend project, but it’s not the right choice if you need a perfect, high-fidelity copy of your photo.
Professional Printing vs DIY Canvas Creation
To help you decide, here’s a quick head-to-head comparison of the two approaches. Think about what matters most to you for this specific project.
| Factor | Professional Printing Service | DIY Project |
|---|---|---|
| Final Quality | High-resolution, colour-accurate, and archival quality. A flawless reproduction. | Rustic, textured, and artistic. Imperfections are part of the charm. |
| Cost | Higher upfront cost per print, but predictable. No wasted materials. | Lower initial supply cost, but mistakes can add up. Requires tools and materials. |
| Time & Effort | Very fast. Upload your file and wait for delivery. Minimal effort required. | Time-intensive. Requires drying time, patience, and a delicate touch. |
| Customisation | Limited to printer's options (size, wrap style, frame). | Full creative control over texture, finish, and artistic effects. |
| Best For... | Important photos, gifts, wall art where quality is paramount. | Fun craft projects, creating a vintage look, personal satisfaction. |
Ultimately, there's no wrong choice. A professional service delivers guaranteed quality and convenience, while the DIY route offers a fun, creative experience and a truly one-of-a-kind piece.
Time to Display and Care for Your New Canvas Art
You’ve done it. You’ve successfully printed your photo onto canvas, and it looks incredible. But the job isn't quite finished. Now it’s time to make sure this personal piece of art becomes a lasting centrepiece in your home with thoughtful display and proper care.
Protecting your investment doesn’t take a lot of effort, but it does require the right approach. With just a few simple habits, you can keep your canvas looking as vibrant as the day it arrived for decades to come.
Keeping Your Canvas Clean and Vibrant
Over time, the textured surface of a canvas can become a bit of a dust magnet. The secret to keeping it looking pristine without causing any damage is regular, gentle cleaning. And when I say gentle, I mean it.
A soft, dry, lint-free cloth is your best friend here—think microfibre or even an old, clean cotton t-shirt. A light wipe over the surface every month or so is all it takes to remove any settled dust. If you need to get into the corners, a soft-bristled brush (like a new, clean paintbrush) works wonders.
Here’s what you absolutely must avoid:
- Household Cleaners: Never, ever use chemical sprays, detergents, or even water. Liquids can soak into the canvas material, which can cause the ink to bleed or the fabric to warp and sag.
- Abrasive Materials: Steer clear of paper towels or rough cloths. They can easily scratch the protective coating and leave behind annoying lint.
- Direct Sunlight: UV rays are the number one enemy of any printed artwork. Constant, direct sunlight will inevitably cause those beautiful, vibrant colours to fade. Find a spot for your canvas that gets plenty of indirect light but is shielded from the harsh afternoon sun.
Hanging Your Canvas Securely
Choosing the right spot and using the correct hardware is key to ensuring your artwork hangs safely and looks its best. Before you even think about grabbing a hammer, take a moment to plan the placement.
A good rule of thumb is to hang art so its centre is at eye level, which for most people is around 145-152 cm from the floor. This creates a comfortable viewing height that feels balanced in almost any room. Here's a pro tip: use painter's tape to mark out the canvas dimensions on the wall first. It’s a dead-simple way to visualise the placement before you make any holes.
The hanging hardware you choose will really depend on the size and weight of your canvas:
- Small to Medium Canvases: A single sawtooth hanger, which is often pre-installed by the printing service, is usually plenty. A sturdy picture hook and nail will hold it securely.
- Large Canvases: For bigger, heavier pieces, it’s much safer to use two D-rings and picture wire. This approach distributes the weight evenly and makes getting the canvas perfectly level a whole lot easier.
A great print has a presence. It’s not just an image on a surface; it’s an object that commands attention and connects with the viewer on a physical level.
Properly hanging your art is what gives it that commanding presence. A crooked or insecurely hung canvas can instantly detract from its beauty, no matter how stunning the print itself is.
Creative Ways to Display Your Prints
While a single, stunning canvas can make a powerful statement on its own, don't be afraid to get a bit more creative with how you display your photos. Moving beyond a solo print can create a truly dynamic and personal feature wall.
One of the most popular ideas is the gallery wall. This is where you arrange a collection of different-sized canvases and framed prints together. The trick to making it look cohesive is to stick to a common theme—maybe family photos all in black and white, or travel landscapes that share a similar colour palette. You can even mix in other decorative items like mirrors or small shelves for some extra visual interest.
Another really impactful technique is the canvas split, sometimes called a triptych. This involves splitting a single, high-resolution image (usually a sweeping landscape or a wide cityscape) across three or more separate canvases. When they're hung with a small gap between them, it creates a dramatic, panoramic effect that draws the eye and fills a large wall space beautifully. Don’t be afraid to mix and match; your new canvas print can look fantastic alongside paintings, sketches, and other forms of art, telling a richer story about you and your home.
Common Questions About Canvas Printing
Alright, you're almost ready to go, but a few questions might still be swirling around. It’s completely normal. Before you hit ‘print’, let's clear up some of the common queries I hear all the time. Getting these details sorted will give you that final bit of confidence to create something amazing.
Let's dive into the specifics.
What Kind of Photo Works Best for Canvas?
Not all photos are created equal when it comes to canvas. For the best results, you want a high-resolution image with crisp lighting and a clear subject. Think of those stunning landscape shots with vibrant colours, professional portraits, or even punchy abstract designs – these all look incredible on a textured canvas surface.
On the flip side, you’ll want to steer clear of anything blurry, grainy, or too dark. And definitely avoid pulling images from social media. Those platforms compress photos heavily, which means they’ll likely look pixelated and fuzzy when blown up. A quick pro tip for portraits: make sure your subject isn't right at the very edge of the photo, otherwise they might get awkwardly wrapped around the frame.
How Long Will My Canvas Print Actually Last?
This is a great question, and the answer is probably longer than you think! A high-quality, professionally made canvas print that uses archival inks and a UV-protective coating can easily last for decades. We're talking 75 years or more without any noticeable fading.
The two biggest factors here are the quality of the materials and where you hang it. To give your print the longest life possible, keep it out of direct sunlight and away from rooms with high humidity, like a bathroom. A DIY print, while a fun project, just won't have the same staying power because the materials aren't designed for longevity.
Can I Use a Photo From My Phone?
Yes, you almost certainly can! The cameras on modern smartphones are seriously impressive. A photo from a recent high-end phone has more than enough resolution to look sharp and clear on a canvas up to 40x60 cm (around 16x24 inches), and sometimes even larger.
The golden rule is to always use the original file from your phone's camera roll. Don't use a version you've sent through a messaging app or downloaded from social media. Those services automatically shrink the file, and that crushes its quality.
Choosing Between Cotton and Polyester Canvas
One of the last things you'll decide on is the canvas material itself. You’ve really got two main players: cotton and polyester. This little breakdown shows you how they stack up.

As you can see, polyester is a bit easier on the wallet, but 100% cotton canvas brings that archival quality and durability. If this is a piece you want to keep for years to come, cotton is a fantastic investment.
Ready to turn that favourite photo into a masterpiece? At SONI DESIGN, we specialise in creating beautiful, high-quality canvas prints that really bring your images to life. Let's make something incredible together. Start your canvas print project with us today!
Leave a Comment
Stay home & get your daily
needs from our shop
Start You'r Daily Shopping with Nest Mart