
Your cart is currently empty.

Thinking about getting photos printed here in Auckland? At SONI DESIGN, we run a full professional printing service that turns your digital files into beautiful, high-quality prints. Whether it's for your business, a big event, or a personal project, we manage the entire process to get it just right.
Your Guide to Professional Photo Printing in Auckland
This is our go-to guide for Auckland businesses ready to transform their digital ideas into something tangible. We get it – a quality print is so much more than just ink on paper. It's a powerful business tool.
For a real estate agent, it’s that one stunning photo that makes a buyer stop and dream. For a shop owner, it’s a window display that literally stops people on the street. This guide is about moving beyond just uploading a file; it’s about understanding the craft behind making a truly exceptional print.
The Power of Print in a Digital Age
It’s easy to think everything is digital these days, but the feel of a professional print creates a connection you just can't get on a screen. A well-made print speaks volumes about your brand's commitment to quality and attention to detail. From event signage to company brochures, physical media is still a cornerstone of any solid marketing plan.
Print isn't just about making a physical copy; it's about making an impression. A striking, professionally printed photograph can tell a story, evoke emotion, and elevate a brand in a way that a fleeting digital image often cannot.
Who This Guide Is For
We put this guide together for local businesses that care about making an impact. You might be a seasoned marketing pro or completely new to professional printing—either way, you'll find real, practical advice here.
We'll walk you through everything you need to know to print photos in Auckland with confidence:
- Getting Your Files Ready: We’ll cover the must-knows, like resolution and colour modes.
- Choosing Your Materials: Find the perfect paper and finish to make your project shine.
- Placing Your Order: A look at our straightforward process for getting flawless results.
New Zealand’s printing industry is a big deal—it's valued at $1.4 billion. Here in Auckland, the constant buzz of events creates a huge demand for specialised printing. This really shows how much businesses still rely on quality marketing materials, which is exactly where we come in. You can dig into more data on New Zealand's printing market to see the full picture.
And it’s not just about business flyers. Think bigger! You could even create unique projects like beautiful family picture books to tell a more personal story.
Getting Your Digital Files Ready for Printing
The secret to a stunning print doesn't start at the printer; it begins on your computer. A few key decisions right at the start will make the difference between a sharp, vibrant photo and one that looks disappointingly blurry. Getting this digital prep work right is hands-down the most crucial step when you decide to print photos in Auckland. It ensures the image you love on your screen translates perfectly to paper.
This journey from a digital file to a tangible, high-quality print is something we've perfected over the years.
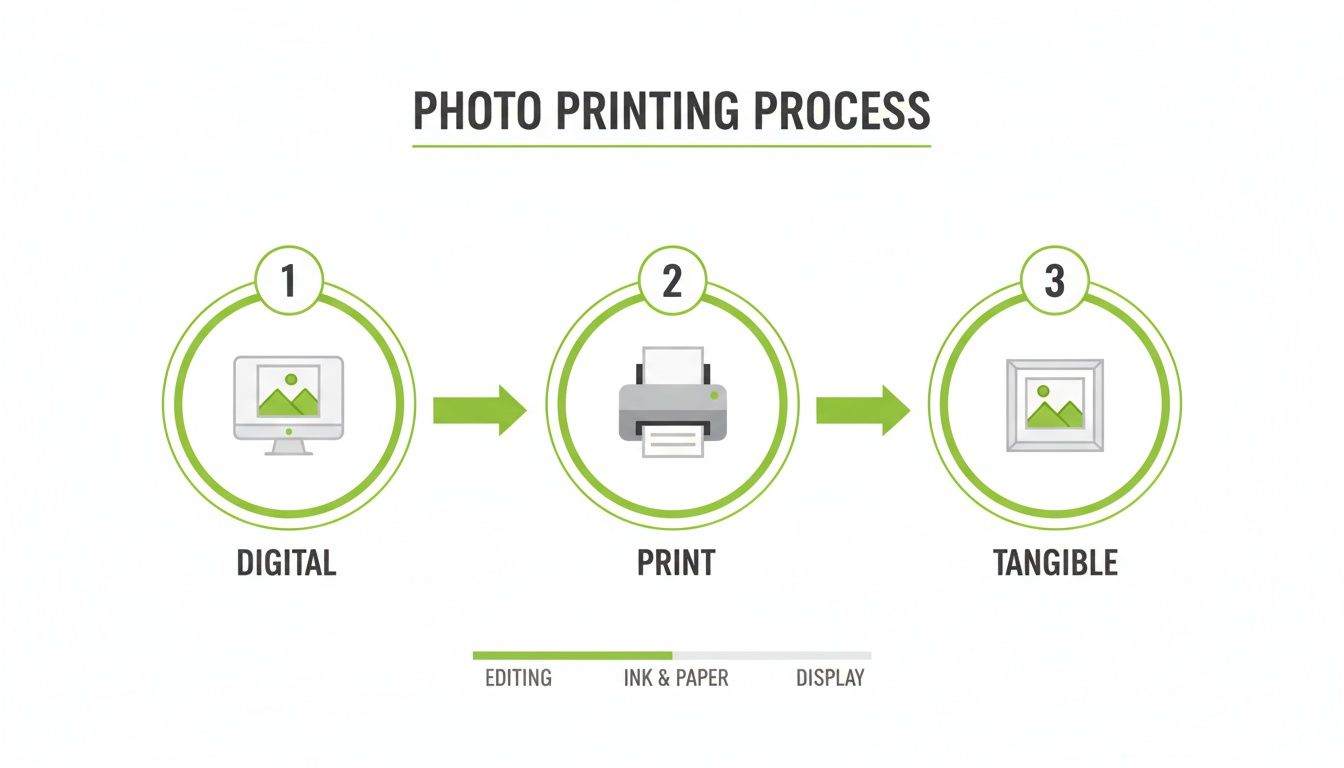
As you can see, what you do before you even send us the file has a huge impact on the final result.
The Gold Standard: Resolution
Ever seen a printed photo that looked fuzzy or a bit "blocky"? That’s almost always a resolution problem. For printing, the magic number is 300 dots per inch (DPI) when measured at the final size you want to print. An image might look perfectly crisp on your 72 DPI computer screen, but when you print it, those same pixels get stretched out, causing a noticeable loss of detail.
Think of it like the thread count in high-quality sheets—the more dots packed into every inch, the smoother and sharper the final image will be. Sending in a low-resolution file is one of the most common and easily avoidable mistakes we see. It’s always better to start with a large, high-quality image and scale it down than to try and make a small image bigger.
Getting Colours Right: RGB vs. CMYK
Here’s another critical detail: setting the right colour mode. Your phone and computer screen create images using the RGB (Red, Green, Blue) colour model. They mix light to produce a massive range of bright, glowing colours. Our professional printers, however, work with ink on paper, using the CMYK (Cyan, Magenta, Yellow, Key/Black) model.
The range of colours you can achieve with light (RGB) is fundamentally different from what you can achieve with ink (CMYK). Converting your files to CMYK before sending them to us is the best way to get predictable, accurate colours in your final prints.
If you send us an RGB file, our software has to make its best guess at how to convert the colours. This often leads to unexpected shifts—vibrant blues or greens on screen can look duller or slightly off in print. By handling the conversion yourself in a program like Adobe Photoshop, you stay in control of how the final colours will look.
Choosing the Best File Format
The type of file you save your image as also plays a big role in the final quality. Each format is designed for a different purpose, so it pays to know which one to use.
Getting your file settings right from the start is the best way to guarantee a print you'll be proud of. Here’s a quick cheat sheet for the ideal specifications.
| Specification | Recommendation | Why It Matters |
|---|---|---|
| Resolution | 300 DPI (at final print size) | Ensures a sharp, clear image without any pixelation or blurriness. |
| Colour Mode | CMYK | Matches the ink-based process of professional printers for accurate colour reproduction. |
| File Format | TIFF, high-quality JPEG, or PDF | Preserves maximum image detail and is universally compatible with print workflows. |
Following these guidelines helps avoid common printing issues and ensures a smooth process from digital file to finished product.
Here’s a bit more detail on the common file types:
- TIFF (Tagged Image File Format): This is the undisputed champion for quality. TIFFs use what’s called "lossless" compression, meaning absolutely no image data is thrown away when you save the file. This makes them perfect for high-end art reproductions or archival prints where every single detail is critical.
- JPEG (Joint Photographic Experts Group): This is the format we all know and use. JPEGs are fantastic for balancing great quality with a much smaller, more manageable file size. Just be sure to use the highest quality setting when you save it to minimise any data loss.
- PDF (Portable Document Format): A PDF is your go-to when you need to combine images with text and other design elements, like in a brochure, poster, or business card. A high-quality PDF locks everything in place—fonts, layouts, and images—so what you see on your screen is exactly what we see on ours.
Choosing the Right Paper and Finish for Your Project
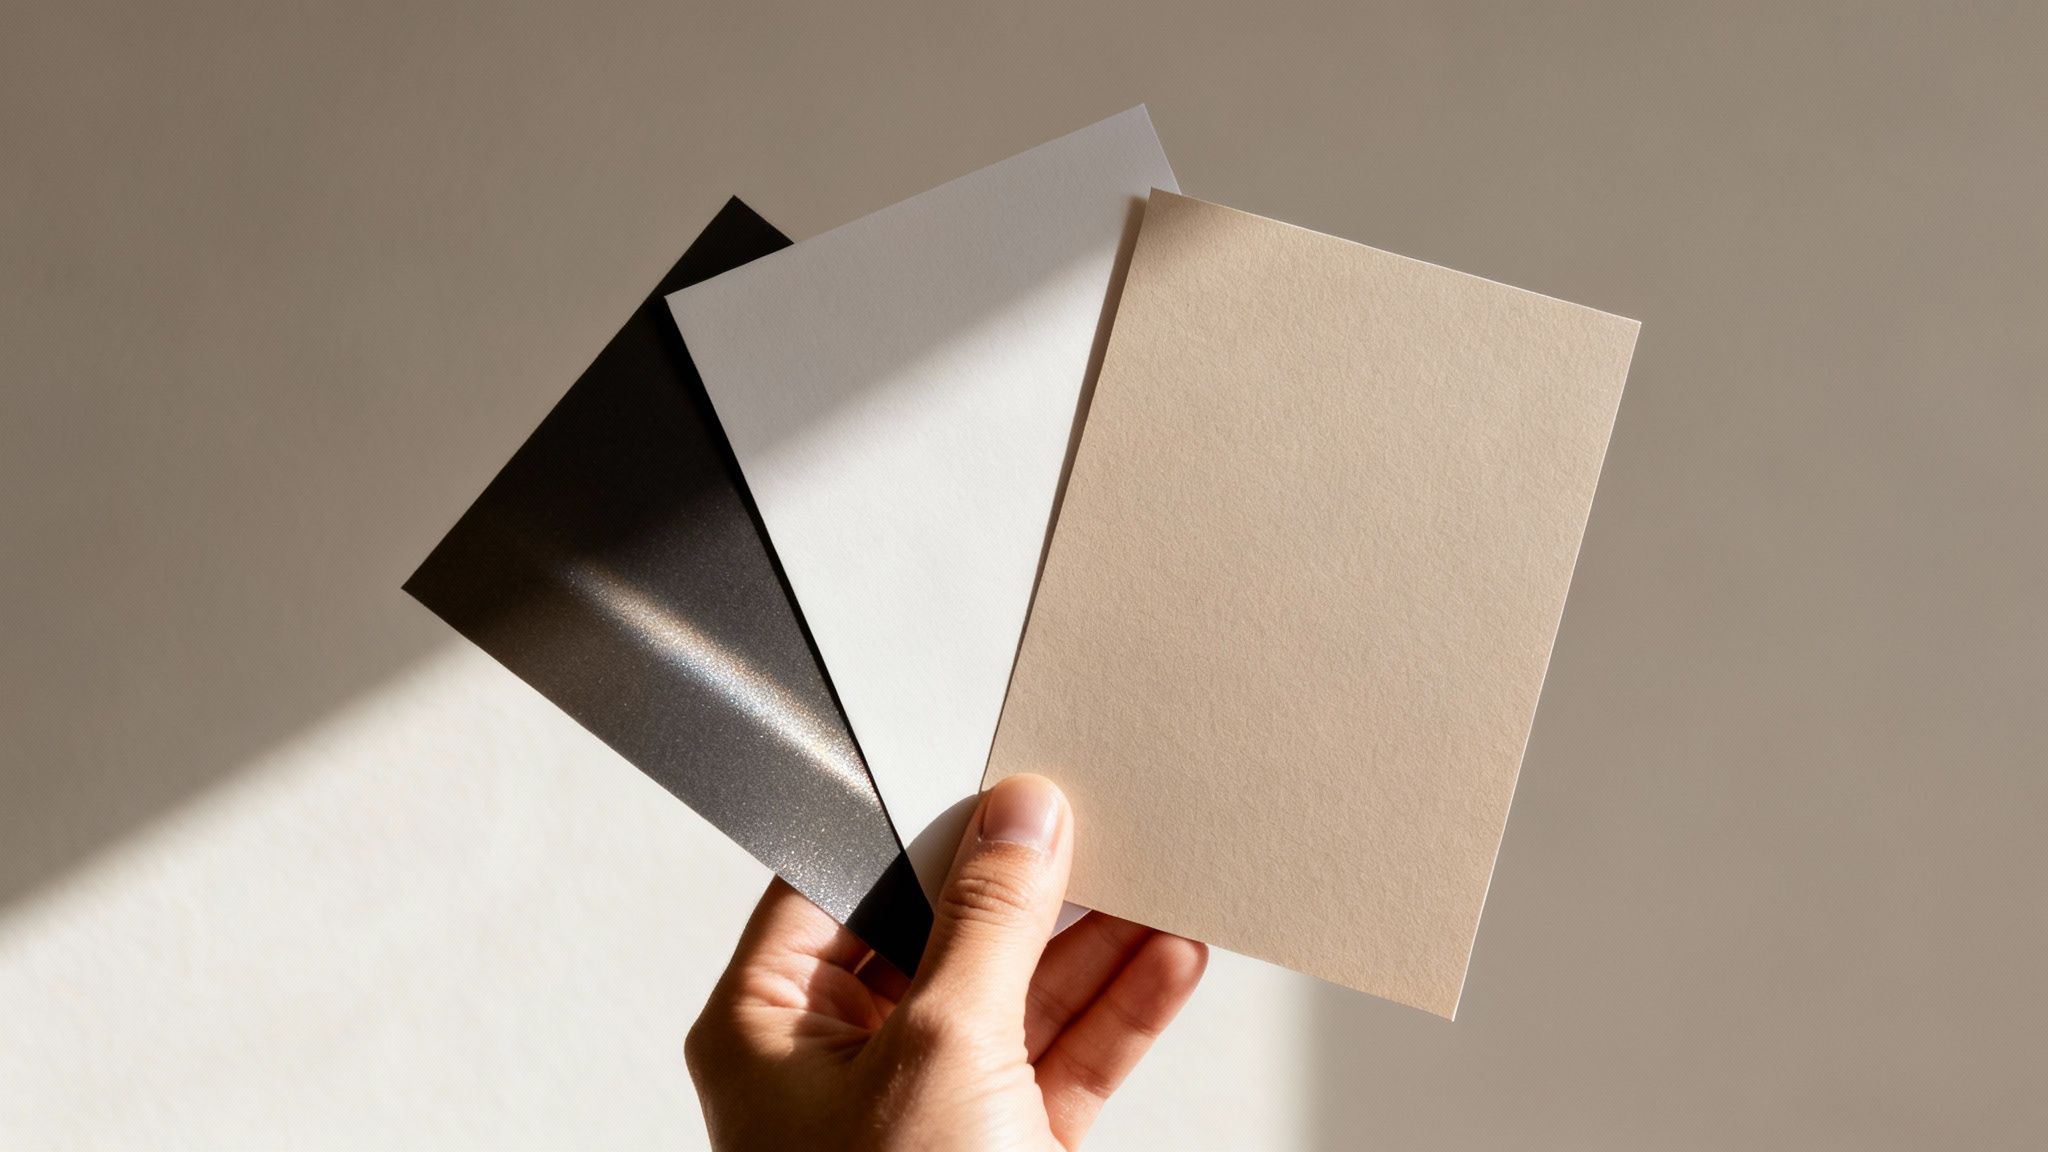
A perfectly prepared digital file is a great start, but the journey to a stunning print is far from over. The paper you choose is a huge part of the story, shaping how your image is seen, felt, and experienced. When you want to print photos in Auckland, getting the paper and finish right is what turns a good picture into something truly professional.
Think of paper as the canvas. It has a massive influence on colour depth, texture, and the entire mood of the final product. A vibrant commercial shot and a subtle, artistic portrait need completely different foundations to really sing.
Making Sense of Paper Finishes
The finish is simply the texture on the paper’s surface, and its effect on the final look is dramatic. Each option has its own personality, making it a better fit for some projects over others.
These are the most popular choices we work with every day:
- Gloss Finish: This is your high-impact, look-at-me option. Glossy paper has that reflective, shiny surface that makes colours feel incredibly deep and saturated. It's spot-on for promotional materials, retail displays, or any colourful photography where you need every detail to pop.
- Matte Finish: If you’re after a more understated, sophisticated feel, matte is the way to go. Its non-reflective surface completely cuts out glare, making it perfect for fine art prints, moody black and white photos, and professional portraits that will hang under direct light.
- Satin or Lustre Finish: This is the happy medium, and for good reason. It offers a slight sheen that boosts colour vibrancy but without the mirror-like reflection of full gloss. It's also much more forgiving with fingerprints. This makes it a go-to choice for everything from family photos to corporate headshots.
Your choice of finish really does guide how someone sees the image. A high-gloss paper screams energy and excitement, perfect for a retail sale. A non-reflective matte finish, on the other hand, invites quiet contemplation, which is exactly what you want in an art gallery or a professional portfolio.
Why Paper Weight Matters
It’s not just about the surface feel; the paper's weight—measured in grams per square metre (GSM)—plays a huge part in how the print feels in your hands. A higher GSM number means a thicker, heavier, and more durable paper stock.
A standard flyer, for example, might be printed on 150 GSM paper. It feels substantial enough, but it's still flexible. A premium art print or the cover of a high-end brochure, however, would benefit from a much heavier stock, maybe 300 GSM or even more. That extra weight sends a clear message of quality and permanence.
There's a growing global appreciation for high-quality tangible products. The photo printing market is actually projected to hit USD 33.26 billion by 2030, driven by businesses and individuals wanting personalised items like calendars, wall art, and branded merchandise.
And you don't have to stop at paper. Materials like foam core board offer a lightweight yet rigid backing for your prints, which is a fantastic solution for presentations or in-store displays.
Placing Your Order: Getting Your Prints Just Right
We've designed our ordering process to be as clear and collaborative as possible because getting the final print perfect is a team effort. Whether you’ve got a print-ready file all set to go or you need a bit of expert guidance, we have a way of working that will suit you.
Basically, there are two main ways to bring your project to life with us: our super-efficient online system or a more personal, hands-on consultation at our Auckland shop. Let's walk through which one might be right for you.
The Fast Track: Our Online Portal
If you know exactly what you need, our online portal is the quickest way to get your order in the queue. We’ve built it to be straightforward, guiding you from file upload to checkout without any fuss.
This is the perfect route for simple jobs or repeat orders where you've already locked in the specs. Just upload your high-resolution files, pick your paper, finish, and quantity, and your order is placed in minutes. It’s all about efficiency, letting you get your print job started anytime, anywhere.
The Personal Touch: In-Person Consultations
Sometimes, you just need to see and feel the options for yourself. For those moments, nothing beats popping into our Auckland shop for a chat. This is where the tactile side of printing really comes alive. It's your chance to feel the different paper weights, see how light plays on a gloss versus a matte finish, and check out real-world examples of our work.
Visiting us in person turns abstract choices into confident decisions. You can hold a 300 GSM satin stock in your hand and compare it directly to a 170 GSM gloss, making sure the final product has the exact premium feel you're after.
This hands-on approach is fantastic for big-ticket projects—a portfolio for a real estate development, a new retail campaign, or fine art prints where every detail matters. You can talk through your vision directly with our team, and we can offer practical advice to make your project even better.
Turnaround Times and Getting Your Prints
We know deadlines are important, so we pride ourselves on being reliable and transparent. Once your order is confirmed and your artwork is approved, here’s what you can generally expect:
- Standard Photo Prints: These are usually ready for collection or dispatch within 1-3 business days.
- Larger or Custom Orders: Projects with custom sizes, big quantities, or special finishes might take a little longer. We’ll always give you a clear and accurate timeline right at the start.
When your prints are ready, you’ve got options. You can swing by our Auckland spot to collect them, which is a great chance to review the final product with us on the spot. If you can't make it in, we also offer a reliable delivery service across the wider Auckland region, ensuring your prints arrive safely at your office, home, or event venue.
Using Professional Prints to Grow Your Business
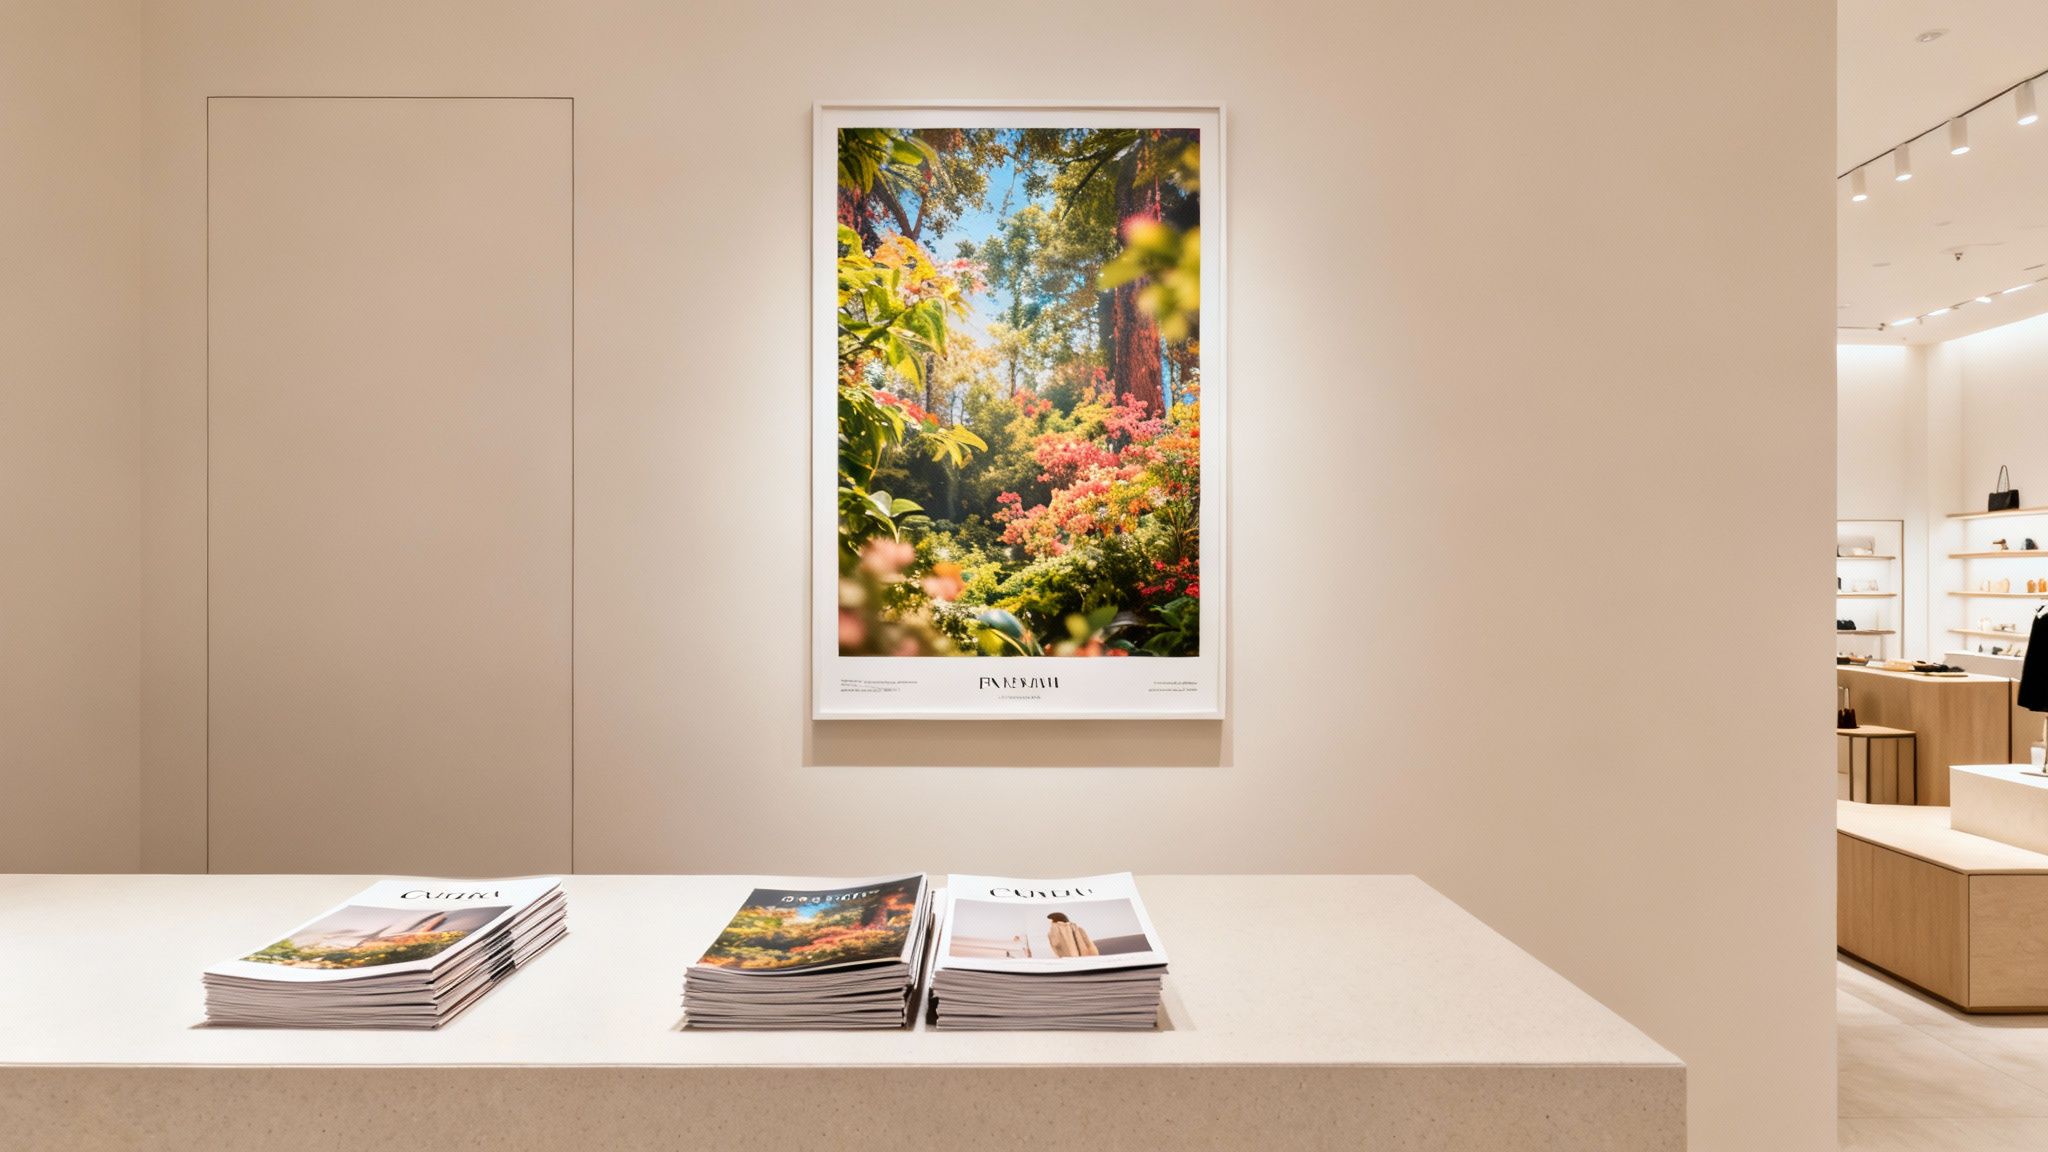
It’s easy to think of printing as just another business expense, but that's missing the point. High-quality prints are a direct investment in how people see your brand and a surprisingly powerful tool for growth. For many Auckland businesses, getting away from purely digital marketing creates real, physical touchpoints that cut through the noise.
Think about it: a stunning print has a permanence and a feel of quality that a fleeting social media post just can't replicate.
Whether it’s a beautifully crafted property brochure or an eye-catching display in your shop, the right printed materials can completely elevate your marketing game. They can be the difference between being remembered and being scrolled past.
How Real Estate Agents Make an Impact
In Auckland's fiercely competitive property market, you only get one chance to make a first impression. A huge part of an agent’s success comes down to making a listing look absolutely irresistible, and professional printing is a cornerstone of that strategy.
Picture someone walking past your office. A massive, vibrant window display showing off a property’s best features will literally stop them in their tracks. It’s a world away from a tiny image on a screen.
Here’s how top agents are using print to their advantage:
- Property Brochures: Handing a potential buyer a brochure printed on thick, satin-finish paper feels premium. It gives them something tangible to take away, keeping the property at the front of their mind.
- Window Displays: Crisp, high-resolution prints of the hero shots—the stunning kitchen, the landscaped garden, that incredible view—create instant street appeal.
- Open Home Materials: It’s the little things that count. Professionally printed sign-in sheets, feature cards highlighting key details, and local area maps all build a picture of a polished, trustworthy operation.
Crafting an In-Store Experience for Retailers
For any brick-and-mortar store, the atmosphere inside is what sets you apart. Professional prints can help turn a simple shop into a space that tells your brand’s story, guiding customers and boosting sales. A well-placed graphic can pull someone towards a new collection or shine a spotlight on a special offer.
Imagine a boutique on Ponsonby Road. A few striking, large-scale prints of their latest campaign photos can set the entire mood of the store, communicating style and quality the second someone steps inside.
High-quality prints do more than just decorate a space; they tell a story. For retailers, they can transform a product on a shelf into a desirable lifestyle, directly influencing the customer’s perception of value and their decision to purchase.
This approach is part of a much bigger trend. New Zealand's print-on-demand market, valued at around USD 120 million, is growing fast as businesses find new ways to connect with customers through custom merchandise and decor. You can explore more about this expanding market and the opportunities it presents for local businesses.
Building a Professional Image for Event Organisers
Whether you’re running a corporate conference at the Viaduct Events Centre or a local community market, looking professional is everything. Top-notch printed materials make sure every single touchpoint feels organised, credible, and well-thought-out.
Think about the attendee's journey. It starts with a well-designed invitation and continues with clear signage, smart-looking name badges, and easy-to-read programmes. Each printed item reinforces the quality of your event.
Must-have print materials for any event include:
- Directional Signage: Clear, legible signs printed on durable material guide people effortlessly. No more confused guests.
- Credentials and Lanyards: Custom-printed name badges aren't just for identification; they're a branding opportunity and a professional touch.
- Programmes and Menus: An agenda or menu that has been professionally printed feels far more premium than a photocopy, instantly elevating the guest experience.
By investing smartly in quality prints, businesses that print photos in Auckland can seriously strengthen their brand, engage customers more effectively, and ultimately, see better results. It’s all about using every tool you have to make a memorable impression.
Your Photo Printing Questions, Answered
When you're looking to print photos in Auckland, there are always a few questions that come up. Getting these sorted from the start makes the whole process smoother and ensures you walk away with prints you absolutely love. Here are the most common things people ask us, with some straightforward advice to help you get started.
From the nitty-gritty tech specs to the final creative touches, a little bit of knowledge goes a long way.
What’s the Minimum Resolution I Need for a Great Print?
For a really sharp, professional-looking print, you'll want your file to be 300 dots per inch (DPI) at the size you intend to print it. It’s a common trap to think an image that looks great on your 72 DPI computer screen will look just as good on paper, but printing will expose any blurriness or pixelation if the resolution is too low.
Think of it like the difference between standard and high-def TV. That extra detail packed into a 300 DPI file is what gives you a crisp, impressive physical print. If you're not sure about your file's quality, just send it over. We can take a look and give you honest feedback before anything goes to print. It’s a simple check that prevents any disappointment down the line.
Can You Actually Get Good Prints From a Smartphone Photo?
Yes, absolutely! Modern smartphones are incredible, and the photos they take are often more than good enough for professional printing. The most important part is how you get the file to us.
To keep the quality high, always send the original, full-size image. Avoid sending it through apps like Messenger or WhatsApp, as they automatically compress photos to save data, which crushes the quality.
Instead, your best options are:
- Emailing the file directly from your phone's photo gallery.
- Uploading it to a cloud service like Google Drive or Dropbox and sharing the link.
- Popping into our Auckland shop with your phone so we can transfer it directly.
We can quickly check if the file is up to the task for your chosen print size. It's amazing what today's phone cameras can produce when the files are handled correctly.
How Long Does It Usually Take to Get Photos Printed in Auckland?
We get it—deadlines are a big deal, especially when it comes to business projects. For our standard photo prints, you can usually expect them to be ready for pickup or dispatch within 1-3 business days.
Of course, more involved jobs—like large-format prints, a big run of marketing materials, or anything that needs a bit of design help—will naturally take a bit longer. We'll always give you a clear, upfront timeline when you place your order. If you’ve got a super urgent deadline for an event or a campaign, just give us a heads-up. We'll do everything we can to make it happen for you.
Gloss vs. Matte Finish: Which Should I Choose?
This is a great question, and the answer really depends on the photo itself and where it will be displayed.
A gloss finish has that classic shiny surface that makes colours pop. It’s fantastic for vibrant, dynamic images—think bold promotional shots or colourful landscapes where you want maximum impact.
On the other hand, a matte finish has zero reflection, giving it a more subtle, artistic feel. This makes it perfect for portraits, black and white photography, and fine art prints, especially if they’ll be displayed under direct light where glare could be an issue. If you're looking for something in the middle, a satin or lustre finish offers a lovely, soft sheen without the high shine of full gloss.
Ready to turn your digital images into something you can hold? The team at SONI DESIGN is here to guide you through every step. Start your print project with us today!
Leave a Comment
Stay home & get your daily
needs from our shop
Start You'r Daily Shopping with Nest Mart