
Your cart is currently empty.
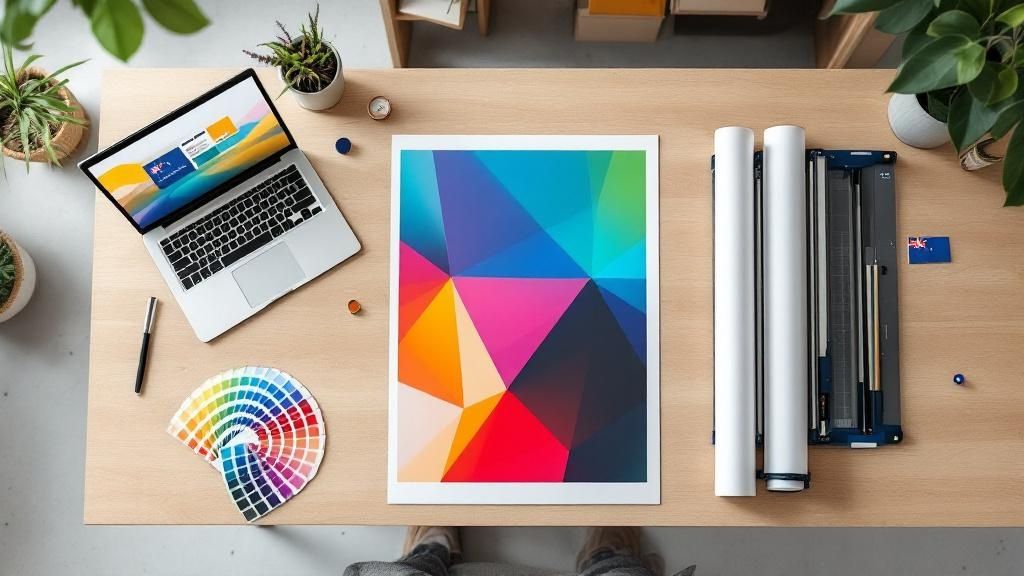
So, you've got a killer design ready and want to bring it to life as a high-impact poster? Let's cut through the noise and get straight to what matters for poster printing in NZ. Forget the confusing technical jargon; we're here to make this process simple.
Your Guide to Flawless Poster Printing in NZ
We'll walk you through everything, from picking the perfect paper that makes your colours sing, to prepping your artwork so it looks just as good on paper as it does on your screen. These are the kinds of insider tips that local Kiwi printers wish every customer knew, helping you sidestep common traps like pixelated images or weird colour surprises.
Consider this your practical roadmap to getting professional-looking posters, no matter what you need them for. We’ll cover the essentials to make sure everything goes smoothly:
- Choosing Your Stock: We’ll look at paper weights and finishes, and which ones work best for different projects.
- Getting Your Artwork Ready: This is all about setting up your file correctly with the right resolution and colour settings.
- Placing Your Order: How to confidently navigate an online printing portal, from uploading your file to getting it delivered.
Think of this as your go-to guide for taking your project from a digital file to a stunning print, without the headaches.
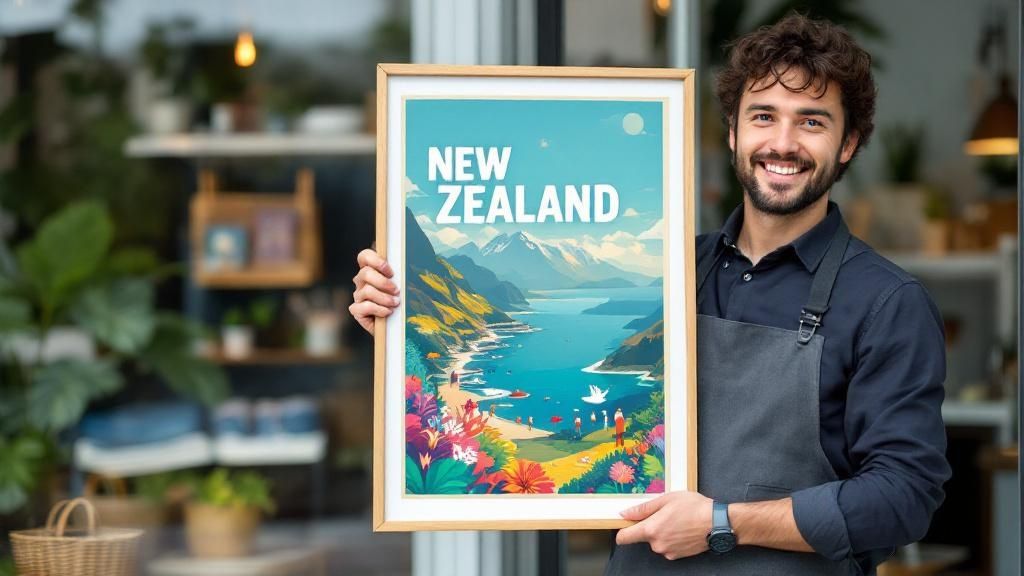
Choosing Materials That Make Your Design Shine

The paper you print on is just as important as the design itself. It's the foundation of your poster, dictating everything from how the colours appear to how long it will last. Get this part right, and your artwork will truly come to life.
Before you jump in, it’s worth getting your head around what types of materials your artwork can be printed onto to see the full range of possibilities available.
Matching the Finish to the Environment
Think about where your poster will end up. Is it going in a gallery, a cafe window, or on a notice board? The answer changes everything.
A glossy finish, for example, is brilliant for making photos look incredibly vibrant and punchy. But stick that same poster under the harsh spotlights of an exhibition, and all you’ll see is glare.
On the other hand, a matte finish gives you a sophisticated, almost velvety look with zero reflection. It’s perfect for art prints or detailed designs that need to be viewed up close in well-lit indoor spaces.
Getting the Paper Weight Right
Paper weight, measured in grams per square metre (GSM), is all about the feel and durability. It’s the difference between a flimsy flyer and a premium print.
- For high-end art prints or posters meant to last, a thick, sturdy 250gsm stock feels substantial and high-quality in your hands.
- For short-term promotional posters or event notices, a lighter 150gsm paper is a smart choice. It still looks professional but is more cost-effective for temporary use.
To help you decide, here’s a quick rundown of common options we see used for poster printing projects across New Zealand.
Poster Paper and Finish Comparison for NZ Conditions
| Material/Finish | Best For | Key Characteristics | Typical GSM Range |
|---|---|---|---|
| Gloss Coated | Photo-heavy designs, vibrant marketing posters, shop displays | High shine, makes colours pop, can show fingerprints | 150-250gsm |
| Matte Coated | Art prints, text-heavy posters, minimalist designs | No glare, sophisticated feel, smooth finish | 170-300gsm |
| Satin/Silk | In-between gloss and matte, versatile for most projects | Subtle sheen, good colour reproduction, reduces glare | 150-250gsm |
| Uncoated | Rustic or natural-themed art, writable posters | Natural, textured feel, ink soaks in more | 120-300gsm |
Ultimately, choosing the right combination of finish and weight ensures your poster not only looks fantastic but is also perfectly suited for its purpose and environment.
Getting Your Artwork Ready for Print
The secret to a stunning final poster? It all happens before you even think about printing. Getting your digital file properly prepared is easily the most important part of the whole process, and it’s where you can sidestep common headaches like blurry images or colours that just look off.
To make sure your design looks as good on paper as it does on your screen, a little technical know-how goes a long way. Think about brushing up on some effective graphic design principles—it really helps.
The Two Most Important Checks
First up, let's talk about resolution. For a crisp, professional-looking poster, you should always be working with a resolution of 300 DPI (dots per inch). Anything less, and you risk that dreaded pixelated look, especially on larger prints.
Next is the colour mode. Your computer screen uses an RGB (Red, Green, Blue) colour profile, which is great for digital viewing. But commercial printers here in NZ operate on a CMYK (Cyan, Magenta, Yellow, Black) profile. If you don't convert your file to CMYK in your design software, you could be in for a surprise when the colours don't match what you saw on screen.
Here’s a quick visual guide to the typical workflow for prepping your files.
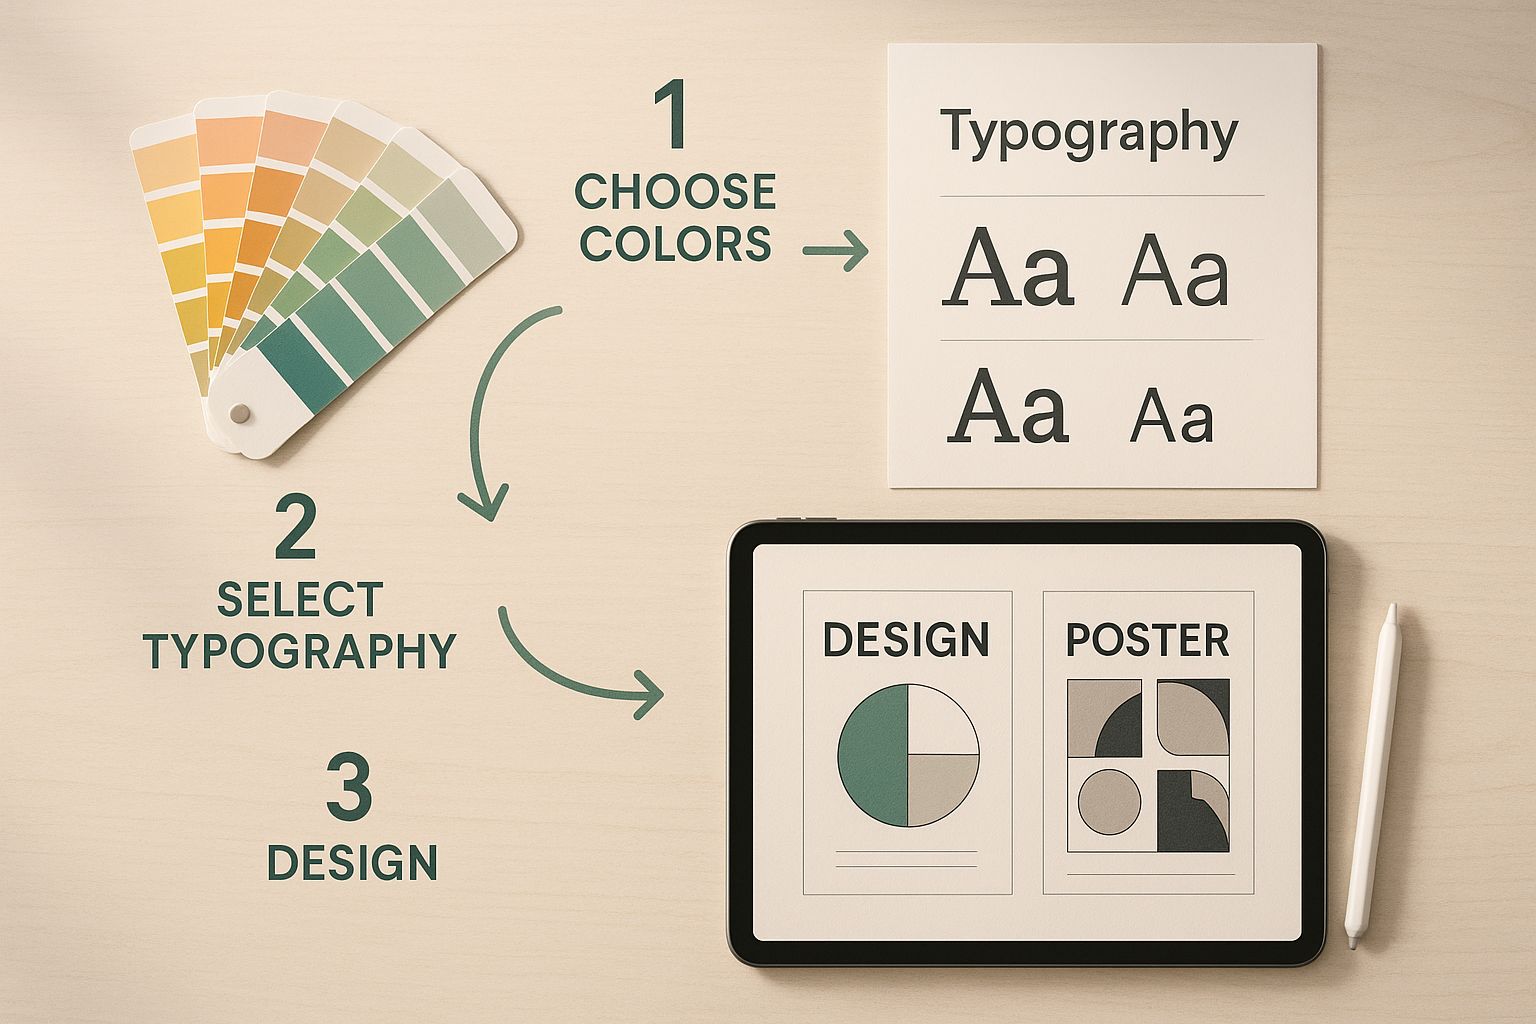
This kind of process is what makes modern digital printing so brilliant—it’s faster and way more precise than old-school methods. It’s a trend that printers across New Zealand are really leaning into, allowing for much more efficient and customised jobs for everyone.
Getting Your Posters Printed and Ordered in NZ
Right, you’ve put in the hard yards and your artwork is looking sharp. Now for the easy part: getting it printed.
Most Kiwi print websites have a pretty logical flow. You'll start by uploading your print-ready file, then it's time to lock in the specifics. This is where you’ll choose your poster size (say, A2 or A3), how many you need, and select that paper stock you settled on earlier.
Don't Skip the Digital Proof
Before your job hits the big printers, you’ll be sent a final digital proof. Think of it as a final dress rehearsal for your poster.
Seriously, don't just glance at it and click 'approve'. This is your last chance to spot a rogue typo, a weird formatting glitch, or colours that look a bit off. A few minutes spent checking the proof can save you a world of pain and the cost of a full reprint.
Once you give the green light, you're on the home stretch. Keep in mind that turnaround times can change depending on how many posters you're ordering or if you've added any special finishes. But nailing that final check is the key to a smooth process from checkout to delivery. The printing scene here in New Zealand is full of great businesses that have made this whole online process incredibly efficient. If you're curious, you can get a broader view of the NZ printing business landscape on ibisworld.com.
Getting More Bang for Your Buck: Smart Poster Printing Tips
When you're printing posters, especially here in NZ, getting the most impact for your budget is the name of the game. It’s not just about finding the cheapest price; it's about making smart choices that save you money without compromising on quality.
One of the biggest lessons I've learned over the years is how bulk ordering can be a game-changer. It might seem counterintuitive to spend more upfront, but the cost per poster plummets when you increase the quantity. Ordering 50 posters in one go will almost always be far more cost-effective than placing five separate orders of 10. Think ahead and batch your printing needs.
Stick to the Standards
Another simple yet effective way to keep costs down is to stick with standard Kiwi paper sizes. We're talking A1, A2, and A3. Printers are set up to run these sizes with maximum efficiency, which means less paper waste and lower costs passed on to you. It's a practical choice that also saves you a headache later – these posters will fit perfectly into off-the-shelf frames, so you avoid the nasty surprise of custom framing fees.
Don't be afraid of white space. It's tempting to fill every centimetre of your poster, but a cluttered design just becomes noise. Good design uses negative space to draw the eye straight to the most important info, making your message clear and memorable from a distance.
Consider Your Paper Stock
Finally, have a think about your paper choice. Opting for recycled paper isn't just a nod to sustainability; it can genuinely strengthen your brand's image, particularly with eco-conscious New Zealanders. This is a savvy move in a market that's constantly shifting. With the local printing industry seeing revenue decline by about 4.8% each year between 2018 and 2023, printers are focusing more on providing value and unique options.
If you're interested in the nitty-gritty, you can read more about New Zealand's printing market trends on researchandmarkets.com.
Got Questions About Poster Printing in NZ?
We get a lot of the same questions from people new to poster printing, so I've put together some quick answers to the most common ones we hear.
Chances are, your question is answered right here.
What's the best file format for my poster?
Stick with a high-resolution PDF. It’s the gold standard for a reason—it locks in all your fonts, images, and layouts, so what you see on your screen is exactly what we print. It’s the most reliable way to get predictable, professional results every single time.
How long does it all take?
Generally, you can expect a turnaround time of 2-3 business days for the printing itself. After that, you just need to factor in shipping time to get it to your doorstep.
Can I just print one poster?
Absolutely! There's no need to order in bulk if you don't need to. Whether you need a single poster for a gallery wall or hundreds for a marketing campaign, we can handle it.
Leave a Comment
Stay home & get your daily
needs from our shop
Start You'r Daily Shopping with Nest Mart