
Your cart is currently empty.

Think about the marketing you see every day. Digital ads flash by, and emails get deleted in a second. But what if you could put your brand on a client's desk or wall for an entire year? That’s the power of a custom photo calendar here in NZ. It’s not just another piece of marketing fluff; it’s a genuinely useful tool that keeps you front and centre, day in and day out.
Why a Custom Photo Calendar Is a Smart Marketing Move in NZ
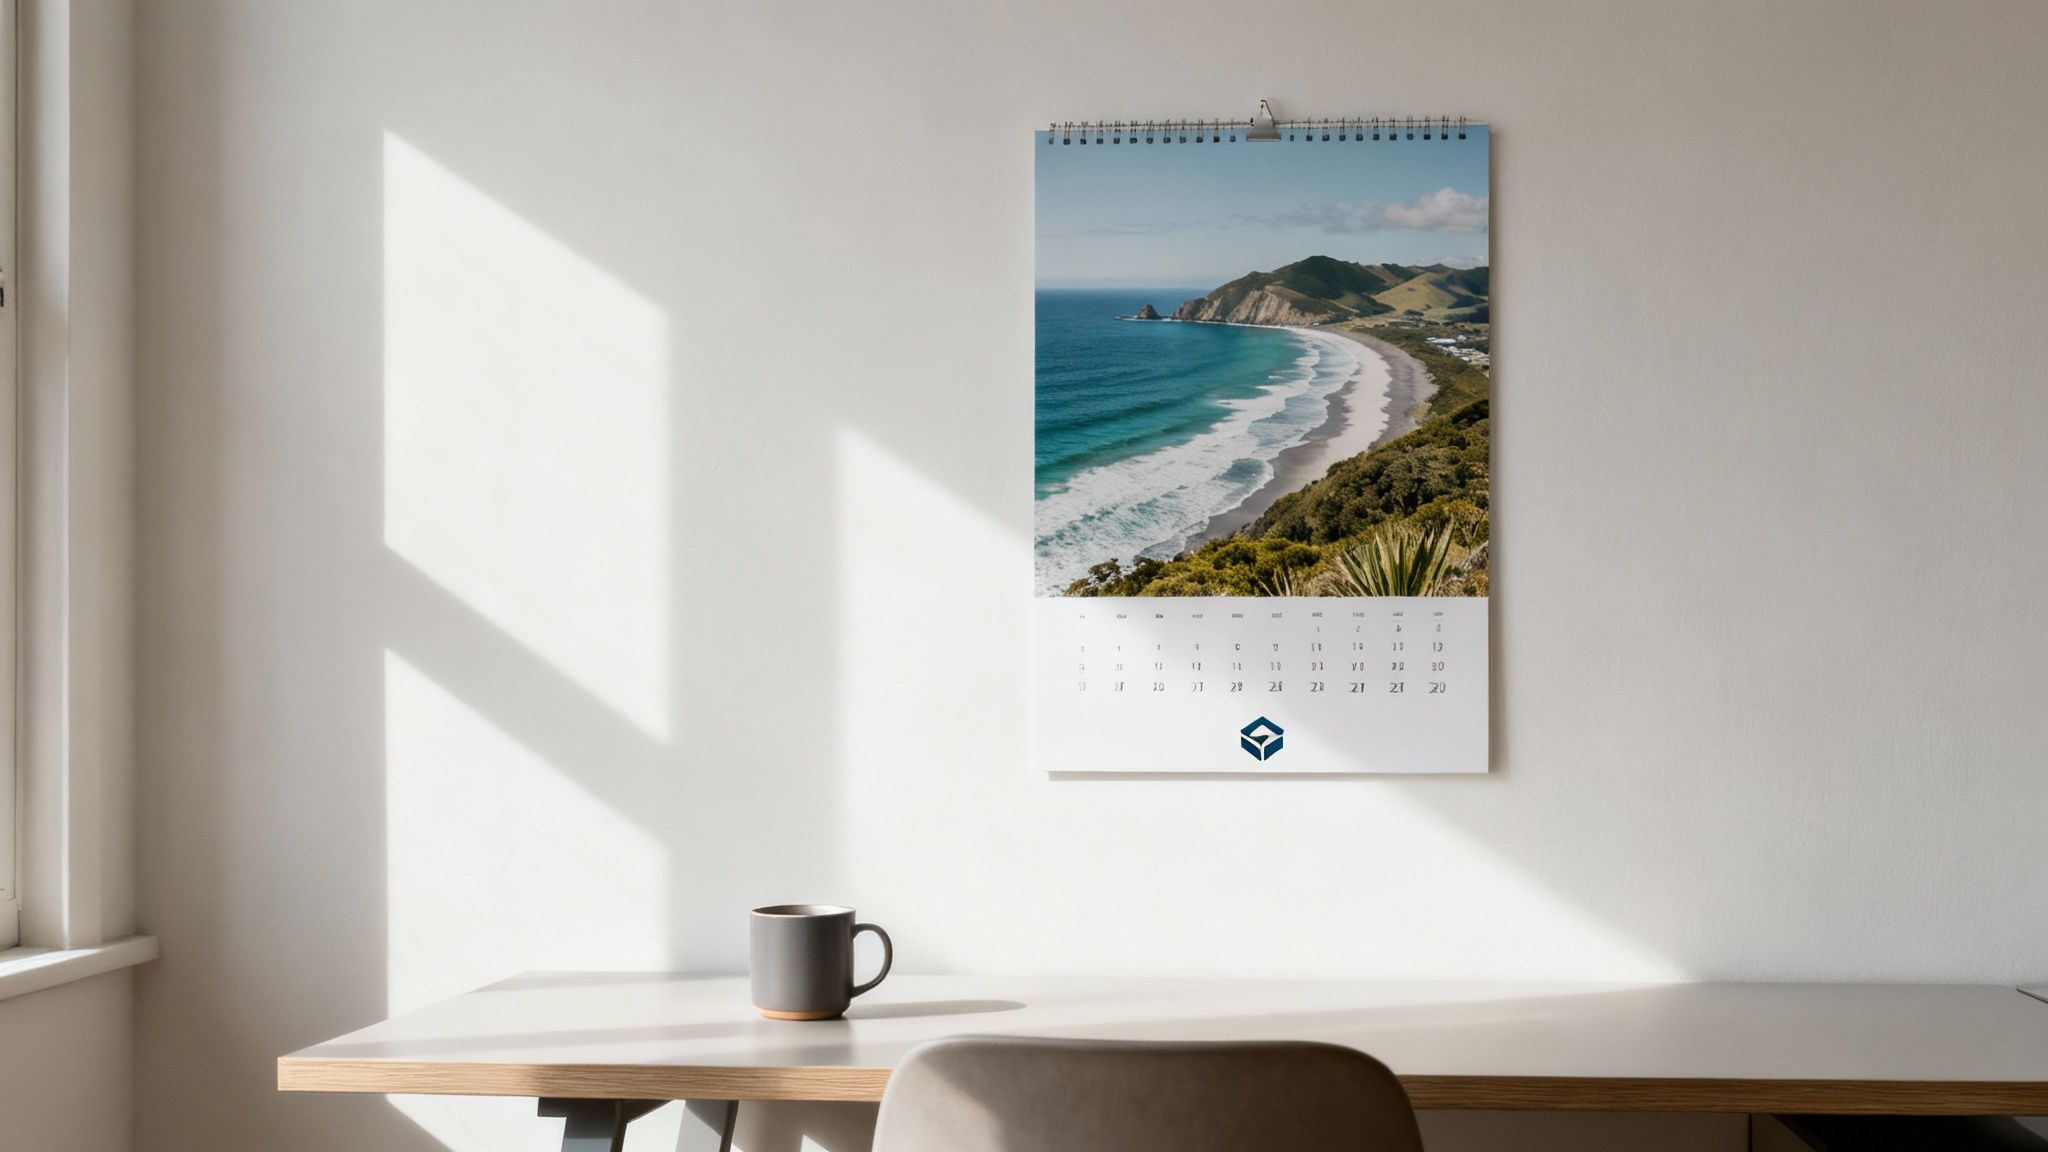
In a world buzzing with digital distractions, something you can actually hold makes a real impression. A custom photo calendar is so much more than a way to track dates—it's a constant, physical reminder of your business. It becomes part of the furniture, sitting on a desk or hanging on a kitchen wall for 365 days.
This kind of daily exposure quietly builds familiarity and trust. It’s not pushy or invasive. When a customer eventually needs what you offer, your details are already right there, impossible to miss.
Real-World Scenarios for Kiwi Businesses
Let's get practical. Imagine a local cafe creating a calendar with gorgeous shots of their seasonal dishes or the local farmers who supply their produce. It instantly deepens their connection with the community. Or a real estate agent could gift clients a calendar filled with stunning photos of homes they've sold in the neighbourhood—a subtle but effective way to showcase their success.
It works for almost any Kiwi business:
- Mechanics and Tradies: Feature photos of your best work or even your team. It adds a human touch and builds trust.
- Tourism Operators: What better way to inspire the next holiday than with a calendar full of breathtaking local scenery?
- Retail Shops: Use each month to highlight a new product line, a seasonal special, or an upcoming promotion.
This turns a simple giveaway into a powerful storytelling device. And the demand is there. New Zealand's printing industry is a massive $1.4 billion market, largely because businesses are always looking for personalised print solutions that cut through the noise. You can dig deeper into the numbers by checking out the latest New Zealand printing market insights.
A thoughtfully designed photo calendar moves beyond simple advertising. It serves as a daily touchpoint, offering practical value while weaving your brand's story into the fabric of your client's year.
When you get right down to it, a custom photo calendar offers a fantastic return on your marketing spend. It’s a low-cost item that delivers high-impact, continuous brand reinforcement all year long. By working with a creative team like Soni Design, you can create a high-quality photo calendar nz businesses will be proud to hand out and clients will be genuinely happy to use.
Getting Your Calendar Concept and Layout Right
Before you even think about which photos to use, the best calendars start with a solid concept. This is where you decide the story your calendar will tell for the next 12 months. Think of it as a year-long marketing piece – it needs a clear, consistent theme to hold it all together.
For instance, a Christchurch construction company could feature its most impressive builds, with a different project highlighted each month. A Wellington café might showcase its seasonal menu, matching beautiful food photography with the right time of year. The idea is to build a narrative that subtly reinforces who you are every time someone flips the page.
Choosing the Right Size and Format
The physical size and style of your photo calendar nz have a massive impact on how it's used and perceived. The most important question to ask is: where will my clients actually put this? The answer will point you straight to the perfect format.
Let's look at the most popular options and where they work best:
- A4 Wall Calendars: These are the classic go-to for a reason. They're versatile, fit perfectly in office cubicles, staff rooms, or on the fridge at home, and offer a great balance of visual appeal and writing space.
- A3 Wall Calendars: If you’ve got stunning photography that deserves to be seen, go big with A3. This format makes a real statement and is perfect for businesses like tourism operators showing off epic Kiwi landscapes.
- Desk Calendars: Small, practical, and always in sight. Desk calendars are fantastic for corporate gifts because they sit right on your client's desk, keeping your brand top-of-mind all day long.
Really think about your audience's environment. A massive A3 calendar might overwhelm a sleek, minimalist office, while a tiny desk calendar could get completely lost in a busy workshop.
A great calendar isn't just looked at; it's used. Choosing the right format is the difference between your calendar becoming part of a client's daily routine or just another piece of clutter.
Structuring Your Layout for Practicality and Punch
Once you've nailed down your theme and format, it's time to think about the layout. This is where practical design meets your branding. The goal is a clean, professional look that's genuinely easy to use. A cluttered, confusing calendar grid is a useless one, so readability is king.
Here are the key things to get right:
- The Date Grid: Do your clients need heaps of space to jot down notes and appointments? If so, a grid with big, clear boxes is a must. If it’s more for a quick glance at the date, a sleeker, more minimalist grid will do the trick.
- Your Branding: Your logo and contact details are crucial, but they shouldn't scream for attention. Place them where they make sense – maybe at the bottom of each page or neatly tucked into the header. You want to be present, not pushy.
- Photo Placement: How will your images sit on the page? You could go for a dramatic, full-bleed photo that covers the entire top half, or frame your images with a clean white border for a more classic, gallery-style feel.
Getting Your Photos Print-Ready
Your photos are the absolute star of the show in a custom calendar. A stunning design can be completely undermined by images that aren't properly prepared for printing. We’ve all seen it: a photo that looked sharp on screen comes out blurry and pixelated on paper, instantly making the final product feel cheap.
To avoid this, you just need to get a handle on a couple of key technical details. It's not as scary as it sounds, and getting it right will ensure your calendar looks crisp, professional, and does your brand justice.
The Technical Nitty-Gritty: DPI and Colour Mode
The two most important things to get right are resolution and colour mode.
Resolution is all about sharpness. It’s measured in Dots Per Inch (DPI). A photo might look perfectly fine on your website at 72 DPI, but that same file will look fuzzy and unprofessional in print. To get those really sharp, clear results you see in magazines, you need to understand the best photo resolution for printing.
For any professional print job, you should always be aiming for 300 DPI. This is the industry standard and it guarantees that every little detail in your photo will be captured beautifully. Settling for less just isn't worth the risk of a soft, low-quality finish.
Just as crucial is the colour mode. Your computer screen uses an RGB (Red, Green, Blue) model, which creates colour by mixing light. Professional printers, on the other hand, use a CMYK (Cyan, Magenta, Yellow, Black) model, which works by absorbing light on paper. If you send an RGB file to a printer, their software has to guess how to convert it, often leading to disappointing and unexpected colour shifts. To keep full control and ensure your colours look just right, always save your final files in CMYK.
This simple chart breaks down the essentials for you.
| Quick Guide to Image File Specifications |
| :--- | :--- | :--- |
| Specification | Recommended Setting | Why It Matters |
| Resolution | 300 DPI | Ensures your printed photos are sharp, crisp, and professional, not blurry or pixelated. |
| Colour Mode | CMYK | Matches the printer's ink process, preventing unexpected colour shifts and ensuring what you see is what you get. |
| File Format | JPEG, TIFF, or PDF | These are high-quality formats that preserve image data, unlike formats that compress files too much. |
Getting these settings right from the start saves a lot of headaches and ensures your final calendar looks polished and high-end.
This high-level process shows how thinking about your theme and format first sets the stage for a great final layout.
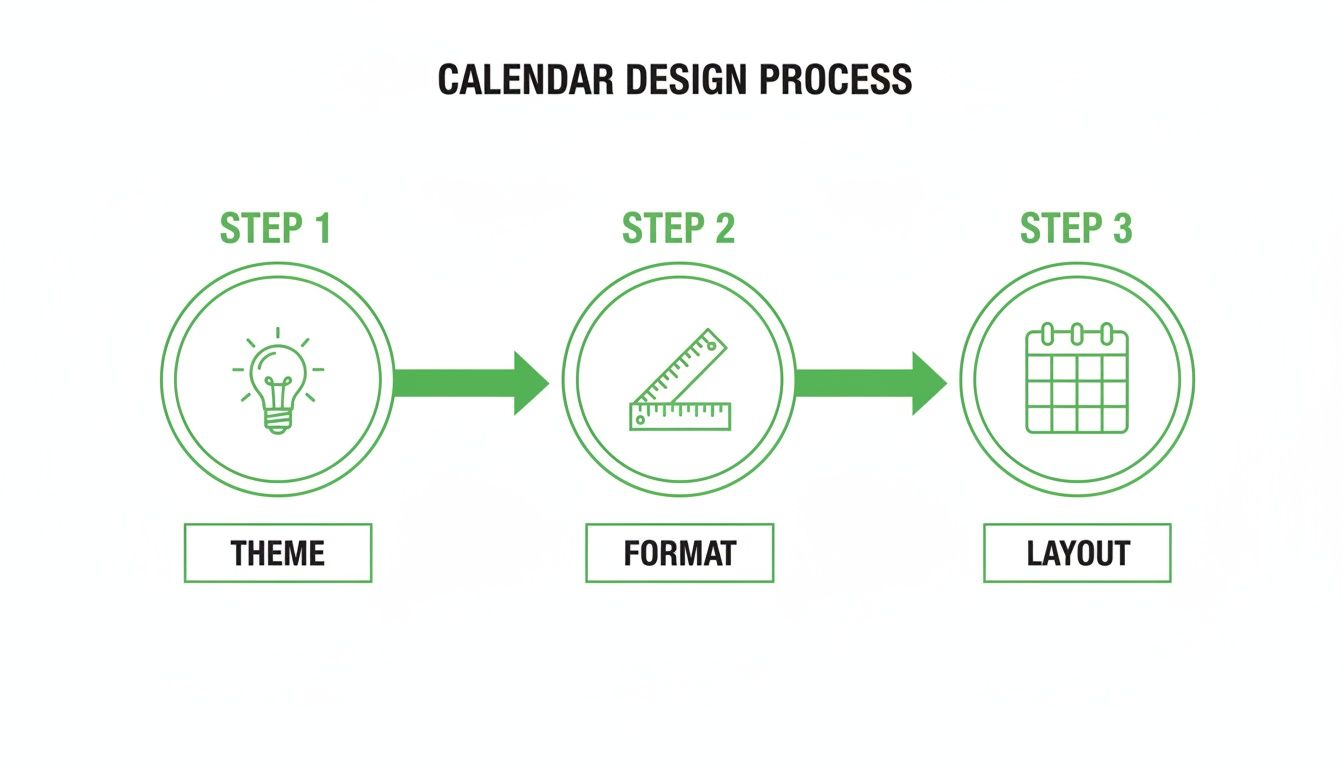
Once your visual foundation is set, you can focus on finding the perfect images to bring it all together.
Finding the Right Images for Your Calendar
So, where do you find these perfect, print-ready photos? You've got a few great options, depending on your brand and budget.
- Commission a Professional Photographer: This is the gold standard. Hiring a local Kiwi photographer means you get completely unique, high-quality images that tell your specific brand story. It’s perfect for showcasing your team, your workshop, or your products in their best light.
- Use Your Own Photos (Carefully!): If you or someone on your team has a knack for photography and a decent camera, this can be a fantastic, cost-effective option. Just be honest with yourself – the photos must be well-lit, in sharp focus, and meet that crucial 300 DPI standard.
- Tap into High-End Stock Photography: When a custom shoot isn't on the cards, premium stock photo sites are your best friend. They offer huge libraries of professional shots. The trick is to find images that feel authentic to a New Zealand audience and align with your brand's look and feel.
Pro-Tip: Consistency is key. Whether you hire a pro, use your own shots, or buy stock photos, make sure all twelve images share a similar style and quality. A cohesive look is what transforms a collection of nice photos into a professional and desirable photo calendar nz businesses and clients will want to display all year.
Choosing the Right Paper and Finishing Touches
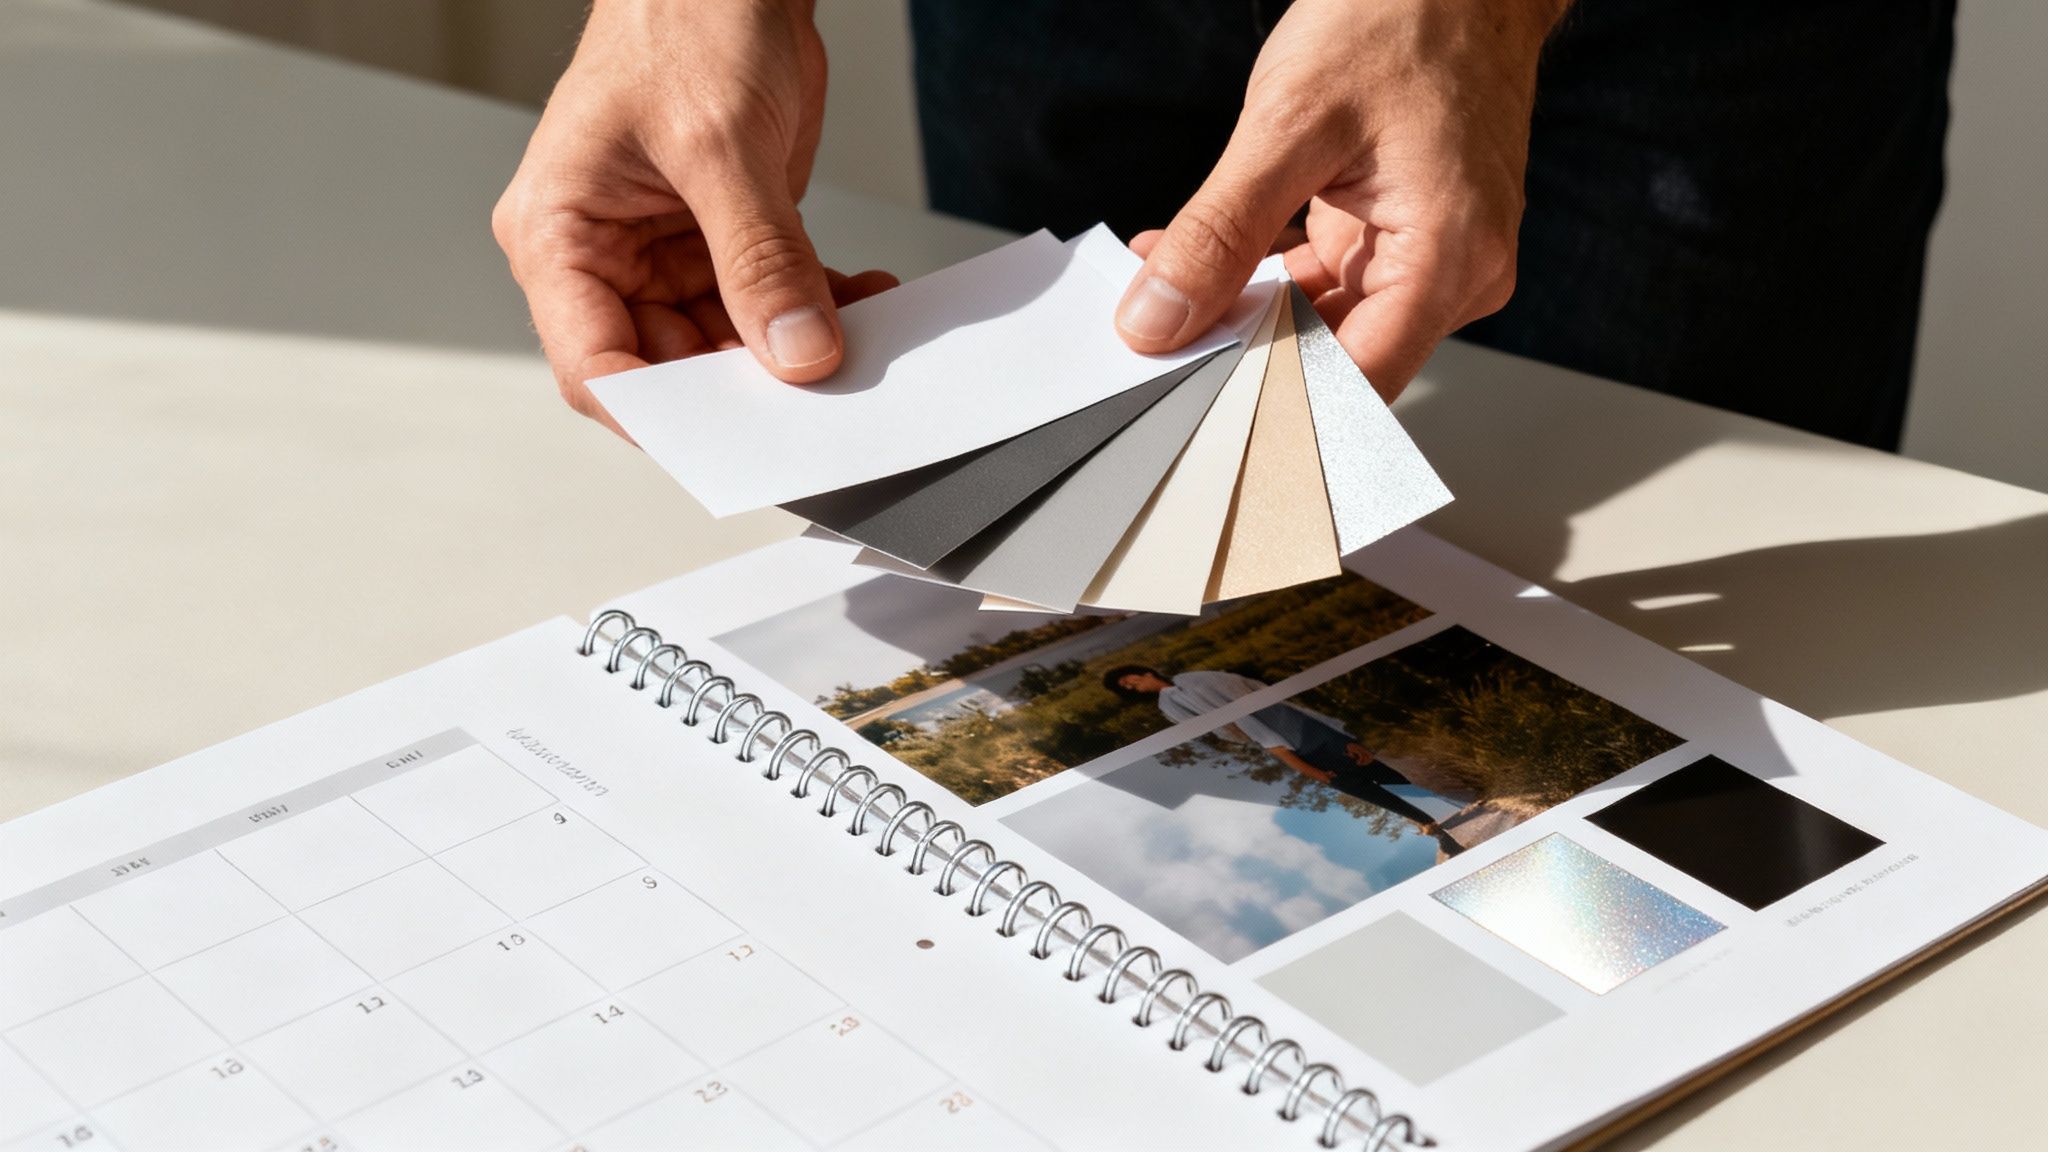
Here's where your calendar goes from being just a printed item to a premium gift. The feel of the paper in someone's hands—its weight and texture—speaks volumes about your brand's commitment to quality. It's a subtle but powerful message.
This decision also has a massive impact on how your photos come across. A glossy finish can make your images burst with life and energy, while a matte finish gives off a more understated, artistic vibe. Let’s look at the main contenders so you can nail this choice.
Understanding Paper Finishes and Stocks
The right finish can make or break the mood of your calendar. A high-end architecture firm wanting to show off its sleek, modern builds will lean towards a very different paper than a local Kiwi cafe wanting to capture its warm, cosy atmosphere. Each stock has its own personality.
- Gloss Paper: This is your go-to for high-impact visuals. The high-shine finish makes photos look incredibly sharp and colours really pop. If your calendar is all about bold, vibrant imagery that demands attention, gloss is a fantastic choice. Just be aware that it can create a bit of glare under direct lighting.
- Silk or Satin Paper: I often call this the "best of both worlds." Silk has a lovely, smooth surface with a low-sheen finish that really enhances colour without the mirror-like reflection of full gloss. It feels professional and high-quality, making it an incredibly popular and safe bet for most corporate calendars.
- Matte Paper: For a more organic, elegant feel, you can't go past matte. With zero shine, it provides a soft, non-reflective surface that's perfect for calendars with an artistic, vintage, or natural aesthetic. A huge practical bonus is that it's a dream to write on—no smudging!
The weight of the paper, measured in Grams per Square Metre (GSM), is what gives your calendar that sturdy, premium feel. A higher GSM feels more substantial and durable, which instantly signals quality.
For a calendar that will hang proudly for a full 12 months, I always recommend a paper weight between 170gsm and 250gsm. This range is the sweet spot—it’s durable enough to last the year but not so thick that it feels like a board. It just hangs nicely and feels great to the touch.
Finalising with Binding and Protective Coatings
Now for the final details that pull it all together. The right binding isn't just about looks; it's about how easy the calendar is to use every day.
- Wire-O Binding: This is the classic for a reason. The twin-loop wire binding lets the pages turn smoothly and lie completely flat against the wall. It’s a clean, professional look that’s hard to beat for wall calendars.
- Saddle-Stitch Binding: Best suited for smaller, booklet-style calendars, this method involves stapling the pages along the folded spine. It's a very cost-effective option, especially if you're ordering a massive run.
One last tip? Think about adding a protective coating to the cover. A thin laminate or varnish not only adds a touch of class but also protects it from fingerprints, scuffs, and the odd coffee splash. It’s a small detail that ensures your photo calendar nz looks fantastic from January right through to December.
Getting it Right: The Proofing and Ordering Stage
Alright, you’ve done the hard yards. The creative thinking is done, the photos are looking sharp, and you’ve landed on the perfect paper stock. Now we’re at the final, and most critical, checkpoint before your vision goes to print: the proofing and ordering process.
This is your last chance to spot anything that’s not quite right. Think of the proof as the final dress rehearsal. It’s your opportunity to give us the green light or flag any last-minute tweaks. I know it’s tempting to rush this part because you’re excited to get the finished calendars in your hands, but trust me, a few extra minutes of careful checking now can save a world of disappointment later.
Your Final Pre-Print Checklist
When that digital proof lands in your inbox, it's easy to just have a quick look at the pictures and give it a thumbs-up. But you need to be more methodical. Treat it like you're inspecting a new car before driving it off the lot—because that’s exactly what it is.
Here’s a breakdown of what I always tell our clients to look for, detail by detail:
- Dates and Holidays: Seriously, check every single date. Pull up another calendar and make sure all the NZ public holidays are marked correctly and that there are no weirdly missing or duplicated days. It happens!
- Text and Spelling: Read every word, and then get someone else to read it too. Your company name, contact info, photo captions, any promotional text—it’s amazing how easily a tiny typo can hide in plain sight.
- Image Placement and Quality: Make sure the right photo is on the right month. Check for any awkward cropping that wasn’t intended and ensure the images still look crisp and high-resolution in the proof file.
- Colour Accuracy: Keep in mind that colours will always look a bit different from screen to screen. What you’re looking for here are any major, unexpected colour shifts. If your brand’s vibrant red suddenly looks maroon, that’s something to flag.
When you’re giving feedback, being specific is key. Instead of saying "move it a bit," tell us "move the logo 5mm to the right to align with the text margin." That kind of clarity means we can nail the changes on the first go.
Approving the proof is you giving the final sign-off. You’re confirming that every detail is 100% correct and ready to hit the press. Take that responsibility seriously—it’s the secret to a flawless result.
Placing Your Order With Confidence
Once the proof is officially approved, it’s time to lock in your order. This just means confirming your final quantity and getting a handle on the production timeline.
Take a moment to think realistically about how many calendars you actually need. It’s always better to have a few spares tucked away than to run out halfway through your Christmas gifting.
Here in New Zealand, the print-on-demand market for products like a photo calendar NZ businesses use for marketing has really taken off. This gives you amazing flexibility, whether you’re ordering a small batch for personal gifts or a massive run for a corporate campaign across Auckland, Wellington, and Christchurch. You can learn more about the growth of NZ's personalised product market and see how it’s helping local businesses like yours.
Finally, always double-check the production and delivery schedule with us. We’ll give you a clear timeline so you know exactly when to expect your beautifully finished calendars to arrive, ready to make a great impression all year long.
Your Photo Calendar Questions Answered
As you get ready to order your custom calendars, you probably have a few questions swirling around. It's completely normal. Getting these practical details sorted out beforehand makes the whole process smoother and ensures you end up with a final product you're proud of.
Let's dive into some of the most common queries we get from local Kiwi businesses.
Is There a Minimum Order?
This is easily the most popular question, especially for smaller businesses or anyone dipping their toes into custom calendars for the first time. The great news is, you've got options. Gone are the days of being forced into a massive print run.
If you’re thinking of a smaller, more intimate campaign—say, a special calendar for your top 20 clients—digital printing is your best friend. It’s perfect for small batches without compromising on a quality finish. But if you're planning a wider giveaway for the whole community, traditional offset printing will give you a much better price per calendar on those larger orders. The best bet is always to have a quick chat with us about what you're trying to achieve, and we can point you towards the most budget-friendly solution for your photo calendar nz project.
Can I Add My Company's Key Dates?
Yes, you absolutely can—and you should! This is one of the smartest ways to turn your calendar from a simple piece of wall art into a genuinely useful tool that keeps your business front and centre all year long.
Imagine your customers seeing reminders for things like:
- Industry trade shows you're attending.
- The launch dates for your new products or services.
- Your company's anniversary or other important milestones.
- Annual sales or special promotional periods.
Just send us a list of your key dates, and we'll weave them right into the design. It's a simple, effective way to stay connected with your clients. For more answers to common questions about the printing process itself, you can always check out resources like these general FAQs on personalized printing.
How Long Will It All Take?
From our first chat about design to the calendars landing on your doorstep, you’re typically looking at a timeframe of two to four weeks. This schedule can shift a little depending on how complex your design is and how quickly you can get back to us with feedback on the proofs.
As a general guide, we suggest allowing about a week for the initial design work, a couple of days for proofing and any revisions, and then another 7-10 working days for the actual printing and delivery anywhere in New Zealand. We'll always give you a clear, realistic timeline right from the start so there are no last-minute surprises.
Do I Need to Hire My Own Designer?
Not at all, unless you want to. We’re flexible and can work with whatever suits you. If you have an in-house designer or a print-ready file all good to go, brilliant. We can jump straight to the pre-press and proofing stage.
But if all you have is a folder of amazing photos and a rough idea, our creative team is here to step in. We genuinely enjoy working with clients to bring their vision to life, creating a professional layout that tells your brand's story perfectly.
Ready to create a calendar that keeps your brand visible all year? At Soni Design, we specialise in turning your vision into a stunning, high-quality photo calendar. Get in touch with us today to start your project.
Leave a Comment
Stay home & get your daily
needs from our shop
Start You'r Daily Shopping with Nest Mart