
Your cart is currently empty.
Every great custom neon sign starts as a simple idea, a flicker of inspiration that you want to see blazing in light. This is where you take that initial thought and start shaping it into a real, workable design that perfectly captures the vibe of your brand, event, or personal space.
From Concept to a Glowing Reality
The journey from a passing thought to a finished, glowing sign is where the real creativity comes in. Before you get lost in fonts and colours, you need to nail down its purpose. What is this sign for?
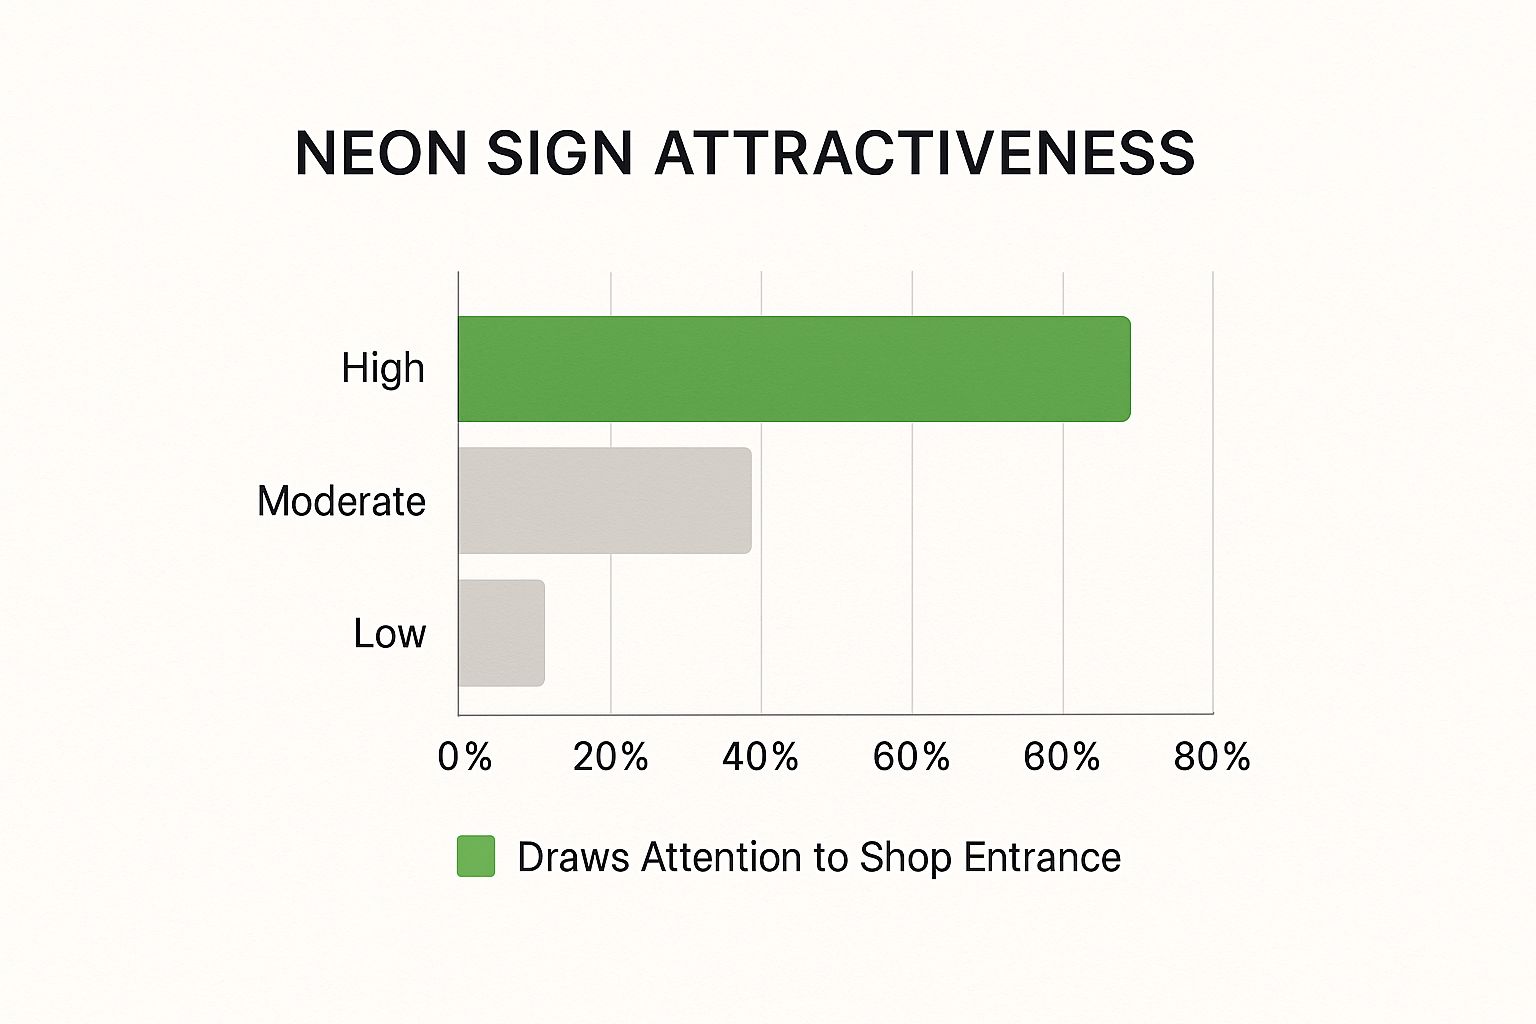
Is it going to be the bold centrepiece for your shopfront that stops people in their tracks? An Instagram-worthy backdrop for a wedding? Or maybe just a cool piece of art for your living room? Pinpointing its job from the get-go is the key to creating something that actually works.
A clear purpose is what stops a sign from feeling generic. For instance, a sign for a busy Wellington café needs to be easy to read and inviting, maybe with a fun phrase like "Good Vibes & Coffee." On the other hand, a sign for a law firm’s reception should probably be a clean, professional logo to build a sense of trust right away.
Brainstorming Your Design
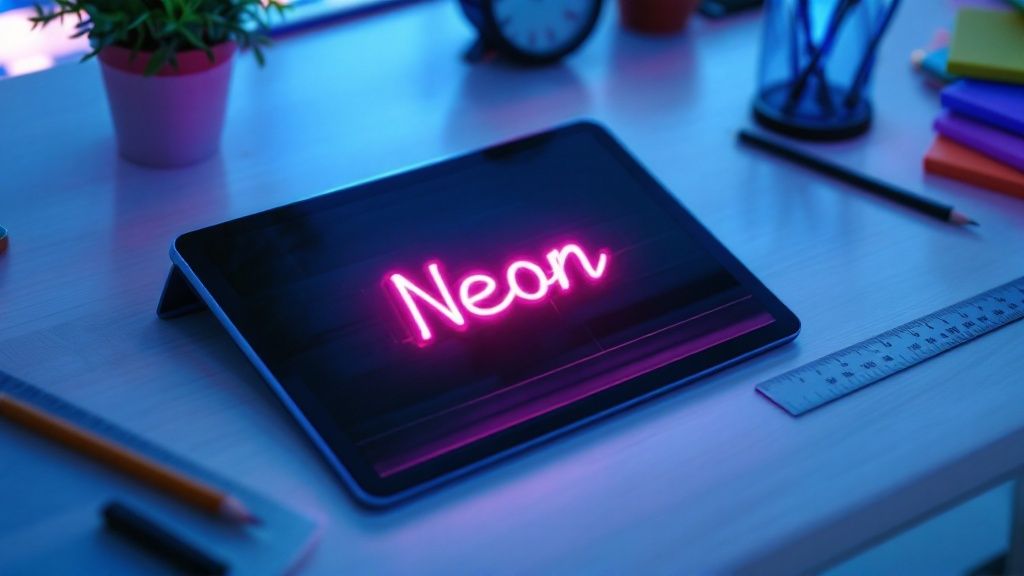
Once you know why you need a sign, you can start playing with what it will look like. Don't stress about getting it perfect on the first try. Just grab a pen and paper and start sketching out rough ideas. Think about the words, symbols, or images that get your message across.
Here are a few thought-starters to get you going:
- For Businesses: What's your brand's tagline or a key value? Could your logo work in neon? A local clothing boutique might use a stylised version of its name in a script font to feel more elegant.
- For Events: What’s the theme or mood you're trying to create? A wedding sign could feature the couple's initials or a romantic quote like "Forever & Always" to set up the perfect photo spot.
- For Homes: What says "you"? It could be an inside joke with your flatmates, a favourite movie quote, or a simple graphic that ties your room's decor together.
Refining Your Vision
Once you have a few rough ideas, you can begin polishing them into a clear brief for a sign maker. Now’s the time to think about fonts and shapes. Cursive fonts give off a soft, flowing feel, whereas bold, block letters feel strong and modern. The shape of the backing board makes a big difference too, whether it's cut tightly around the letters or left as a simple rectangle.
A well-designed sign does more than just spell out a message; it creates an atmosphere and shapes how people feel. Think of it as an investment in your space's identity.
As you move from a rough idea to a concrete plan, understanding the strategic impact of retail signage can help you design a custom neon sign that really gives your business a boost. This early stage is so important—it lays the groundwork for a final product that not only looks incredible but also does the job you hired it for.
Choosing the Right Materials and Design
Once you’ve nailed down your concept, it’s time to get into the fun stuff: picking the materials that will bring your neon sign to life. The decisions you make at this stage will really shape the final look, feel, and even the lifespan of your sign, so it’s worth knowing what you’re working with.
The first big choice you’ll face is the material itself. A great-looking, long-lasting sign starts with using quality materials, and that generally means choosing between two main camps: old-school glass neon or the more modern LED neon. They both have their own vibe and work better in different situations.
Traditional Glass vs Modern LED
When you think of a classic neon sign, you’re picturing traditional glass. It’s made by hand-bending glass tubes and filling them with gas, creating a warm, distinctive 360-degree glow that just oozes nostalgia. This is the same tech that has been lighting up city streets for a century, and there's a certain magic to it that's hard to replicate.
On the other hand, we have modern LED neon. This uses flexible silicone tubes with tiny LED lights inside. It’s a lot tougher, uses way less power, and is often friendlier on the wallet. If your design is really intricate or has a lot of sharp angles, LED gives you much more flexibility than fragile glass.
To help you figure out what’s right for you, let’s break down the key differences.
Traditional Glass Neon vs Modern LED Neon
This table gives a straightforward comparison of the two materials, helping you weigh up what's most important for your custom sign.
| Feature | Traditional Glass Neon | Modern LED Neon |
|---|---|---|
| Durability | Fragile and can break if mishandled | Highly durable and resistant to impact |
| Energy Use | Higher power consumption | Uses up to 80% less energy |
| Vibrancy | Rich, warm, 360-degree glow | Bright, crisp, and directional light |
| Cost | Generally more expensive upfront | More affordable for most designs |
| Lifespan | 10-15 years with potential maintenance | 50,000+ hours (over 5 years of continuous use) |
Ultimately, there’s no single "best" option—it all comes down to the look you want, where the sign will live, and your budget.
Selecting Your Colour Palette and Backing
With the material sorted, you can move on to colour. This is where you really get to set the mood. Want something energetic and inviting? Go for warm colours like pink, orange, or red. If you’re aiming for a calmer, more chilled-out vibe, blues and greens are perfect. Don’t be afraid to mix a couple of colours to really make your design pop.
The backing is another piece of the puzzle. It’s the acrylic base that supports the sign and makes it easy to install.
You've got a few options here:
- Contour Cut: The acrylic is trimmed to follow the shape of your letters or design. This gives it a clean, floating appearance that looks great on almost any wall.
- Full Board: Your design sits on a solid rectangular or square backing. This provides a more traditional, contained look for your sign.
- No Backing (Glass Only): For a true minimalist aesthetic, glass neon can sometimes be mounted directly. It's a more complex installation, so it's not as common, but the effect can be stunning.
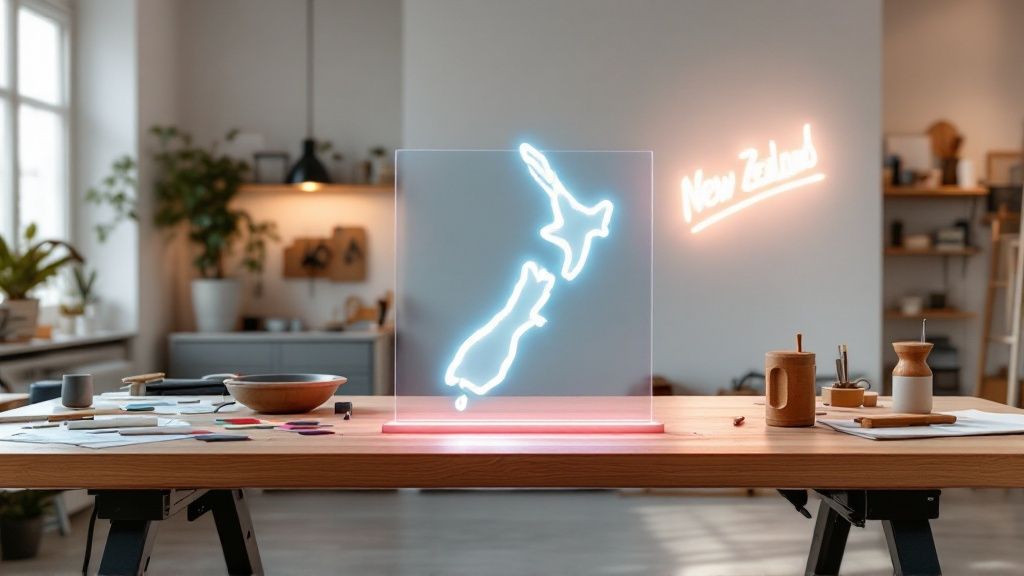
As you can see, a well-placed custom neon sign can completely transform a space, turning a simple entrance into something memorable.
Picking the right materials and design is really a balancing act between style, budget, and where the sign will be used. An LED sign is probably the smarter choice for a busy shopfront, whereas a traditional glass sign could be the perfect art piece for a moody lounge bar.
Here in New Zealand, this art form has a really rich history. The industry took off in the 1920s, and iconic signs like the 'Crystal Palace' on Auckland's Karangahape Road became beloved landmarks. That sign, which went up in 1929, still shows off the lasting influence of neon artistry with its vibrant red and blue Art Deco style.
Finding a Trusted NZ Supplier
Choosing the right company to bring your custom neon sign to life is probably the biggest decision you'll make in this whole process. A great supplier isn't just a manufacturer; they're a creative partner who will help you turn a rough concept into a stunning final piece. Here in New Zealand, we've got a fair few specialists to choose from, so you need to know how to pick out the truly good ones.
First things first, have a good look at their past work. Any sign maker worth their salt will have a portfolio plastered all over their website or social media. Don't just glance at the pretty pictures—really look at the quality across different designs. Are the lines crisp and clean? Are the colours popping? Does the overall finish look professional? You're looking for signs of genuine craftsmanship.
Evaluating Potential Suppliers
Beyond their portfolio, what their past clients have to say is pure gold. Hunt down reviews on their website, on Google, and across their social media channels. You're looking for comments that touch on the whole experience – from the customer service to the quality of the sign itself, and especially how they handled any hiccups along the way. A few rave reviews are nice, but what you really want to see is a consistent track record of happy customers.
A great little test is to check how responsive they are. Fire off an enquiry with a couple of questions about their process or the materials they use.
- How long does it take them to get back to you?
- Is the person on the other end helpful and professional?
- Do they actually seem keen on your project?
Think about it: if a company is slow or unhelpful before you've even handed over any money, they're not likely to get any better once they have your order.
A supplier’s communication style often says a lot about their business standards. Clear, prompt, and friendly chats are a massive green flag that you're dealing with a company that cares about its customers and is proud of its work.
Getting a Quote and Understanding the Details
Once you've got a shortlist, it's time to get some quotes. Send them everything you've got: your design file or a decent sketch, the dimensions you're after, your colour preferences, and where you plan to hang the sign. The more info you give them, the more accurate their quote will be.
When the quotes come back, don't just jump to the bottom line. A professional supplier will give you a proper breakdown of what’s included in the price. Make sure you check for these things:
- A Digital Mock-up: This is essential. It's a preview of exactly how your design will translate into a finished neon sign.
- Mounting Kit: This should come with all the bits and pieces you need for installation, like screws and wall plugs.
- Power Supply and Dimmer: Most good suppliers now include a remote-controlled dimmer, which is brilliant for adjusting the brightness.
Don't forget to ask about their production timeline and how they handle shipping within NZ. A transparent company will give you a clear, honest estimate of how long it'll take to make and deliver your neon signs custom made for you.
This whole process is part of a craft with a rich local history. Neon signs first started lighting up New Zealand back in the early 1930s. The very first one was installed at the Wharf Cafe in Wellington in 1932, and they quickly became an iconic part of city nightlife. It's fascinating to learn more about the early days of neon signs in NZ and see how they've evolved.
Getting Your Sign on the Wall for Maximum Impact
Your custom neon sign has arrived. That unboxing moment is always a thrill, but let's be honest, getting it mounted properly is what really brings your vision to life. The way you hang it and where you place it can make the difference between a cool light and a genuine showstopper.
The good news? Most modern LED neon signs custom made for indoor spaces are surprisingly simple to install yourself. They’re lightweight, and typically show up with a pre-assembled mounting kit. If you can hang a picture frame, you can probably handle this.
What You'll Need for a DIY Install
Before you reach for the drill, it’s worth taking a minute to get your tools in order. Having everything ready to go makes the whole process smoother and helps you get a perfectly level, secure result.
You'll probably need:
- A spirit level: Non-negotiable. No one wants a crooked sign.
- A pencil: For marking where your drill holes will go.
- A measuring tape: To get the sign perfectly centred and at just the right height.
- A drill and the right bit: The mounting kit should tell you what size you need for the wall plugs provided.
- A screwdriver: For tightening the stand-off screws.
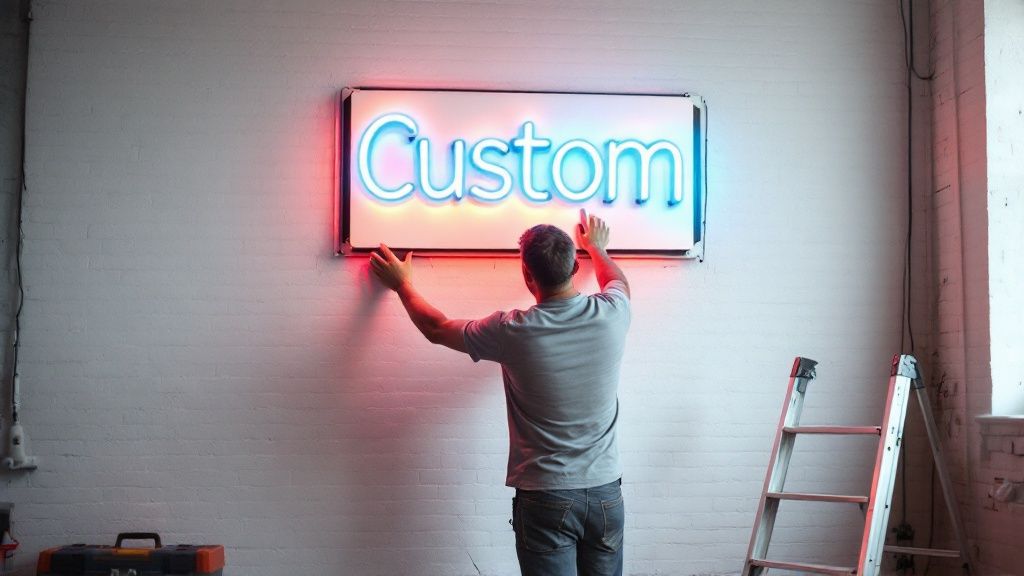
The most common way to mount these signs is with stand-off bolts. They're little metal cylinders that create a small gap between the sign and the wall. This gives it a clean, floating look and lets the light create a subtle halo effect behind it, which looks fantastic. The process is simple: mark your spots, drill your holes, pop in the wall plugs, and then screw your sign into place.
My go-to tip: Before you even think about drilling, grab some painter's tape and temporarily stick your sign to the wall. It lets you stand back, look at it from different parts of the room, and make sure you’re 100% happy with the placement. It’s a simple step that has saved me from a lot of regret (and patched-up holes).
When to Call in a Professional
Look, I’m all for a bit of DIY, but some jobs just aren't worth the risk. It’s far better to call in a professional sign installer or an electrician when you’re facing a more complex situation.
You should definitely get an expert involved if you're dealing with:
- A large or heavy sign: If it takes more than one person to lift it comfortably, let a pro handle the installation. The last thing you want is to damage the sign, the wall, or yourself.
- An outdoor installation: This is a whole different ball game. It involves proper weatherproofing and safe electrical connections that need to meet local building codes.
- A traditional glass neon sign: These are beautiful but are much heavier and far more fragile than their LED cousins. They require specialised handling.
- Complex wiring: If you’re not just plugging it into a standard wall socket and need to hardwire it into your building's mains, you absolutely need a licensed electrician. This isn't a "give it a go" task.
Placing Your Sign for the Best Visual Punch
Getting the sign securely on the wall is one thing, but where you put it is just as crucial. You want it to be a focal point, something that grabs attention for all the right reasons.
Think about the main viewing angles. Where will most people see it from? Make sure there’s a clear line of sight, without a pot plant or a lampshade getting in the way.
Also, consider the existing light in the room. A neon sign pops most effectively in an area where it isn’t fighting with bright, direct sunlight. Placing it on a darker feature wall can really make the colours sing.
Finally, step back and look at the bigger picture. Your sign should feel like it belongs there, complementing the rest of your decor. A well-placed sign can be the final piece of the puzzle that ties a whole room together, turning a plain wall into a feature that’s full of personality.
Keeping Your Neon Sign Looking Its Best
So, your incredible new sign is installed and lighting up the room. It looks fantastic. To make sure it stays that way for years to come, a little bit of simple care goes a long way. Whether you went with a modern LED or a classic glass sign, some light-touch maintenance will protect your investment and keep it looking brilliant.
More often than not, the only thing you’ll be dealing with is a bit of dust, which can make the glow seem a little less punchy over time. The good news is that cleaning both LED and traditional glass signs is a quick and gentle job.
The absolute first thing you must do? Unplug the sign. Safety always comes first, and you should never, ever clean an electrical appliance while it's connected to power.
Simple Cleaning for a Brilliant Glow
With the sign safely unplugged, take a soft, dry microfibre cloth and give the tubing and acrylic backing a gentle wipe. If you’ve got some more stubborn spots, you can dampen the cloth with a tiny bit of water.
Whatever you do, stay away from harsh chemical cleaners, especially ammonia-based glass cleaners, and anything abrasive. These can easily scratch the acrylic or damage the surface of the LED tubing, leaving it looking cloudy and dull.
A gentle dusting every few weeks is far better than a big, deep clean every six months. It stops dust from building up in the first place and keeps your sign looking brand new with minimal effort.
A little consistency here is really the best thing you can do to maintain the visual impact of your custom neon sign.
Safe Operation and Lifespan
Looking after your sign is about more than just cleaning. Always stick with the power supply and any dimmers that were supplied with it. Plugging in an incompatible adapter is a recipe for trouble—it can cause flickering, damage the sign, or even become a safety risk.
The great thing about modern LED neon is its durability. You can expect a lifespan of 50,000 hours or even more. If you run your sign for eight hours a day, that works out to well over a decade of continuous, vibrant light. Traditional glass neon also has a long life, though its transformer might need replacing every 8-15 years.
Quick Troubleshooting Checks
If you ever run into a problem, like flickering or a section that won’t light up, there are a few simple things you can check yourself before calling in a professional.
- Check the Connections: Make sure every cable is pushed in firmly—at the sign, into the power adapter, and at the wall socket. A loose connection is the number one cause of issues.
- Test the Outlet: Is the power point itself working? Plug a lamp or your phone charger into it to make sure.
- Inspect for Damage: Give the sign and the power cord a quick once-over to check for any visible damage.
These quick checks can often solve the problem right away, saving you a bit of stress. By taking good care of the neon signs custom made for your space, you'll ensure it remains an eye-catching feature you can be proud of for a very long time.
Got Questions About Custom Neon Signs? We've Got Answers
Thinking about getting a custom neon sign? You probably have a few questions swirling around. From figuring out the budget to understanding how long it'll last, getting straight answers makes the whole process easier. Let's dive into the most common questions we hear from Kiwis every day.
Most people's first thought is, understandably, about the price. The honest answer? It really depends on what you have in mind.
How Much Do Custom Neon Signs Actually Cost in NZ?
The price tag on a custom neon sign in New Zealand can swing quite a bit, and it all comes down to your unique design. The biggest factors are the sign's size, how complex your design is, whether you go for modern LED or traditional glass, and how many different colours you want.
A small, simple LED sign with just one word might set you back a few hundred dollars. On the other end of the scale, a massive, intricate glass neon piece for a shop front could easily run into the thousands.
Any good supplier will offer a free quote. You just send them your design and a few details. It's always a good idea to get quotes from a couple of local companies to see how they stack up on price and what they include – things like mounting kits, power supplies, and shipping costs.
How Long Will My Custom Neon Sign Last?
This is another great question, and the answer really depends on the type of sign you choose.
Modern LED neon signs are built to last. They have an impressive lifespan of around 50,000 hours or more. If you left it on 24/7, that's well over five years of continuous glow, making them a fantastic, low-maintenance choice.
Traditional glass neon signs have a serious lifespan too, but they can need a little more love over time. The hand-bent glass tubes can last for decades if they're looked after. However, the transformers that power them might need to be replaced every 8-15 years, depending on how much you use the sign and where it's installed.
Whichever style you go with, looking after it properly is the secret to a long life. A gentle clean every now and then and using the right power supply will keep your sign shining bright for years to come.
Can Any Design Be Made into a Neon Sign?
Pretty much! Almost any logo or design can be transformed into a neon sign, but sometimes a few tweaks are needed.
Logos with super fine lines, colour gradients, or lots of overlapping shades can be a challenge, especially for traditional glass neon where every line is a physically bent tube. It’s an art form, but it has its limits.
This is where modern LED neon really shines, offering much more flexibility for complex and detailed designs. A skilled supplier will work with you to simplify your design just enough to make it work beautifully in neon, without losing the feel of your original idea. They’ll always send you a digital mock-up to approve first, so you’ll see exactly what you're getting before they even start making it.
At SONI DESIGN, we specialise in turning your unique vision into a glowing reality. Ready to create something extraordinary? Let's bring your idea to life.
Leave a Comment
Stay home & get your daily
needs from our shop
Start You'r Daily Shopping with Nest Mart