
Your cart is currently empty.

A mug with photos is one of the most classic personalised gifts out there, and for good reason. It’s a simple, everyday item transformed into a meaningful keepsake just by adding your own images, a bit of text, or a unique design. The process is pretty straightforward: you pick a mug, get your photo ready, and find a printing service to make it happen.
Turning a Simple Photo into a Daily Reminder
There’s something special about turning a digital photo into a physical object you use every day. It takes a memory out of your phone and puts it right into your hands. That morning coffee or afternoon tea just feels a bit warmer when your mug reminds you of a great holiday, a family get-together, or your favourite furry friend.
This guide will walk you through everything you need to know to create a fantastic photo mug, whether it's for yourself, a gift for family back home, or even as branded merchandise for your business. If you're looking for a spark of inspiration, you can find some great ideas for unique personalized name photo gifts, including custom mugs.
What’s the Big Deal with Photo Mugs?
So, why are these mugs so incredibly popular? It boils down to a perfect mix of practicality and personal sentiment. A framed photo is lovely, but a mug gets used constantly, weaving those special memories right into your daily routine. This makes it a surprisingly powerful and affordable gift that keeps on giving.
The numbers back this up, too. The global market for custom mugs is huge, valued at an estimated USD 28.09 billion in 2024, and it's only expected to keep growing. Here in New Zealand, while specific stats are harder to come by, the trend is clear: Kiwis love personalised items for holidays, corporate events, and just because.
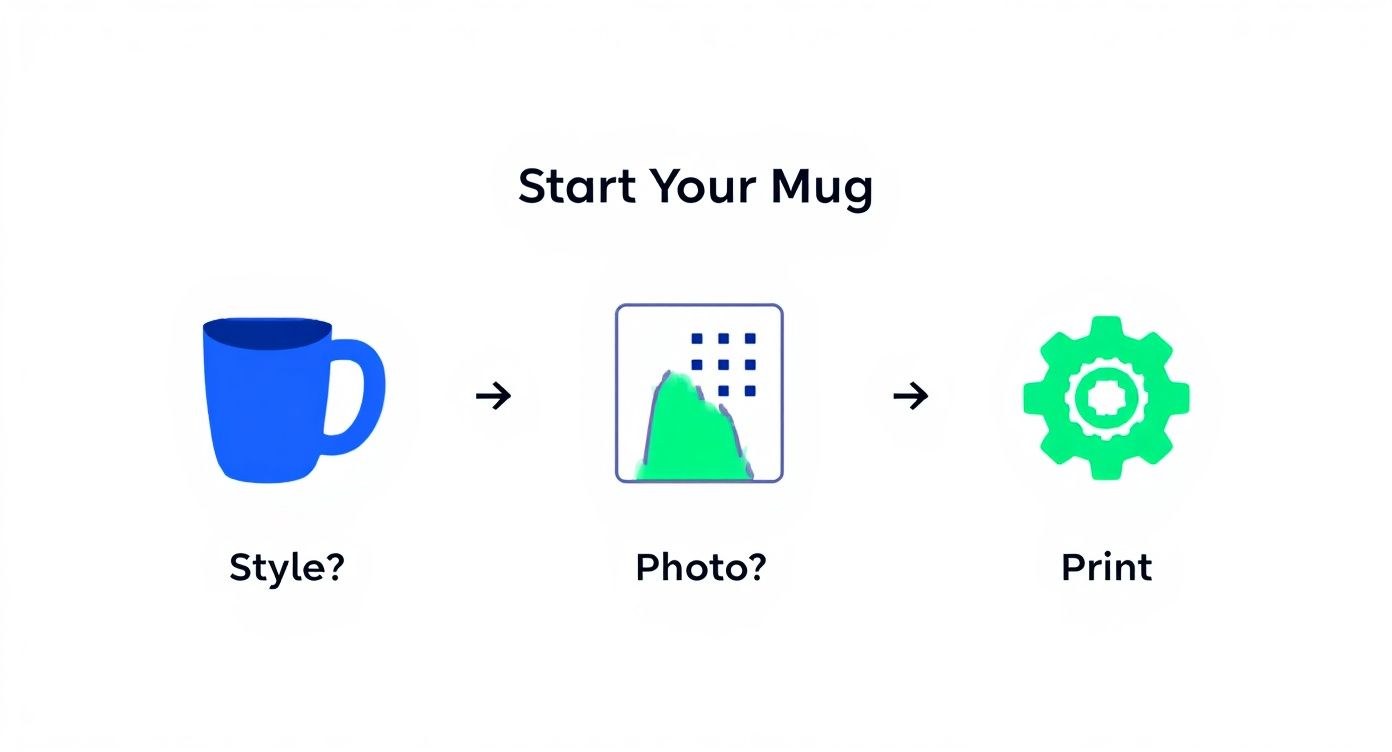
Ultimately, creating your mug comes down to three key decisions: choosing the right mug style, picking the perfect photo, and selecting a printing method that fits your needs. Getting these three things right is the foundation for a brilliant final product.
Preparing Your Photos for Flawless Printing
The secret to a photo mug that truly wows isn't just picking a great picture; it's about prepping that picture for the unique challenge of printing on a curved, ceramic surface. A photo that looks amazing on your bright, backlit screen can easily turn out blurry, dull, or just plain disappointing if you skip a few key steps.
Let's walk through how to get it right.
First up, think about the photo itself. Not every image is a great candidate for wrapping around a mug. Wide group shots, for example, often lose important details as people's faces get distorted around the curve. What works best? Images with a clear, central subject. Think of a great portrait, a close-up of a beloved pet, or a landscape with one standout feature.
Getting the Technical Specs Right
This is where the magic really happens. The single most important factor for a sharp, clear print is resolution. We measure this in Dots Per Inch (DPI), and for any kind of printing, the gold standard is 300 DPI.
If you pull a photo from Facebook or Instagram, it’s almost certainly going to be low-resolution. When you try to print it, the image will look pixelated and fuzzy. Always, always start with the original, high-quality photo from your camera or smartphone. If you’re unsure, it’s worth taking a moment for understanding photo resolution for printing to avoid a poor result.
The file format you save your image in also makes a big difference. Here’s a simple guide:
- JPEG (or JPG): Your go-to for photographs. It's brilliant at handling millions of colours while keeping the file size reasonable, which is perfect for uploading to a printer’s website.
- PNG: The best choice for designs with text, graphics, or logos. The killer feature here is its support for transparency, meaning you can place a design on the mug without a clunky white box around it.
Quick Edits for a Professional Finish
You don't need to be a professional designer to make your photo pop. A few simple tweaks can elevate a good picture into a great one, and there are plenty of free online tools that make it easy.
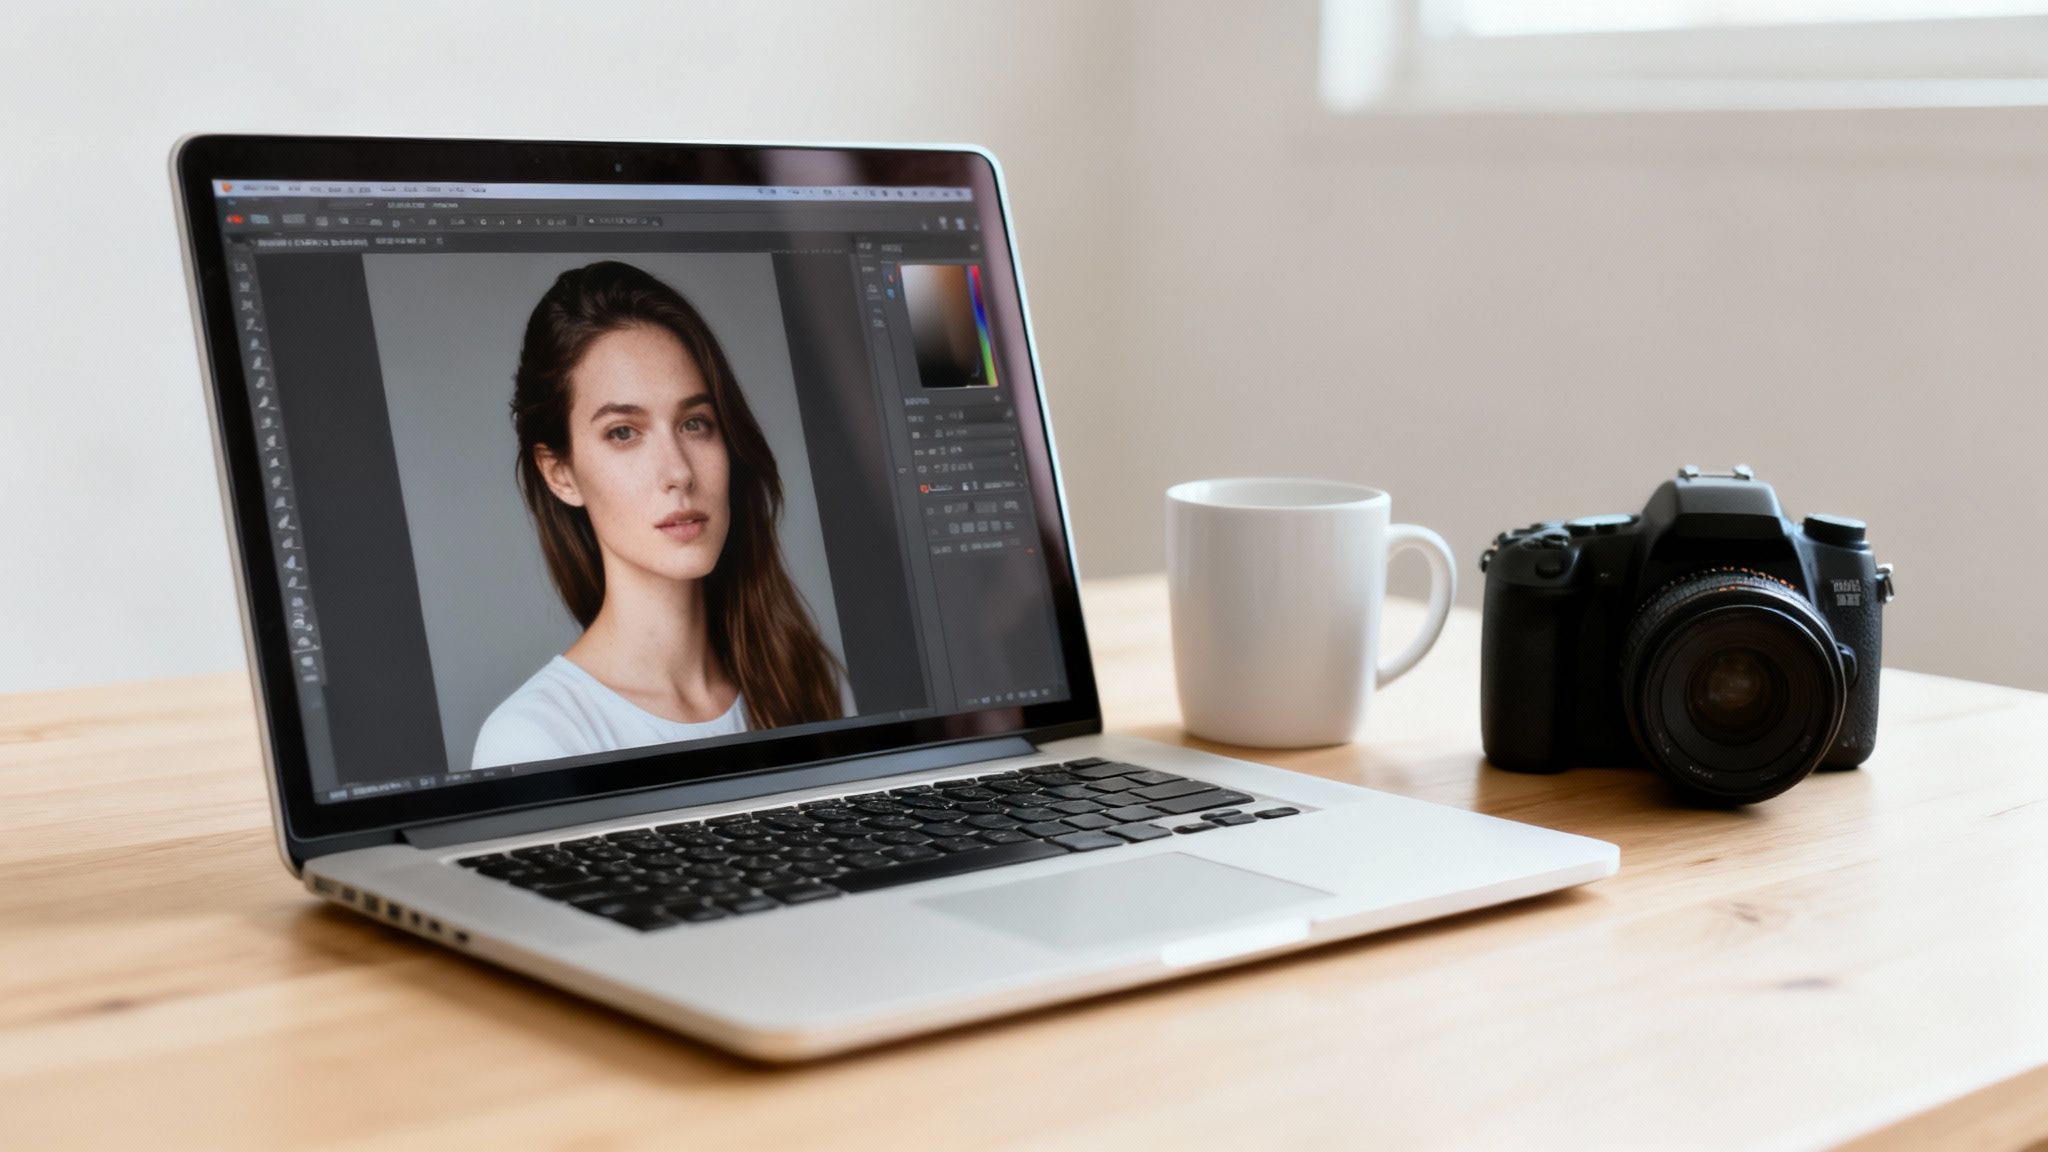
Before you finalise your design, take a minute to play with some basic settings. Bumping up the brightness and contrast can bring a dark, shadowy photo to life. A slight boost in saturation can make the colours look richer and more vibrant on the finished mug.
A simple tweak can be the difference between a flat, lifeless print and a dynamic, eye-catching design. Don’t be afraid to experiment with editing tools—even a small enhancement to brightness or colour can dramatically improve the final look of your mug with photos.
Even the most basic photo editors have sliders for these adjustments. They are often all you need to ensure your photo’s colours are vivid and the details are crystal clear, preventing that dreaded muddy or washed-out look on the final product.
Designing a Layout That Tells a Story
Okay, you've got your high-quality photo picked out. Now for the fun part: designing the actual layout. This is where you get to go beyond those generic templates and create something that feels truly personal—a design that tells a story and turns a simple mug into a treasured keepsake.
The first big decision you'll need to make is whether to go with one powerful, standout image or a collection of smaller ones. Each path offers a completely different way to tell your story.
Choosing Between a Panorama and a Collage
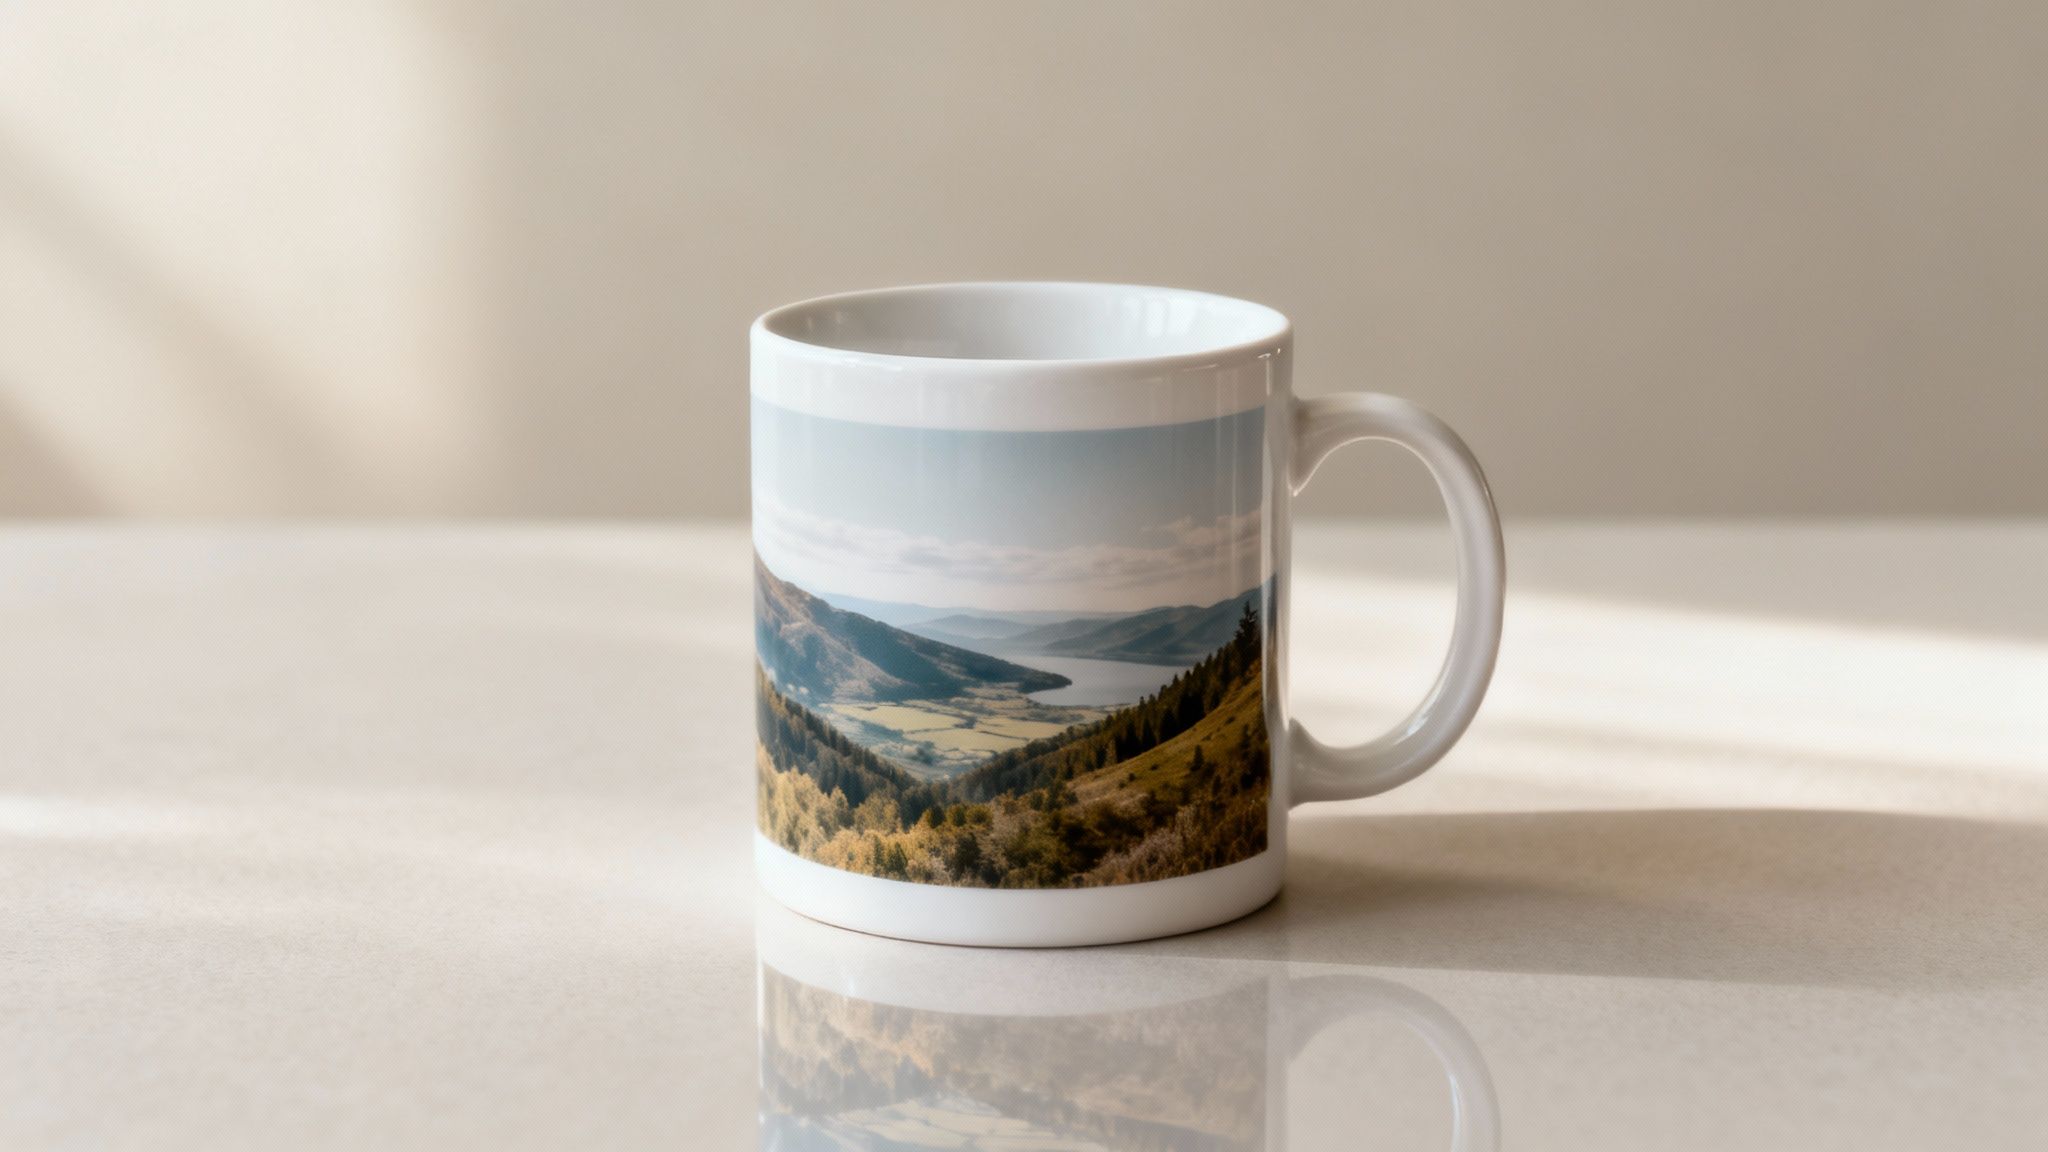
A single panoramic photo can look absolutely stunning, wrapping right around the mug for a high-impact design. This works incredibly well for those dramatic landscapes from a memorable Kiwi road trip or a wide-angle shot from a family gathering. The continuous image naturally draws your eye around the mug, making every sip feel like a little escape.
On the other hand, a collage lets you pack in more memories. Think of it as a mini-gallery. You could create a visual timeline of a baby’s first year, pull together the best moments from a wedding, or gather a bunch of fun snapshots of your pets. This approach is brilliant for telling a richer, more detailed story.
If you decide on a collage, keep these tips in mind for a clean, professional look:
- Stick to a Theme: Try to use photos with similar lighting or colour palettes. It helps everything feel cohesive, not chaotic.
- Give it Breathing Room: Don't cram too many photos onto the mug. A bit of white space between images lets each one stand out and shine.
- Play with Size: Mix a few larger, key photos with some smaller accent shots. This creates a bit of visual rhythm and guides the eye.
Adding Text That Complements Your Photos
Words can add that extra layer of meaning—a name, an important date, an inside joke, or a favourite quote. Just remember, the font you choose is a huge part of the overall vibe. My advice? Steer clear of anything too decorative or hard to read; you don't want the text to overpower the photos.
A clean, simple sans-serif font like Helvetica or Arial is almost always a safe and stylish bet. If you want something a bit more personal, a clean script font can add a touch of elegance without being distracting. Be strategic about where you place it. Find a spot where it has room to breathe—above, below, or to the side of your main subject. Just never put it right over someone's face or a key detail in the photo.
Your design isn't just about what you see; it's about what you feel. The goal is to arrange every element—the photos, the text, and even the empty space—so it all feels balanced and intentional.
Avoiding Common Design Pitfalls
A great layout isn't just about what's on the screen; you have to think about the physical shape of the mug itself. The most common mistake I see is people placing important details too close to the handle. We call this the "dead zone" because it’s hard to see when someone is actually holding the mug.
Before you send anything off to print, always check the printer’s template. It’s your map. It will show you the exact printable area and, crucially, mark where the handle is. Make sure any faces, names, or key parts of your photo are positioned on the front, back, or the side directly opposite the handle. This one simple check guarantees your carefully crafted story can be seen and enjoyed from every angle.
Finding the Right Printing Service in New Zealand
With your design polished and ready, it’s time to find the right partner to bring it to life. The printing company you choose is a huge part of the final equation—they’ll influence the quality, cost, and how quickly you get your hands on the finished photo mug.
In New Zealand, you've really got two main options: go with a local Kiwi print shop or use one of the bigger online services.
Going local has some real charm. You can often get a much more personal touch, and sometimes you can even chat with the person who will physically be printing your mug. This is a massive advantage if your design is a bit tricky or the order is for a really special occasion.
On the flip side, large online providers usually have slick, automated ordering systems and can sometimes offer better prices because they operate at a much larger scale. The trade-off is that customer service can feel a bit distant, and if they're shipping from an overseas hub, you might get hit with unexpected delays or customs fees.
What to Look for in a Quality Provider
Whether you decide to go local or online, there are a few non-negotiables to look for. A little bit of digging upfront can save you a lot of disappointment later and ensure the final product looks just as good in real life as it did on your screen.
Here’s a quick checklist to run through before you commit:
- Hunt down recent reviews. Look for feedback specifically from other Kiwis. Pay close attention to what they say about print quality, colour accuracy, and—importantly—how the company dealt with any problems.
- Check their timelines. How long will it actually take to print and deliver your mug? A local shop might be able to turn it around much faster, which is a lifesaver for those last-minute gifts.
- Ask about their technology. The gold standard for photo mugs is dye-sublimation. This method infuses the ink right into the mug's special coating, creating a vibrant, scratch-resistant finish that won't peel off and is generally safe for the dishwasher.
A good printing service is always open about its methods. If they clearly state they use dye-sublimation and give you detailed file specifications, that’s a great sign they’re serious about quality.
Navigating the New Zealand Printing Scene
Printing is a pretty significant industry here in New Zealand. While the market has shifted a bit, it was still valued at around NZD 1.4 billion for 2025. What's really interesting is that as of 2025, there were about 767 printing businesses operating across the country, and many of these are small, local outfits perfect for this kind of custom work. You can get a deeper look into the NZ printing industry landscape on ibisworld.com.
All this means you have a tonne of great local choices. Don't be shy about asking a few different places for a quote or seeing a sample of their work. A company that’s proud of its quality will be happy to show it off, making sure your photo mug ends up being a keepsake you can be proud of.
How to Care for Your Custom Photo Mug
You've put all that effort into creating the perfect photo mug, so let's make sure those memories last. With just a few simple habits, you can keep the images on your mug looking as vibrant as the day you got it, turning it from a novelty item into a cherished part of your daily routine.
The two big questions that always come up are about the dishwasher and the microwave. While many modern custom mugs, especially those printed with dye-sublimation, are often labelled as safe for both, a bit of extra care never hurts. Over time, high heat and harsh detergents are the biggest enemies of any printed design.
To Dishwash or To Hand-Wash?
Look, popping your mug in the dishwasher is easy, but if you want to be absolutely sure your photos stay pristine, hand-washing is the way to go. The high-heat cycles and abrasive detergents in a dishwasher can slowly cause the image to fade, peel, or lose its punch over many cycles.
If you really need to use the dishwasher, here’s how to minimise the risk:
- Top rack only: The heat is far less intense up there, which is much kinder to the print.
- Gentle cycle: Skip the heavy-duty or sanitising settings. A normal, gentler cycle is all you need.
- Give it space: Make sure it isn't clanking against other dishes, which can lead to scratches and chips on the design.
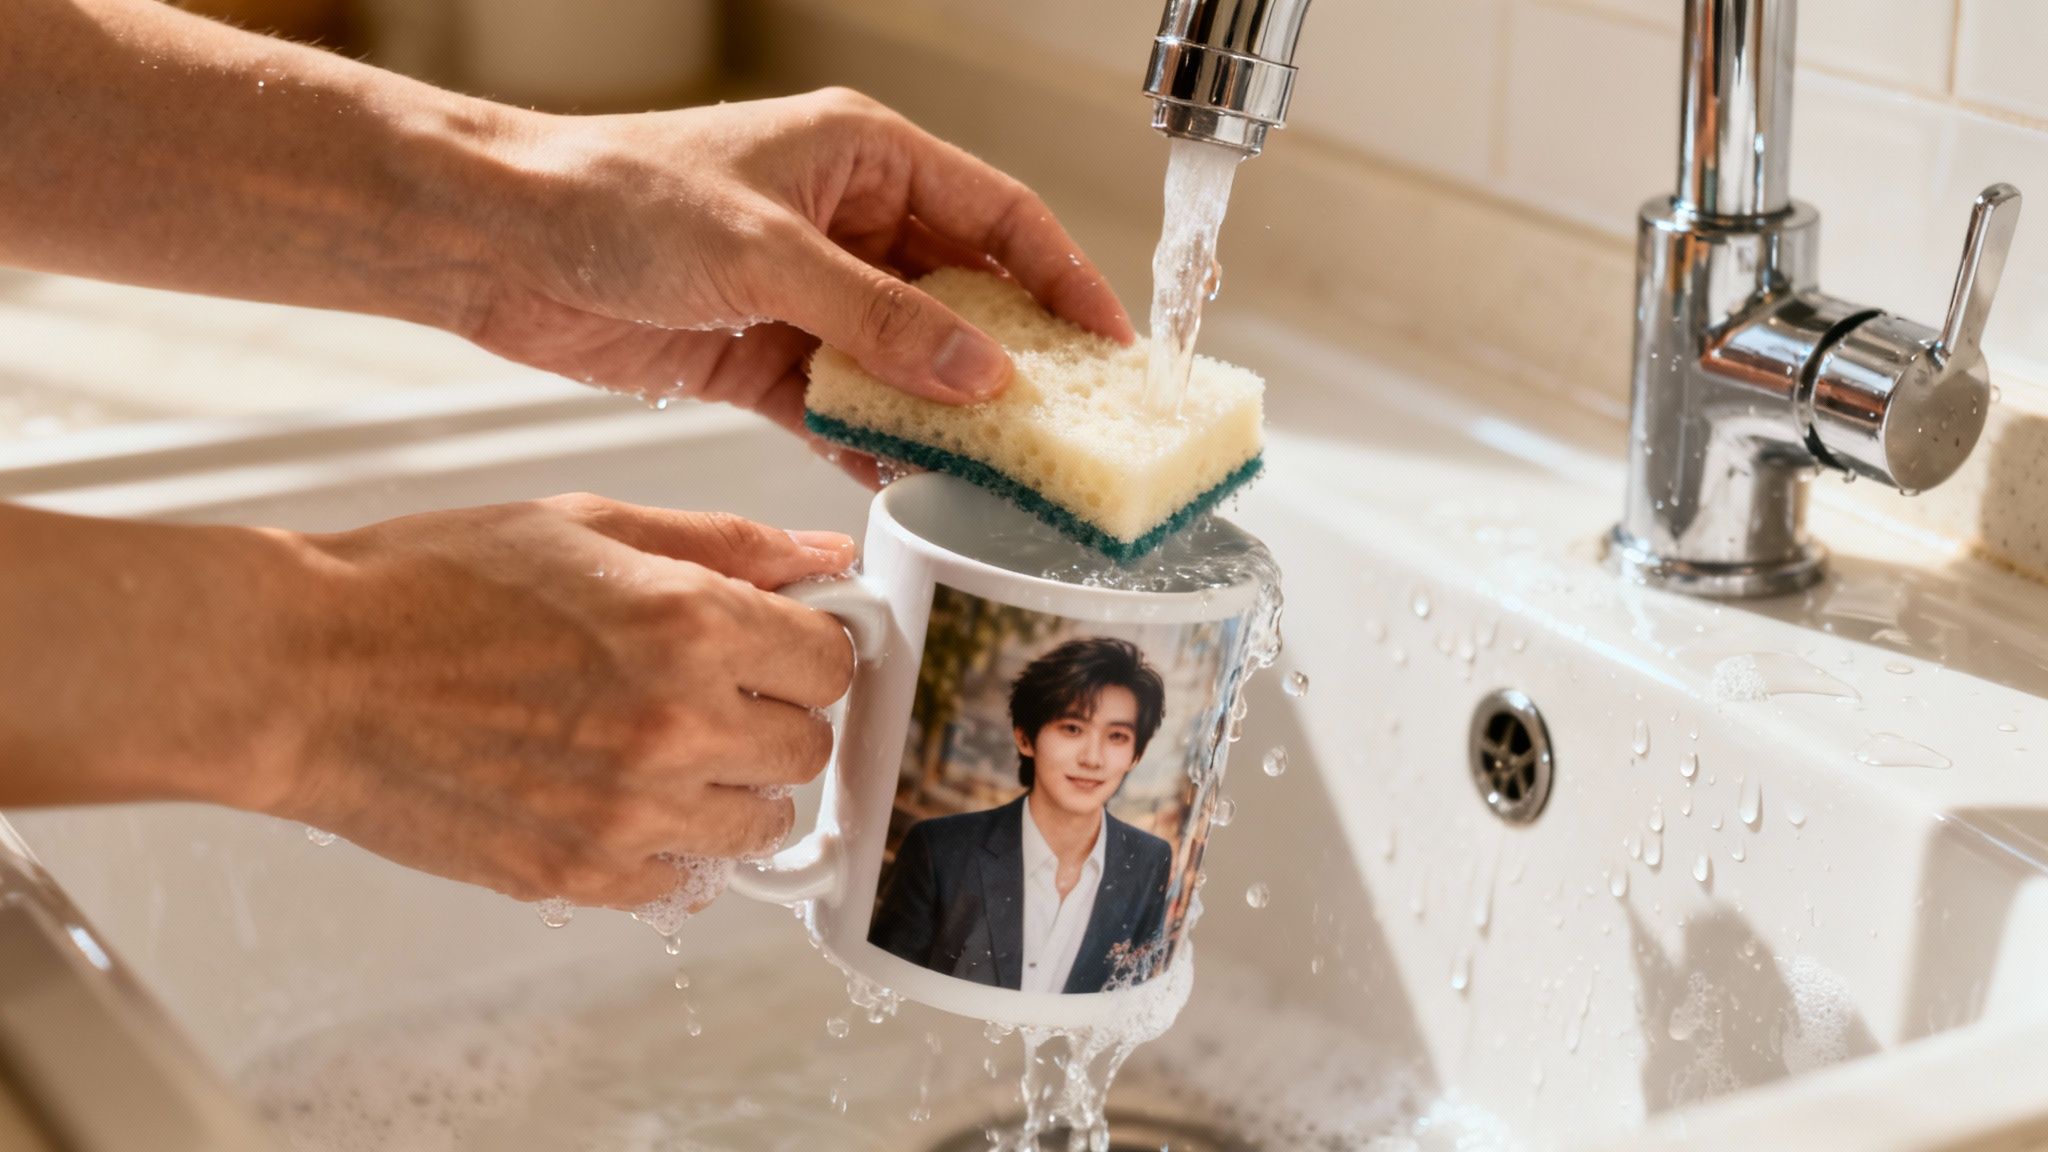
Honestly, though, the best method is the old-fashioned one. Washing by hand with a soft sponge and a bit of mild dish soap is the surest way to protect your mug. This gentle touch prevents scratches and avoids harsh chemicals, keeping those precious photos looking sharp.
Microwave Safety and Other Tips
Most standard ceramic photo mugs are perfectly safe to pop in the microwave. It's always a good idea to check the bottom of the mug or the manufacturer's notes just in case. The main thing to watch out for isn't the photo itself, but any hidden metallic flecks in the glaze or print that could cause sparks.
Beyond the washing routine, a couple of other small things will make a big difference. Never, ever use abrasive scourers or steel wool on the printed surface—they’ll scratch it instantly. It's also a good idea not to let dark drinks like black coffee or tea sit in the mug for days on end, as they can cause staining over time.
A well-cared-for mug is more than just a cup. It becomes part of your morning ritual, a familiar comfort that holds memories, not just coffee.
Here in New Zealand, we have a real appreciation for a good, sturdy mug—it’s a staple from the staffroom to the marae. Just think of the classic Arcoroc mug; it’s so famously durable that distributors were still selling around 30,000 of them a year back in 2019. This history shows why it’s worth taking care of your personalised mug. It’s not just an object; it’s a small piece of your story. You can read more about the iconic Arcoroc mug's place in Kiwi culture on thespinoff.co.nz.
Common Questions About Making Photo Mugs
Even with the best plan in hand, a few questions often pop up when you're getting ready to create a custom photo mug. Getting these details right is what separates a decent mug from a truly fantastic one. Let's walk through some of the most common queries to make sure your project is a roaring success.
First up, a question I hear all the time: are my photos good enough? It's a great question to ask, because the quality of your original image is easily the most important factor in how the final product will look.
What Is the Best Image Resolution?
For that sharp, professional look on a standard mug, you’ll want to aim for an image resolution of 300 DPI (dots per inch). If you use a low-resolution image, like one you've saved from a social media post, it’s almost guaranteed to look blurry or pixelated once it's printed.
A good rule of thumb is to make sure your image file is at least 1000 pixels on its shortest side. Most good online printing services will flag an image if the resolution is too low, but checking it yourself beforehand can save you a lot of time and potential disappointment.
Can I Use a Panoramic Photo?
Yes, and you absolutely should! Panoramic photos are perfect for mugs, creating a brilliant wrap-around effect that can tell a much bigger story. A sweeping landscape from a memorable holiday or a wide group shot from a family gathering can look incredibly impressive.
Just be careful with your layout. You’ll want to make sure the key parts of the photo aren't hidden behind the handle. Most online design tools have a ‘full wrap’ template that shows you the exact printable area, helping you line up your panoramic shot perfectly for a seamless finish.
The best designs treat the mug as a 3D canvas right from the start. A panoramic photo is a clever way to use the entire surface, turning the simple act of rotating the mug into a moment of visual discovery.
Are All Photo Mugs Dishwasher Safe?
Not always, and this is an important one to check. A mug’s durability really comes down to the printing method and the materials used. Mugs created using dye-sublimation are typically your best bet—the process infuses the ink right into the ceramic coating, making them tough enough for both the dishwasher and microwave.
Other printing methods or certain glazes might not be so resilient. The smartest move is to always read the product description or ask the printing company for their specific care instructions. If you're ever in doubt, gentle hand-washing is the safest way to keep the print looking vibrant for years to come.
What Is a Magic Mug?
You've probably seen these listed on printing websites. While a standard photo mug shows your design all the time, a 'magic mug' (or heat-reveal mug) is a whole different beast.
It starts off looking like a plain black or dark-coloured mug. But thanks to a special heat-sensitive coating, the magic happens when you pour a hot drink inside. The coating turns transparent, revealing your hidden photo underneath! It’s a fantastic trick for a surprise gift, but just be aware that this special coating usually means they need to be hand-washed to keep the effect working.
Ready to bring your memories to life on a custom mug? At SONI DESIGN, we specialise in high-quality printing to create vibrant, lasting keepsakes for personal gifts or professional branding. Let's create something extraordinary together. Get started with SONI DESIGN
Leave a Comment
Stay home & get your daily
needs from our shop
Start You'r Daily Shopping with Nest Mart