Your cart is currently empty.

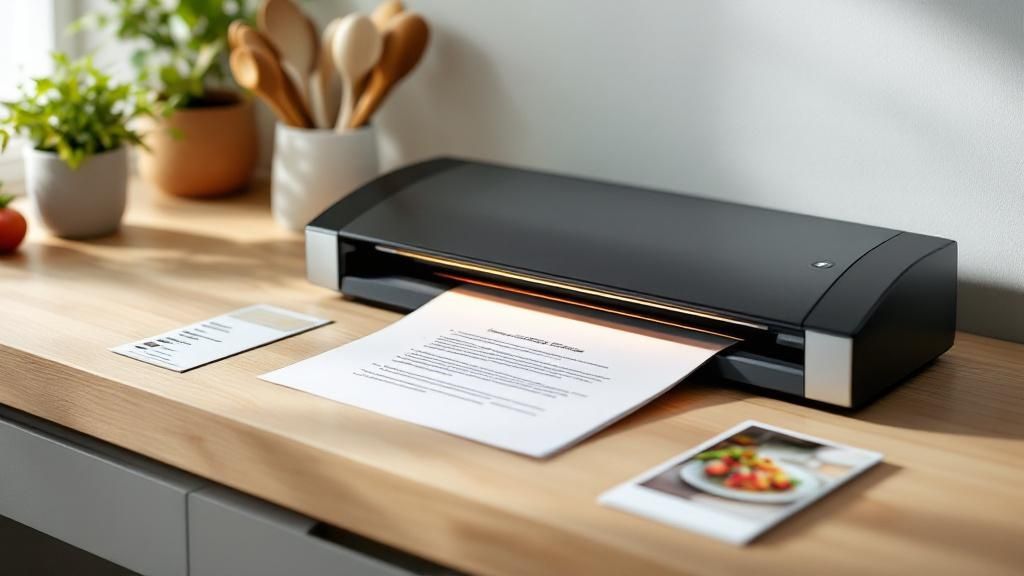
At its most basic, a laminator is a machine that gives your documents a suit of armour. It's designed to protect, preserve, and enhance papers by encasing them in a durable plastic layer. Think of it as a powerful shield for everything from crucial business reports and school projects to irreplaceable family photos.
So, What Exactly Does a Laminator Do?
The core job of a laminator is simple: to keep your important materials safe. By sealing paper, cardstock, or other flat items inside a tough plastic film, it makes them waterproof, tear-resistant, and safe from spills, smudges, and everyday handling.
This process doesn't just extend a document's life; it also makes it look better. Colours pop, appearing more vibrant, and text becomes sharper and clearer. It’s a finishing touch that signals quality and professionalism.
This technology is a real workhorse in the printing and finishing industry. Here in New Zealand, businesses use lamination not just for document protection but also to strengthen their brand with high-quality, durable materials. The global demand is massive, too. The laminating machine market was valued at USD 676.4 million in 2025 and is expected to climb to USD 1.1 billion by 2035. You can dig deeper into these market trends and growth drivers at Future Market Insights.
The Two Key Lamination Technologies
To create that protective seal, laminators rely on one of two fundamental methods. Getting your head around these is the first step to picking the right machine.
-
Hot Lamination: This is the go-to method for most jobs. It uses heated rollers to melt a special adhesive on the lamination pouch or film. As your document glides through, the combination of heat and pressure creates a strong, permanent, and often rigid seal. It’s perfect for everyday documents that need to last.
-
Cold Lamination: Got something heat-sensitive? This is the technique you need. Instead of heat, it uses a pressure-sensitive adhesive that sticks to the document as it’s squeezed through the rollers. It's the ideal choice for materials with inks that might run or for delicate items like vintage photos that heat would destroy.
Here's a helpful way to picture it: hot lamination is like ironing a patch onto a jacket for a permanent bond. Cold lamination is more like applying a super-strong, high-quality sticker that won't ever peel off.
Once you grasp these basics, you're well on your way to understanding how laminators work. From here, you can start figuring out which type is the best fit for your office, classroom, or home projects.
Choosing Between Hot and Cold Lamination
So, you’ve got a handle on what a laminator can do for your documents. The next big question is: hot or cold? This isn't just a minor detail; it’s a crucial decision that shapes the look, feel, and durability of your finished product. It also determines what materials you can safely work with.
Think of hot lamination as the classic, heavy-duty option. It’s what most people picture when they think of laminating. This method uses heated rollers to activate a special adhesive within the laminating film. As your document glides through the machine, the heat and pressure work together to create a tough, permanent seal. This gives you a rigid, long-lasting finish that’s perfect for standard paper items that will see a lot of action.
The Power of Hot Lamination
Hot lamination is the go-to for most day-to-day office, school, or business needs. Why? Because the bond it creates is incredibly strong, making it ideal for things like:
- Business essentials: Price lists, reports, and presentations that need to look sharp and stay protected.
- Educational aids: Flashcards, worksheets, and classroom signs you can use year after year.
- High-traffic items: Restaurant menus and instruction manuals that have to stand up to spills and constant handling.
The real magic is how the heat melts the adhesive right into the paper’s fibres. The document and the plastic become one solid unit, giving you top-tier protection from moisture, dirt, and general wear and tear.
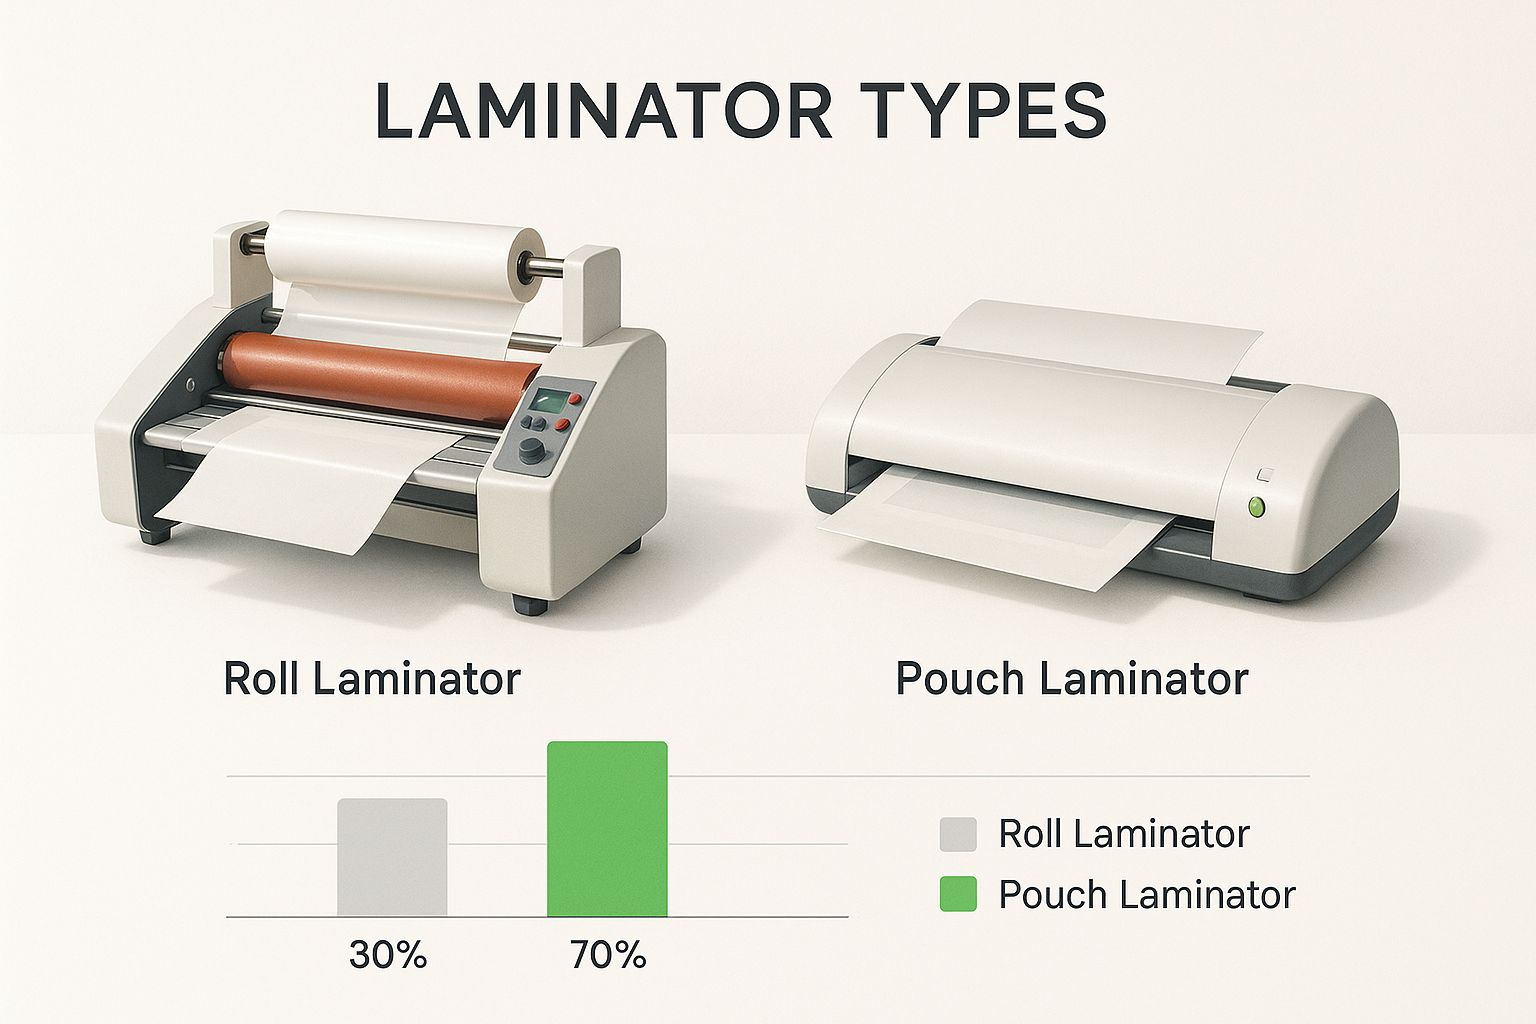
The image below gives you a better sense of the different machine types that perform these functions.

As you can see, you’ll find both pouch and roll laminators for each method. The core decision always comes back to whether your project needs heat or not.
When to Keep it Cool with Cold Lamination
But what about items that can't take the heat? That's where cold lamination shines. This technique is completely heat-free. Instead, it relies on a pressure-sensitive adhesive that acts like a very strong, high-quality sticker. The machine's rollers simply apply firm, even pressure to bond the film to your document.
This gentle approach is the only way to go for anything heat-sensitive. Trying to run these materials through a hot laminator can be a disaster—inks might smudge, colours can fade, and delicate items might even warp or melt. For those precious or sensitive projects, a laminator with a cold setting isn’t just a nice-to-have; it’s essential.
You’ll want to reach for the cold setting for:
- Items printed with heat-sensitive inks, like those from many inkjet printers or anything with wax crayon.
- Old or delicate documents, such as historical papers or precious family photographs.
- Synthetic materials like vinyl or certain plastics that would be damaged by high temperatures.
Hot vs Cold Lamination at a Glance
To make the choice even clearer, here’s a straightforward comparison. This table breaks down the key differences to help you decide which method is right for your specific project.
| Feature | Hot Lamination | Cold Lamination |
|---|---|---|
| Process | Uses heated rollers to melt adhesive | Uses pressure to apply self-adhesive film |
| Best For | Standard paper, cardstock, photos | Heat-sensitive inks, vinyl, old documents |
| Finish | Rigid, durable, and often glossier | More flexible, less rigid |
| Protection | Excellent against moisture and wear | Good protection, but the seal is less permanent |
| Cost | Generally more cost-effective supplies | Supplies can be slightly more expensive |
Ultimately, your choice boils down to what you’re trying to protect. For the vast majority of paper documents, hot lamination offers a superior, long-lasting seal. But for anything delicate, old, or printed with fussy inks, cold lamination is your only safe bet to get the job done right.
Pouch Laminators vs Roll Laminators

When you're in the market for a laminator lamination machine, the first major fork in the road is the choice between a pouch laminator and a roll laminator. Both get the same job done—protecting your documents—but they’re built for completely different scales of work. Getting your head around their differences is the first step to picking the right tool.
Think of a pouch laminator as your go-to for convenience and simplicity. It's the perfect companion for a home office, a classroom, or any small business that only needs to laminate things every now and then. These machines are incredibly easy to get the hang of.
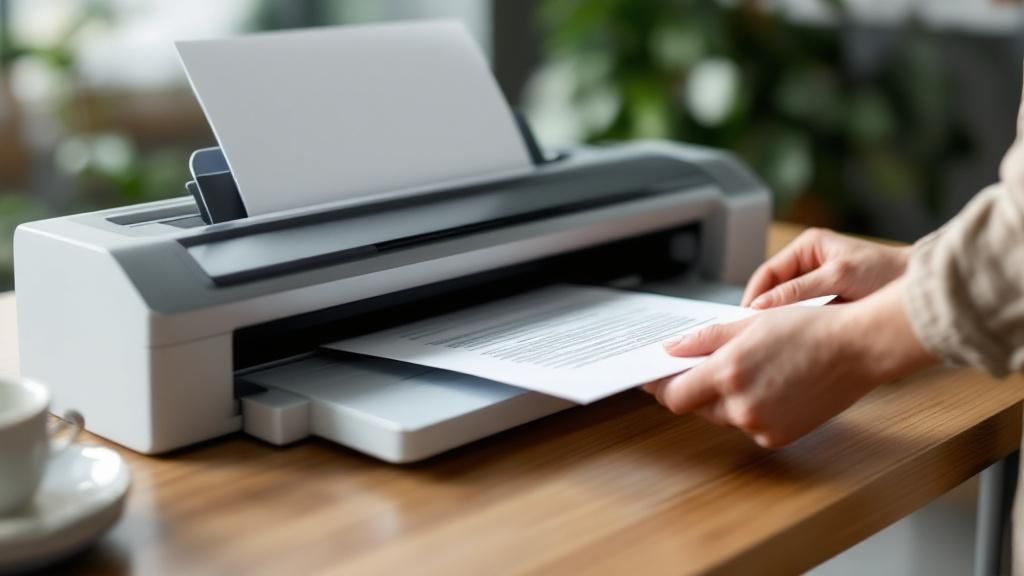
They use pre-sized plastic pouches, which are essentially folders made of laminating film that are already sealed on one side. All you do is pop your document inside an A4 or ID-card-sized pouch and feed it through. It's a clean, straightforward process that gives you great results for standard-sized items without any fuss.
The Simplicity of Pouch Laminators
Pouch laminators are popular for good reason. They're compact, user-friendly, and accessible to just about anyone.
Here’s what makes them so appealing:
- Convenience: With pouches already cut to common sizes like A3, A4, and business cards, you don't have to worry about measuring or trimming film.
- Small Footprint: Most are designed for a desktop, so they'll fit into a crowded workspace without demanding a lot of precious real estate.
- Affordability: The upfront cost of a pouch laminator is usually much lower, making it a budget-friendly pick for anyone with low-volume needs.
Of course, there's a trade-off. While the machine itself is easy on the wallet, the cost of individual pouches can start to add up if your laminating volume begins to climb.
The Power of Roll Laminators
On the other end of the spectrum, roll laminators are the industrial-strength workhorses. These are the big units you'll see humming away in professional print shops, large schools, and corporate offices where laminating is a frequent, high-volume task. Instead of individual pouches, they're fed by large rolls of laminating film.
This setup lets them run continuously, tackling dozens or even hundreds of documents in a single go. They’re also capable of handling much larger items, like posters, banners, and building plans that would never fit into a pouch. This kind of capability is backed by a solid regional demand for the raw materials; in 2024, the plastic packaging film market for Australia and New Zealand was estimated at 0.37 million tonnes and is forecast to keep growing. You can dive deeper into these figures with Mordor Intelligence's industry report.
Roll laminators are faster and bring the cost-per-lamination down significantly, but they do have a steeper learning curve. Getting the film rolls loaded correctly and dialling in the right tension and temperature takes a bit of practice. They are also much larger machines and require a more serious upfront investment.
So, how do you choose? It really comes down to what you need to do. For quick and easy one-off jobs or smaller projects, a pouch laminator is your best bet. But for high-volume, large-format, or professional-grade work, a roll laminator is the only practical choice.
Choosing the right laminator can feel like a daunting task, but it doesn't have to be. It really just comes down to thinking about what you'll be using it for. Once you match the machine's features to your day-to-day projects, you can find a reliable tool that gets the job done without breaking the bank.
Let's walk through the key things to consider so you can pick the perfect laminator with confidence.
The most straightforward starting point is document size. Laminators are built to handle a maximum width, so think about the biggest items you'll ever need to laminate.
- Small items: If you're mainly doing ID cards, business cards, or A5 flyers, a compact A4 machine will be more than enough.
- Standard documents: For everyday A4 documents like reports, certificates, or signage, an A3 laminator gives you that extra bit of flexibility.
- Oversized materials: For anything bigger, like posters, architectural drawings, or large-format graphics, you’ll need to step up to a wide-format roll laminator.
Consider Your Workload and Frequency
Next, be honest about how often you'll actually be firing it up. The kind of laminator a busy copy shop needs is worlds apart from one that gets used a few times a month at home. A machine designed for high-volume use has a tougher motor and sturdier parts, built to run for hours on end.
Think of it this way: you wouldn't use a standard household printer to run a commercial print business. The same principle applies here. Matching the machine to your lamination frequency stops it from wearing out too quickly and ensures it can keep up when you need it most.
If you only laminate a handful of documents each week, a simple pouch laminator is a great, cost-effective choice. But for daily use in a busy office or school, it's worth investing in a model with a faster speed and a quick warm-up time—some can be ready to go in under 90 seconds—which makes a huge difference to your productivity.
Must-Have Features for Better Results
Finally, there are a few key features that make the whole lamination process smoother, safer, and less frustrating. These functions can save you time, cut down on wasted pouches, and help you avoid those annoying jams.
Here are a few things to look for:
- Adjustable Temperature Settings: This is absolutely crucial for getting good results with different pouch thicknesses (measured in microns). A thin, flexible 80-micron pouch needs a lot less heat than a sturdy, rigid 125-micron one.
- Reverse or Anti-Jam Function: Let's face it, jams happen. A reverse button is a genuine lifesaver, letting you back out a crooked pouch before it gets wrapped around the internal rollers and causes a real mess.
- Auto Shut-Off: For both safety and energy saving, a machine that automatically powers down after it's been idle for a while is a smart touch, especially in a busy environment where it's easy to get distracted.
Right, so you’ve got a laminator. You might be thinking it’s just for protecting the odd A4 certificate, but that’s barely scratching the surface. With a little imagination, that machine can become your secret weapon for organising your home, boosting your business, and getting creative.
Think of it this way: a laminator doesn't just protect paper; it transforms it. A flimsy printout becomes a durable, professional-looking tool. Let's look at how you can put it to work.
At Home and in the Classroom
For families and teachers, a laminator is a game-changer. It lets you create tough, long-lasting materials that can handle the chaos of daily life, especially when kids are involved.
Here are a few simple ideas to get you started:
- Preserve Kid's Artwork: We all know how quickly those precious drawings can get torn or smudged. Laminate them, and you've got a keepsake that will last for years.
- Create Reusable Learning Tools: Make your own flashcards, alphabet charts, or learning games. They'll survive sticky fingers and can be used over and over again with a whiteboard marker.
- Design Your Own Bookmarks: A custom-laminated bookmark is sturdy enough for even the most avid little reader's adventures.
A laminated item isn't just protected; it's transformed. A simple printout becomes a functional, reusable tool. A piece of children’s art becomes a cherished memento that won’t degrade over time.
In the Office or on the Shop Floor
In a business setting, a laminator pays for itself in no time. It helps you create professional-quality materials in-house, saving you a small fortune on printing costs.
Take a café, for example. Instead of paying for expensive, professionally printed menus every time you change a price, you can just print and laminate your own. They’ll stand up to spills and constant handling, and you can update them whenever you need to.
Here are some other smart ways businesses can use a lamination machine:
- Durable Signage: Create weather-resistant notices, directions, or promotional posters for indoor or outdoor display.
- Professional Training Materials: Produce hard-wearing instruction sheets, checklists, and safety guides that will hold up in a busy workshop or on a job site.
- Event Passes and Badges: Design custom, professional-looking credentials for conferences, trade shows, and company events.
The core idea here is using layers to create strength and durability. It’s a principle that extends far beyond office documents. In New Zealand, for instance, the construction industry is embracing mass timber products like cross-laminated timber (CLT) to create incredibly strong building materials. While your desktop machine won't be building houses, it works on the exact same concept. You can learn more about the impressive growth of the regional CLT market at IMARC Group. By thinking creatively, you can get so much more out of your machine, producing practical, impressive items for any situation.
Keeping Your Laminator Running Smoothly

To get years of reliable service from your laminator, a little bit of regular care goes a very long way. Think of it less as a chore and more as an investment. Good maintenance isn't just about making the machine last longer; it’s about making sure every single document you laminate comes out looking sharp and professional.
It's a bit like owning a car. You wouldn't skip oil changes and then be surprised when the engine acts up. For a laminator, the most critical task is keeping the rollers clean. This is where most problems start, as leftover adhesive builds up over time, leading to frustrating jams and less-than-perfect results.
A Simple Maintenance Routine
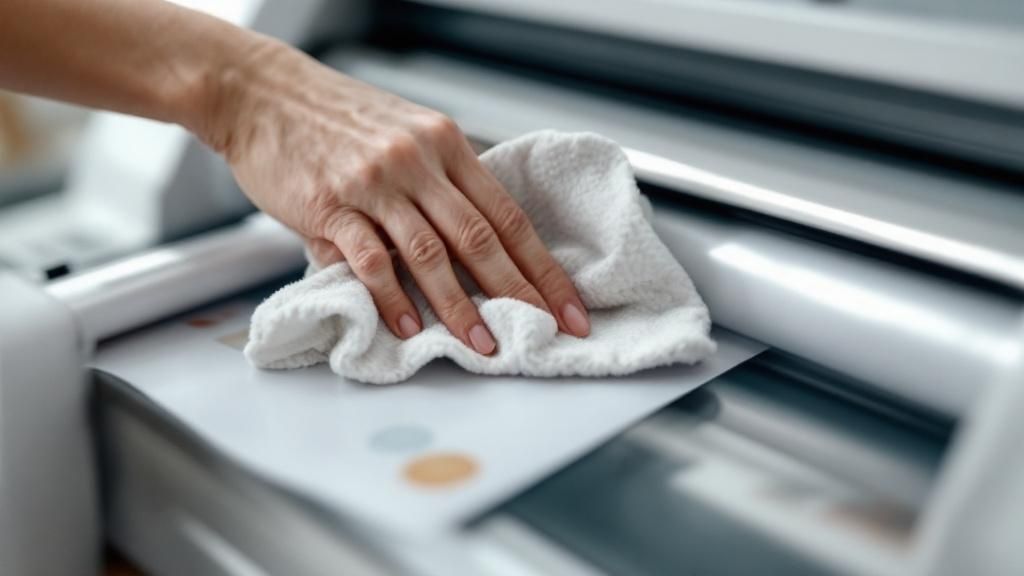
The good news is, keeping your machine in top shape is surprisingly easy. After you finish a laminating session, while the rollers are still warm, just feed a dedicated cleaning sheet through. If you don't have one, a piece of standard copy paper folded in half works well, too.
This quick step mops up any sticky residue before it has a chance to cool down and harden onto the rollers. It's a two-minute habit that saves hours of headaches later.
A clean machine is a happy machine. Regularly cleaning the rollers is the single best thing you can do to prevent jams, wrinkles, and cloudy finishes. It’s the secret to consistent, professional-quality lamination every time.
Troubleshooting Common Laminator Problems
Even with the best care, you’ll occasionally run into a hiccup. Don't panic! Most common laminating issues are straightforward to fix. Here’s a quick guide to tackling them.
Cloudy or Hazy Results
This is a classic sign that the temperature was too low for the pouch thickness you're using.
- Solution: First, make sure the machine has had enough time to fully preheat. If it has, simply run the document through the laminator a second time. Often, that's all it takes. If it's still cloudy, and your model has adjustable heat, try bumping up the temperature setting.
Air Bubbles or Wrinkles
These annoying imperfections usually crop up for two reasons: the document wasn't fed in perfectly straight, or the temperature is off.
- Solution: Always feed the pouch in with the sealed edge first, guiding it gently to make sure it enters straight. Also, take a moment to double-check that you’ve selected the right temperature for the micron thickness of your pouch.
Jammed Pouches
A jam can stop you in your tracks. This is typically caused by feeding the pouch in at an angle or using a pouch that's too thick for the machine to handle.
- Solution: The moment you notice a jam, stop what you're doing. Use the reverse function to gently back the pouch out. Whatever you do, never try to pull it or force it through, as you could permanently damage the delicate rollers inside.
Your Laminator Questions Answered
Even when you think you’ve got everything sorted, questions always pop up when you start using a new piece of equipment. Getting to grips with a laminator lamination machine is no different. To help you get those professional results and troubleshoot with confidence, we’ve put together answers to some of the most common queries we hear.
Why Is My Laminated Document Cloudy or Hazy?
This is easily the most common snag people run into. A cloudy or hazy finish almost always points to one thing: the machine's temperature was too low for the pouch you were using. The adhesive just didn't get hot enough to activate properly and create that clear, perfect bond.
The fix is usually simple. First, double-check that your machine has fully preheated. If it has, try running the document through the laminator a second time. This extra pass often provides enough heat to clear things up. If it’s still cloudy and your model has adjustable settings, bump up the temperature to match your pouch's thickness.
Think of it like cooking: if the oven isn't hot enough, your food won't brown properly. Lamination requires the right amount of heat to achieve that crystal-clear, professional finish.
Can I Laminate an Empty Pouch to Clean the Rollers?
Absolutely not. This is a crucial one to remember. You should never, ever run an empty pouch through your laminator. The exposed adhesive will melt directly onto the hot rollers, causing a sticky mess that can lead to serious jams and poor performance. It’s a sure-fire way to ruin your machine.
Instead, always use a dedicated cleaning sheet designed for the job. If you don't have one handy, a simple piece of clean copy paper, folded in half, works as a great substitute. Just feed it through right after you finish laminating, while the rollers are still warm, to safely mop up any excess glue.
What Is the Difference Between 80 Micron and 100 Micron Pouches?
The "micron" (mic) number you see on a pack of pouches tells you how thick the plastic film is. That number represents the thickness of a single layer, so an 80-micron pouch is actually made of two 80-micron sheets, for a total of 160 microns.
-
80 Micron Pouches: These are your go-to for everyday use. They're thinner, more flexible, and a great, economical choice for general documents that don't need to be completely rigid, like notices or standard reports.
-
100 or 125 Micron Pouches: When you need something more robust, these are the way to go. They're noticeably thicker and provide a much more rigid and durable finish. This makes them the ideal choice for items that will be handled frequently, like ID cards, restaurant menus, or instructional signs that need to last.
Ready to create durable, professional materials for your business? At Soni Design, we bring your vision to life with high-quality printing and finishing solutions. Explore how we can help your brand stand out.
Leave a Comment
Stay home & get your daily
needs from our shop
Start You'r Daily Shopping with Nest Mart
Best prices & offers
Orders $50 or more
Free delivery
24/7 amazing services
Great daily deal
When you sign up
Wide assortment
Mega Discounts
Easy returns
Within 30 days
