
Your cart is currently empty.
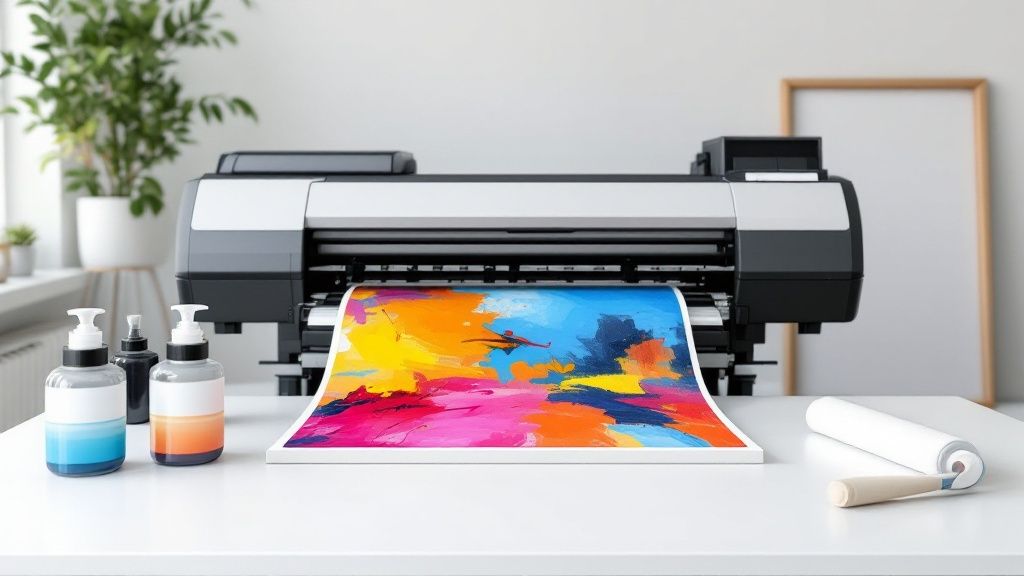
Bringing a digital image to life as a piece of physical art all starts with having the right gear. To really do it justice, you’ll need a pigment-based inkjet printer, some inkjet-receptive canvas, and a good archival-quality UV varnish to protect your finished work. The quality of these three things will make or break the vibrancy, detail, and lifespan of your print.
Gathering Your Essential Canvas Printing Toolkit
Before you even think about hitting 'print', you need to get your materials in order. This isn't like printing a photo on standard paper. Canvas has a unique texture and weight that requires specific supplies to get that professional, gallery-ready look. Choosing the right components isn't just a suggestion—it's the absolute foundation for creating a durable and stunning piece.
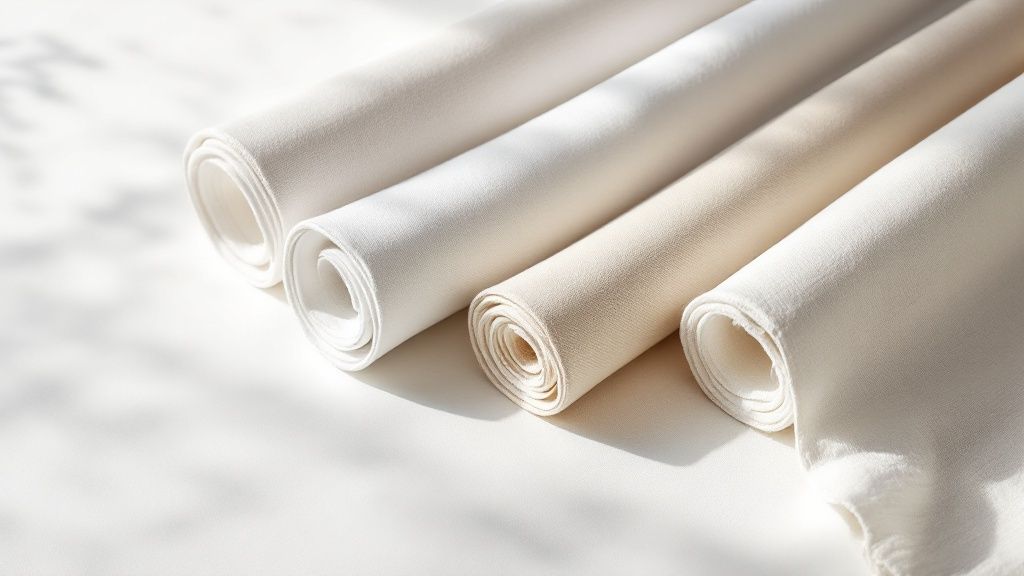
The journey really begins with the canvas itself. You can't just grab any old artist's canvas from the craft shop; it has to be specially coated for inkjet printing. These coatings are designed to manage how the ink is absorbed, giving you sharp, crisp lines and rich colours instead of a blurry, oversaturated mess. Your main choices will be cotton, polyester, or a blend of the two.
Choosing Your Canvas and Inks
A 100% cotton canvas gives you that classic, textured feel that’s perfect for fine art reproductions. The downside? It can be a bit fragile and might crack if you don't handle it with care. A polyester-cotton blend, on the other hand, is much more durable and flexible, which makes it a great, forgiving option if you're just starting out.
The inks are just as crucial. For canvas printing, pigment-based inks are non-negotiable. Cheaper dye-based inks might look decent at first, but they soak deep into the canvas fibres and fade quickly when exposed to UV light. Pigment inks are different; they're made of tiny solid particles that sit right on the canvas surface. This gives them far better archival quality, water resistance, and colour stability that can last for generations.
The decision to use pigment inks and archival canvas isn't just about initial quality—it's about creating a piece that endures. Your artwork deserves to look as brilliant in ten years as it does the day it comes off the printer.
Here's a quick checklist to help you sort through your options. Think of it as your shopping list for creating prints that last.
Your Canvas Printing Supply Checklist
This table breaks down the core materials you'll need, helping you decide what's best for your project's quality and budget.
| Component | Recommended Option | Why It Matters |
|---|---|---|
| Printer | Pigment-Based Inkjet | Delivers archival quality, fade resistance, and water resistance essential for long-lasting prints. |
| Canvas Media | Inkjet-Coated Poly-Cotton Blend | A durable, flexible choice that holds colour well and resists cracking, great for both pros and beginners. |
| Protective Varnish | Archival-Quality UV Varnish | Seals the print, protects it from UV damage and fading, and adds a professional finish (matte, satin, or gloss). |
Getting these three components right is the key to producing professional-grade canvas art that truly stands the test of time.
This image really drives home the point, comparing the typical lifespan and durability of canvas prints versus standard photo prints.

As you can see, while canvas prints might cost a bit more upfront, their huge advantage in longevity and fade resistance makes them a much better investment for anything you want to display long-term.
The Growing Market for Quality Canvas
This push for high-quality canvas printing isn’t just an artistic preference; it's a major market trend. Here in New Zealand, the demand for canvas rolls for digital printing is part of a bigger global pattern. The worldwide canvas roll market is actually projected to hit USD 1.4836 billion by 2035.
Printing applications make up a huge chunk of that—about 38.5% of the market's revenue—all because the medium is so good at reproducing high-resolution, vibrant images. Interestingly, price-conscious customers in New Zealand tend to favour canvas rolls priced between USD 42.49 and USD 54.00, finding a sweet spot between affordability and professional results. You can find more details about canvas market trends and their future outlook.
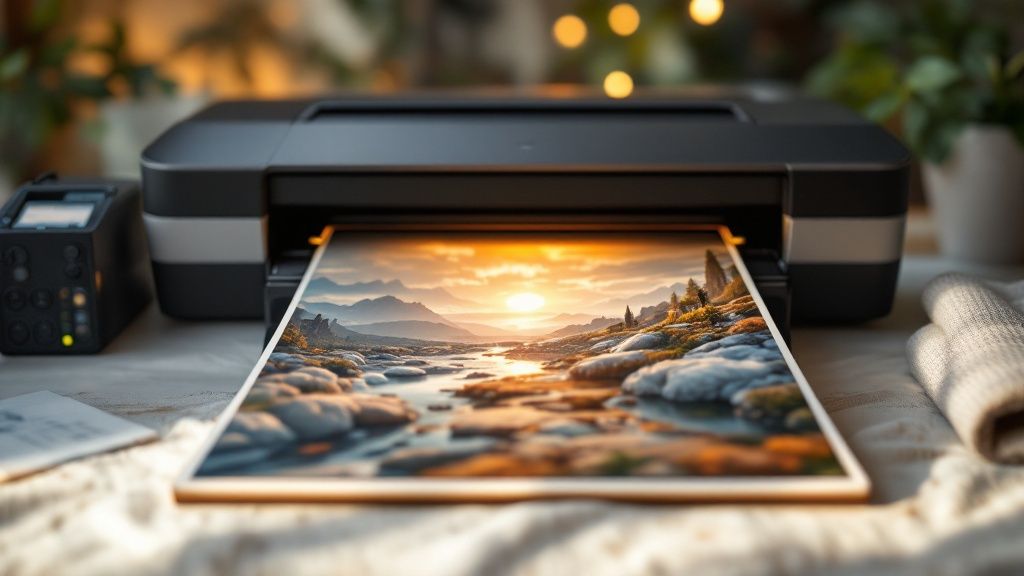
Nailing the Digital File Prep for a Flawless Print
A stunning, gallery-worthy canvas print doesn't just magically appear. It all starts long before any ink hits the fabric, with a perfectly prepared digital file. Simply grabbing your favourite photo from your phone and hitting 'print' is a recipe for disappointment.
To get truly impactful results when printing on canvas, you need to wear two hats: one of a digital artist and one of a print technician. Translating an image from a glowing screen to a textured, physical canvas requires a few key adjustments to make sure the final piece looks exactly how you imagined.
Getting the Resolution and Dimensions Right
The most common mistake I see in canvas printing is starting with a low-resolution image. Your file needs to have enough detail, measured in dots per inch (DPI), to stay sharp and clear when it’s blown up. An image that looks fantastic on your phone can easily turn into a blurry, pixelated mess on a large canvas.
For a high-quality print, the industry standard is to aim for 150 to 300 DPI at the final print size. Let's say you're printing an A3 canvas (about 29.7 x 42 cm); your digital file should be at least 1754 x 2480 pixels to meet that 150 DPI minimum. Trust me, printing a low-res file is a surefire way to get a result you won't be happy with.
Before you do anything else, check your file's resolution against the size you want to print. Trying to upscale a small image in software isn't a silver bullet—it usually just enlarges the existing pixels, which can make the final quality even worse.
Mastering Colour for Canvas
What you see on your screen is almost never what you’ll get on canvas without a bit of colour management. It's a simple reason: your monitor uses light (RGB colour space) to create colours, while a printer uses ink (CMYK colour space). These two systems handle colour in fundamentally different ways, often leading to dull or off-colour prints if you don't bridge the gap.
This is where ICC profiles come in. An ICC profile is essentially a translator—a small data file that ensures the colours look consistent from your screen to the final print. To get it right, you need a specific profile that matches your:
- Printer model: Every printer mixes ink slightly differently.
- Ink type: Pigment inks and dye-based inks have very different colour characteristics.
- Canvas material: The specific canvas you’re using will absorb ink in its own unique way.
Applying the correct ICC profile in a programme like Adobe Photoshop before you print is an essential step for achieving colours that are vibrant and true to life.
Final Tweaks for a Physical Medium
Finally, it’s time for a few simple but crucial edits. Canvas fabric naturally soaks up more light than glossy photo paper. This means your print can come out looking a little darker or less punchy than it did on your backlit monitor.
A good rule of thumb is to slightly boost the brightness and contrast of your image. This small tweak compensates for how the ink settles into the canvas texture, making sure your final print has depth and detail, not a flat, lifeless look. A subtle sharpening filter can also work wonders, helping to bring out fine details that might otherwise disappear into the weave of the canvas.
Getting Your Printer Set Up for Canvas
Let's be clear: printing on canvas isn't like running off a few sheets of A4. Your printer can't just guess what to do. It needs precise instructions to handle the unique thickness, texture, and weight of the material. Nailing these settings is what separates a stunning, crisp print from a costly, frustrating mistake.
First up, the physical side of things. Canvas is thick and far less flexible than paper, making it a prime candidate for jamming if you try to feed it through a standard tray. That's why most printers that can handle canvas have a specialised manual feed slot, usually found at the front or back. This gives the material a much straighter path, which is absolutely vital for preventing jams and protecting your print head from damage.
Diving into Your Printer’s Software
With the canvas loaded, the real work begins in your printer driver settings. This is where you tell the machine exactly what you've given it. Out of everything you can adjust, the single most important setting is the Media Type.
Somewhere in your print dialogue box, you'll find a dropdown menu with options like 'Glossy Photo Paper,' 'Matte Paper,' and, with any luck, 'Canvas' or 'Fine Art Paper'. Choosing the right one is a game-changer for two key reasons:
- It controls the ink flow. Canvas soaks up a lot of ink. Selecting the correct media type tells the printer to lay down more ink to achieve those deep, saturated colours you're after.
- It adjusts the print head height. The printer physically lifts the head to create more clearance, stopping it from scraping across the textured surface and causing ugly smudges or streaks.
Whatever you do, don't leave this setting on 'Plain Paper'. You're almost guaranteed a washed-out, faded-looking print, and you seriously risk a head strike—where the print head literally crashes into the canvas.
Getting the media type setting correct is non-negotiable. It's the fundamental command that dictates ink volume and print head clearance, ensuring the printer is perfectly calibrated for the thicker material.
Finding the Sweet Spot Between Quality and Speed
You'll also need to select a print quality, which typically ranges from 'Draft' or 'Standard' up to 'High Quality' or 'Best'. For a final canvas piece, you should almost always be aiming for 'High Quality'.
This slows the whole process down, but for good reason. It allows the printer to place ink with far greater precision, resulting in finer droplets. The payoff is beautifully smooth colour gradients and much sharper detail—a finish that truly does justice to your artwork. Yes, it uses more ink, but the result is well worth it.
This focus on top-tier output is why we're seeing more people invest in quality gear. In our corner of the world, the market for large format graphics printers saw 1,024 units shipped in the first half of 2024 alone. That’s a 2.2% increase year-over-year, driven by the demand for premium applications just like this. You can read more about the growth in the large format printer market to see how the industry is shifting.
Bringing Your Canvas Print to Life
With your digital file polished and the printer settings dialled in, it's time for the magic to happen. This is where all your careful prep work really pays off. But don't rush it—high-quality canvas printing is a slow, methodical process. The printer needs to take its time to place every single ink droplet with pinpoint accuracy.
Before you feed that expensive sheet of canvas into the printer, a couple of quick checks are non-negotiable. It’s a bit like a musician tuning their instrument before a show; this simple routine can save you a lot of time, money, and frustration down the line.
Your Pre-Flight Checklist for a Perfect Run
First up, always run a nozzle check. This is a quick diagnostic that prints a small test pattern using a tiny amount of ink. Look at the pattern closely. If you see any gaps or broken lines, you've got a clogged nozzle. If you ignore this and print anyway, you'll get ugly horizontal lines, or banding, right across your finished piece.
If the nozzle check reveals a problem, run the printer's head cleaning cycle just once, then try another nozzle check. Whatever you do, don't run multiple cleaning cycles in a row. It’s a fast way to chew through a surprising amount of ink.
My best advice? Do a small test print on a scrap piece of the actual canvas you'll be using. This is the ultimate confidence boost. It’s your last chance to confirm your colour management is spot on and that everything looks just as good on canvas as it does on your screen before you commit to the main event.
Watching the Print Take Shape
Once you hit 'print', your job is to be an active observer. As the image slowly starts to appear, keep a close eye on it. You're looking for any early signs of trouble so you can stop the print immediately if something goes wrong.
Here’s what you need to be on the lookout for:
- Ink Banding: Are faint horizontal lines appearing in solid blocks of colour? That’s a classic sign of a clogged nozzle you might have missed in the check.
- Ink Smudging: Any smears or smudges usually mean you've had a 'head strike'. This happens when the print head is set too low and is physically scraping against the canvas.
- Weird Colour Shifts: If the colours suddenly start looking off mid-print, it could be a sign that an ink cartridge is about to run completely empty.
If you spot something serious like a head strike, cancel the print right away. There’s no point wasting more ink and canvas. You'll need to sort out the root cause—usually by adjusting the platen gap or media thickness setting—before you try again. Staying engaged during this final stage is what ensures the vision in your head is the one that ends up on the canvas.
Finishing and Protecting Your Canvas Art
The image is printed and the colours look fantastic, but your work isn't quite done. The steps you take next are what truly transform a print from a simple sheet of canvas into a durable, professional piece of art. This finishing stage is what dictates its longevity and gives it that polished, gallery-ready look.
Right now, your most important tool is patience. A freshly printed canvas is incredibly delicate, and the ink needs time to fully dry and cure. This process can take up to 24 hours, and handling it too soon is a recipe for disaster. You risk leaving irreversible fingerprints, smudges, and scuffs. Just find a clean, dust-free spot and let it sit undisturbed.
The Essential Varnishing Process
Once the print has fully cured, it's time for the most critical step: varnishing. Applying a UV-protective varnish isn't just a suggestion; it’s non-negotiable if you want your art to last. This clear coat does more than just protect—it actually enhances the print, making colours seem richer and blacks appear deeper. Think of it as your primary defence against fading, moisture, dust, and general wear and tear.
When it comes to choosing a varnish, you have a few options for the final look, and each one offers a distinct aesthetic.
- Gloss Finish: This creates a shiny, reflective surface that makes colours pop dramatically. It’s a brilliant choice for vibrant photographic prints but can produce a bit of glare under direct lighting.
- Satin Finish: A popular middle ground, satin offers a gentle lustre that boosts colour saturation without the high-shine of a gloss. It’s an incredibly versatile choice that works for almost any type of artwork.
- Matte Finish: If you want a completely non-reflective, flat look, matte is the way to go. It’s ideal for fine art reproductions where you want to preserve the natural texture of the canvas.
The quality of your finishing process is what truly separates a DIY project from a professional piece. In New Zealand's competitive printing market, producing a durable, beautifully finished product is how you stand out and create something of lasting value.
Applying a Flawless Top Coat
To get a perfectly even, streak-free coat, your application technique really matters. You can use either a high-quality spray varnish or a liquid varnish applied with a foam roller.
If you’re spraying, work in a well-ventilated area and apply several light, even coats, letting each layer dry completely before starting the next.
If you’re using a roller, pour the varnish into a tray and gently roll it onto the canvas with overlapping strokes. The key is to avoid pressing too hard, which can create bubbles or streaks. This final touch is what elevates your project, ensuring it remains as vibrant as the day it was printed.
This attention to detail is more important than ever. The printing industry in New Zealand has seen the number of businesses decline by an average of 3.4% annually between 2019 and 2024. This trend really highlights the need for creators and businesses to deliver exceptional, long-lasting quality to stay competitive.
Once your canvas art is finished and protected, you can explore some creative wall decorating ideas to display your masterpiece beautifully.
Your Top Canvas Printing Questions Answered
When you first dive into printing on canvas, you’re bound to have questions. It can feel like there are a million little details to get right, but honestly, a few key pieces of knowledge can solve most of the common frustrations.
Let's tackle some of the biggest sticking points I see people run into when they're starting out. Getting these right will take you from guesswork to consistently beautiful prints.
What’s the Best Printer for Canvas?
If you're printing from home or a small studio, a pigment-based inkjet printer is the way to go. No question. The reason boils down to one crucial thing: archival quality.
Dye-based inks tend to soak into the canvas fibres and can fade surprisingly quickly. Pigment inks, on the other hand, are made of tiny solid particles that sit right on top of the surface. This not only gives you sharper detail but also incredible lightfastness. A print made with quality pigment inks can easily last over 100 years without any noticeable fading.
When you're looking at models, check out wide-format options from brands like Epson or Canon. They're built to handle thicker media like canvas and usually offer a wider colour gamut, which is exactly what you need for accurate art and photo reproductions.
Why Do My Prints Look So Different from My Screen?
This is probably the single most common frustration in printing, and the culprit is almost always a lack of colour management. It’s a classic mismatch. Your monitor uses projected light to create colours (the RGB colour space), while your printer uses ink on paper, which absorbs light (the CMYK colour space). They’re speaking two completely different languages.
To get them on the same page, you need to calibrate your monitor and, critically, use the correct ICC profile. Think of an ICC profile as a translator—a small data file that tells your computer exactly how your specific printer, ink, and canvas combination produces colour. This ensures what you see is what you get.
Without that profile, your computer is just guessing how the colours should look, and that’s why you end up with prints that are dull, muddy, or have strange colour shifts.
Can I Just Grab Any Canvas from an Art Store?
I'll make this one easy: absolutely not. You have to use canvas specifically made for inkjet printing. A standard artist's canvas is prepped with gesso, which is great for paint but terrible for ink. If you try to print on it, the ink will just pool on the surface, smudge, or won’t stick at all. It’s a mess.
Canvas made for inkjet printing has a special coating that’s engineered to perfectly receive and control the ink droplets. This is what gives you those crisp details and vibrant colours. Using the wrong canvas is a waste of ink and could even damage your printer's sensitive print head.
How Do I Stop the Edges from Cracking When I Stretch the Canvas?
Ah, the dreaded edge crack! It’s a common fear, but thankfully, it's completely preventable with the right finishing touch. The secret is applying a high-quality, flexible varnish after the print has had at least 24 hours to dry and cure completely.
This protective layer does a lot more than just guard against UV light and scuffs. It adds a vital layer of flexibility to the ink and the canvas itself. Later, when you're stretching the canvas around the frame, that flexible coating allows the ink to stretch with the fabric, preventing any cracking. You’ll get those clean, professional gallery-wrapped edges every time.
At SONI DESIGN, we live and breathe this stuff. We know what it takes to get a perfect print, whether it's for a piece of fine art, bold business signage, or unique promotional products. Our whole focus is on bringing your vision to life with precision and care. Let's create something extraordinary together.
Explore our printing services at https://www.sonidesign.co.nz.
Leave a Comment
Stay home & get your daily
needs from our shop
Start You'r Daily Shopping with Nest Mart