
Your cart is currently empty.

When it comes to emergency exit signs in New Zealand, the rules aren’t just a set of friendly suggestions. They are strict legal requirements designed with one crucial goal in mind: keeping people safe when things go wrong. These obligations, laid out in the NZ Building Code and the AS/NZS 2293 standard, cover everything from the sign’s design and where it’s placed to the routine checks needed to make sure it works.
Your Core Obligations for Exit Signage in NZ
If you're a building owner or manager, getting your head around your duties for emergency exit signs is one of the most important things you can do. It's easy to feel a bit bogged down by the official language, but the principle is straightforward. You are legally responsible for making sure everyone in your building has a clear, visible, and fully functional path to safety, no matter what.
It helps to think of it like your car’s Warrant of Fitness (WoF). Your car needs working brakes and headlights to be safe on the road, right? A building is no different. It needs its safety systems to be in top shape to be legally occupied, and exit signage is a non-negotiable part of that system.
To help clarify the regulatory landscape, here’s a quick breakdown of the key standards and what they mean for you.
Key Regulatory Pillars for Exit Signage Compliance
| Regulation/Standard | Primary Role | Key Requirement |
|---|---|---|
| NZ Building Code Clause F6 | Visibility in Escape Routes | Ensures escape routes have adequate lighting to allow people to see their way out safely. |
| NZ Building Code Clause F8 | Signs | Mandates the presence of signs to clearly identify escape routes and final exits. |
| AS/NZS 2293 | The "How-To" Standard | Provides the technical details on the design, installation, performance, and maintenance of emergency lighting and exit signs. |
These regulations are the backbone of your responsibilities, ensuring every sign works together to prevent confusion during a crisis.
Specified Systems and the BWoF
A term you’ll hear a lot is 'specified systems'. In short, these are the essential health and safety features in your building that require regular, professional checks to prove they are still working correctly.
Because emergency exit signs are absolutely vital for a safe evacuation, they are officially classified as a specified system. This means they must be listed on your building’s Compliance Schedule and are subject to mandatory checks for your annual Building Warrant of Fitness (BWoF).
The BWoF is your annual proof that all specified systems have been inspected and maintained as required for the past 12 months. Without a current BWoF, your building could be deemed unsafe or even unfit to occupy.
Why Your Obligations Matter
Fulfilling these duties is about much more than just ticking boxes or avoiding a fine. It’s about creating a fundamentally safe environment for every single person who steps inside—your team, your customers, and any visitors.
When a fire, earthquake, or power cut hits, well-maintained exit signs can be the difference between a calm, orderly evacuation and a chaotic, dangerous situation. These duties are a core part of implementing effective workplace safety procedures that protect lives.
Your commitment to maintaining these signs shows you take safety seriously. It’s the foundation of responsible building management and ensures your signs are ready to do their job when it counts the most.
Decoding Illumination and Visibility Standards
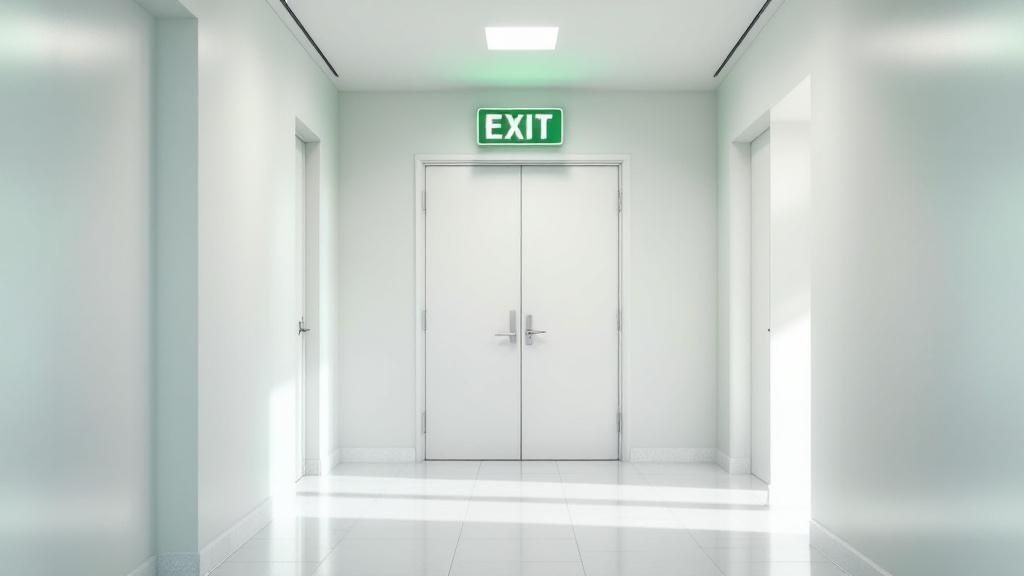
An emergency exit sign that can't be seen is worse than having no sign at all. It offers a false sense of security but provides zero guidance when it matters most. This is precisely why the emergency exit signage requirements for illumination and visibility are so strict and absolutely non-negotiable.
Picture a corridor suddenly filling with thick smoke during a power cut. The only thing guiding people to safety is the steady, reassuring glow of a sign piercing through the chaos. That’s why in New Zealand, all exit signs must be actively lit, ensuring they stay visible even if the main power supply fails.
This standard isn’t about looks; it's a life-saving measure designed for the worst-case scenario. It ensures that no matter the conditions, the path to safety is always clear, turning a simple sign into a reliable beacon of hope.
Internally vs. Externally Illuminated Signs
When it comes to keeping signs lit, you generally have two options. Both get the job done, but they suit different building designs and situations.
-
Internally Illuminated Signs: These are the ones you see most often. The light source, usually long-lasting LEDs, is built right into the sign's housing. This makes them a self-contained, highly visible, and go-to choice for most new buildings.
-
Externally Illuminated Signs: This approach uses a standard, non-lit sign that is illuminated by a dedicated, external light source, like a spotlight. Crucially, this external light must be hooked up to the emergency power supply to keep the sign lit during an outage. This can be a practical solution in heritage or architecturally sensitive buildings where a modern, internally-lit sign might clash with the decor.
No matter which type you choose, both must deliver a consistent level of brightness that makes the sign easy to read from the maximum required viewing distance. The bottom line is that the sign must always be lit by a reliable power source.
The Role of Backup Power
The true test for any exit sign is how it performs when the power goes out completely. This is where its connection to your building’s emergency power system becomes absolutely critical.
Think of it as a dedicated backup generator just for your safety information. When the main electricity fails, the emergency system must kick in instantly, keeping those exit signs shining brightly. This is usually handled in one of two ways:
- Battery Backup: Most modern signs come with a small, internal rechargeable battery. This battery is designed to provide power for a legally required duration—typically 90 minutes—during a blackout.
- Central Power Systems: In larger, more complex buildings, signs might be wired into a central emergency generator or an uninterruptible power supply (UPS). This system powers all of the building's essential safety features at once.
It’s critical to remember this: signs must stay illuminated throughout any emergency. A sign that goes dark is a direct failure to comply with the NZ Building Code and puts everyone inside at serious risk.
MBIE Clarification and Compliance Schedules
For years, there was a bit of confusion around different sign types, particularly photoluminescent (glow-in-the-dark) signs. Thankfully, a vital clarification from the Ministry of Business, Innovation and Employment (MBIE) has made the rules crystal clear.
Since 2016, exit signs must be actively illuminated to comply. This means that photoluminescent signs, which simply absorb ambient light and glow for a while, are generally not sufficient on their own. They can only be used if paired with another powered lighting system. You can read the detailed MBIE erratum for a full breakdown of these official compliance clarifications.
This requirement ties directly into your building’s Compliance Schedule. Because illuminated exit signage is a "specified system," it must be listed on your schedule, regularly tested, and professionally maintained. This process ensures the sign’s lighting—whether internal or external—and its backup power source are always working and ready for an emergency.
The Science Behind Sign Design and Symbols
Ever glanced up at a green emergency exit sign with its little 'running man' and wondered why it looks that way? It's easy to assume it’s just a standard design, but there's a fascinating story behind it. That sign is the product of decades of scientific research, psychological studies, and a global mission to create the most effective guidance system for a crisis.
Nothing about a modern exit sign is accidental. Every detail—from the colour to the symbol—is a deliberate choice, engineered for instant recognition and maximum visibility when it matters most. The entire design is based on one goal: getting people out of a building quickly and safely, no matter the conditions.
These emergency exit signage requirements are deeply rooted in the science of how we see and react under extreme stress. Let’s dive into the evidence that shaped these life-saving designs.
Why Green Is The New Red
For a long time, red was the go-to colour for exit signs. It makes sense, right? Red screams "stop," "danger," and it’s the colour of fire equipment. However, extensive research uncovered a major flaw in that thinking, especially during an actual emergency.
In a smoky or low-light environment, our eyes can pick out the colour green far more easily than red. The specific wavelength of green light cuts through the visual chaos of a fire, making the sign a clear beacon.
This shift isn't just a recent trend; it’s based on international studies going back as far as the 1950s. Researchers found green signs were not only more visible in poor conditions but also less straining on the eyes, a critical advantage when panic sets in.
The Universal Language of The Running Man
The colour is only half the story. The symbol itself is just as crucial. A sign that simply says "EXIT" is perfectly clear for English speakers, but it can cause deadly hesitation for tourists, non-English speakers, or even young children who can't read yet.
This exact problem led to the creation of the now-iconic 'running man' pictogram.
The 'running man' is a globally recognised symbol that transcends language barriers. It intuitively communicates movement towards safety, providing a clear, instinctive instruction that anyone can understand in a fraction of a second. This pictogram is a perfect example of design that prioritises universal comprehension over text.
The symbol doesn’t just point to an exit; it shows the direction of escape. It’s a subtle but powerful psychological cue that guides people instinctively. To fully appreciate its effectiveness, it helps to have a grasp of basic design principles like contrast and balance, which make the symbol so powerful.
How NZ Standards Compare Globally
By adopting the green running man, New Zealand has aligned its emergency exit signage requirements with international best practices. This isn't a uniquely Kiwi thing; countries like Australia, Japan, and most of the European Union have all embraced this scientifically proven standard.
This global consistency is a huge advantage.
- Visitor Safety: Tourists and international visitors can instantly recognise the signs, just as they would at home.
- Proven Effectiveness: We’re not experimenting. We’re benefiting from a massive body of global research and data from real-world incidents.
- Clear Best Practices: It eliminates confusion for architects, builders, and facility managers by providing a single, clear standard to follow.
Ultimately, the science behind the sign's design is all about removing hesitation. In an emergency, every second is precious. A person's ability to instantly understand a sign can be the difference between a safe evacuation and a tragedy. That simple green running man is, without a doubt, one of the most effective safety innovations in modern building history.
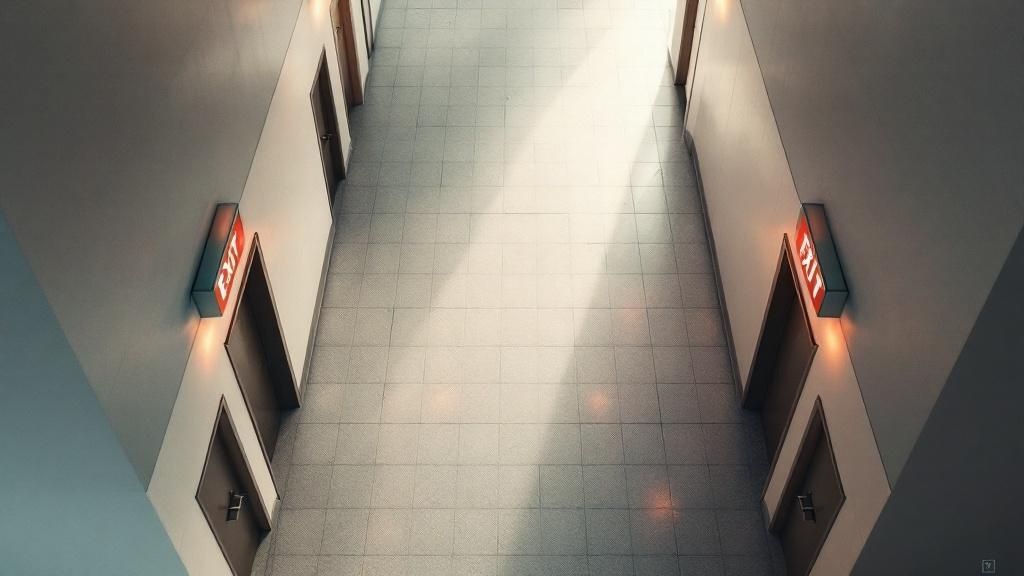
Strategic Placement for Flawless Evacuation Routes
Having a perfectly designed and illuminated sign is only half the battle. If it’s not in the right spot, it might as well be a blank wall. The strategic placement of your signs is a critical part of your emergency exit signage requirements, as it’s what turns a confusing building into an intuitive, foolproof map for people to follow during a crisis.
Think of your building's evacuation path like a breadcrumb trail. Each sign is a breadcrumb, leading people step-by-step from where they are to the final exit. If a breadcrumb is missing or points the wrong way, the trail goes cold. In an emergency, that confusion can have dire consequences.
The fundamental goal here is to eliminate any moment of hesitation. From anywhere in your building, a person must be able to see a sign that either shows them the nearest exit or points them along the path to get there. It’s this continuous line of sight that creates a truly flawless evacuation route.
The Three Golden Rules of Placement
To create that clarity, there are three core principles that guide every installation. These aren’t just suggestions; they form the foundation of a compliant and effective wayfinding system, ensuring no one is left guessing when every second is precious.
-
Above Every Designated Exit Door: This one’s the most obvious but also the most important. Any door that serves as a final exit from the building or leads into a safe escape route (like a fire-rated stairwell) must have an exit sign directly above it. No exceptions.
-
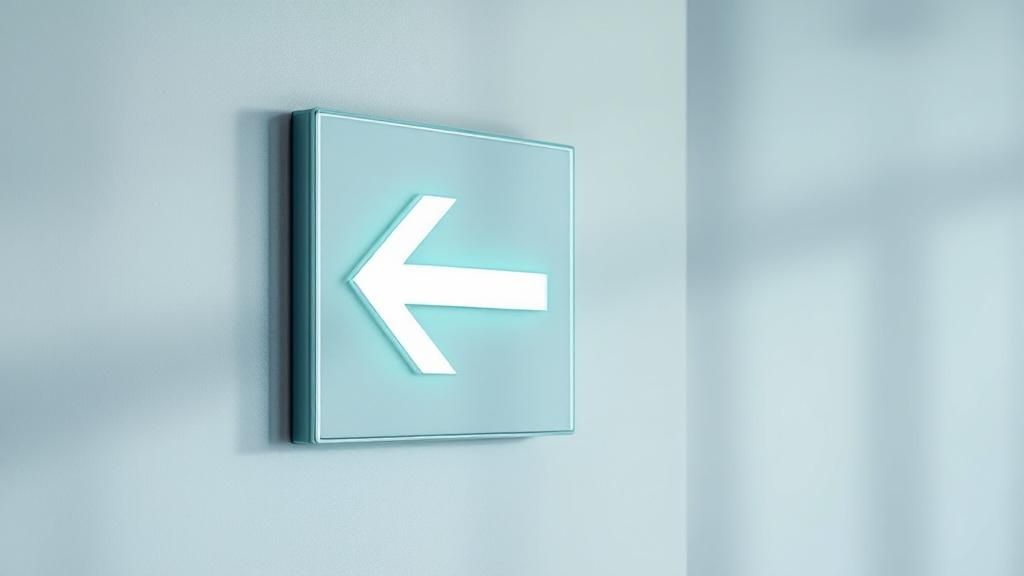
At Every Change of Direction: Evacuation paths are rarely a simple straight line. Whenever the route requires someone to turn a corner, go up or down stairs, or navigate around an obstacle, a directional sign is essential. A sign with a clear, unambiguous arrow prevents people from stopping and keeps the flow of movement going.
-
At Corridor Intersections: Long hallways and T-junctions are natural points of confusion. Placing a sign at these spots reassures people they’re still on the right path or directs them towards it. This simple act prevents someone from accidentally wandering down a dead-end corridor in a panic.
Sticking to these three rules creates a seamless chain of visual cues. Imagine navigating a multi-floor office building: a sign in the main corridor points you towards the stairwell. At the top of the stairs, another sign directs you down the hallway. At the end of that hallway, the final sign glows brightly above the exit door. There's never a moment of guesswork.
Tackling Common Placement Challenges
While the rules seem straightforward, real-world buildings are full of tricky layouts. Think of open-plan offices, cavernous warehouses, or large atriums—these spaces can make standard placement difficult. This is where understanding viewing distances becomes absolutely critical.
The AS/NZS 2293 standard specifies the maximum viewing distance for different sign sizes. For instance, a standard sign with 150 mm high lettering might have a maximum viewing distance of 24 metres. If you have an open space larger than that, you must install intermediate signs to bridge the visual gap.
In a large, open-plan space, you can't rely on a single sign at the far end of the room. Intermediate signs, often hung from the ceiling, must be placed along the escape route to ensure that at least one sign is always visible within the maximum viewing distance.
This approach solves the "what now?" problem that can happen in large, undefined areas. The path to safety must always be clearly marked, every step of the way.
Mistakes to Avoid During Installation
Even with the best of intentions, simple installation mistakes can render a perfectly good sign useless. Here’s a quick checklist of common placement errors that can compromise your building's safety and compliance:
- Incorrect Mounting Height: Signs need to be high enough to be seen over a crowd but not so high that they’re easily missed. While you should always check local guidelines, signs are generally mounted between 2 and 2.7 metres from the floor to the bottom of the sign.
- Obstructed Views: It sounds obvious, but you’d be surprised. A sign placed behind a hanging plant, a structural beam, or even a tall piece of furniture is effectively invisible. Always check sightlines from multiple angles after installation.
- Wrong Directional Arrow: This is a surprisingly common and incredibly dangerous mistake. An arrow pointing left when the exit is to the right can cause a fatal delay. Always double-check and triple-check every directional sign.
- Forgetting "Not an Exit" Signs: To prevent people from running into storerooms, cupboards, or other dead-ends, doors that could be mistaken for an exit must be clearly marked. A simple "Not an Exit" or similar sign eliminates that confusion.
Mastering Inspection and Maintenance Routines
Getting compliant emergency exit signs installed is a great first step, but it’s really just the beginning. True safety—and legal compliance—comes from the ongoing work of making sure every single sign is ready to perform at a moment's notice. This isn't a "set and forget" job; it's a structured routine of inspection and maintenance laid out in the AS/NZS 2293 standard.
Think of it like getting your car serviced. You wouldn’t dream of driving for years without checking the oil or testing the brakes, right? The same logic applies here. Regular checks ensure your signs will actually work when you need them most, protecting people and keeping your building on the right side of the law.
Ignoring your maintenance responsibilities is more than just risky; it can lead to some hefty penalties. This chart breaks down the potential fines for non-compliance, which vary depending on the type of building.
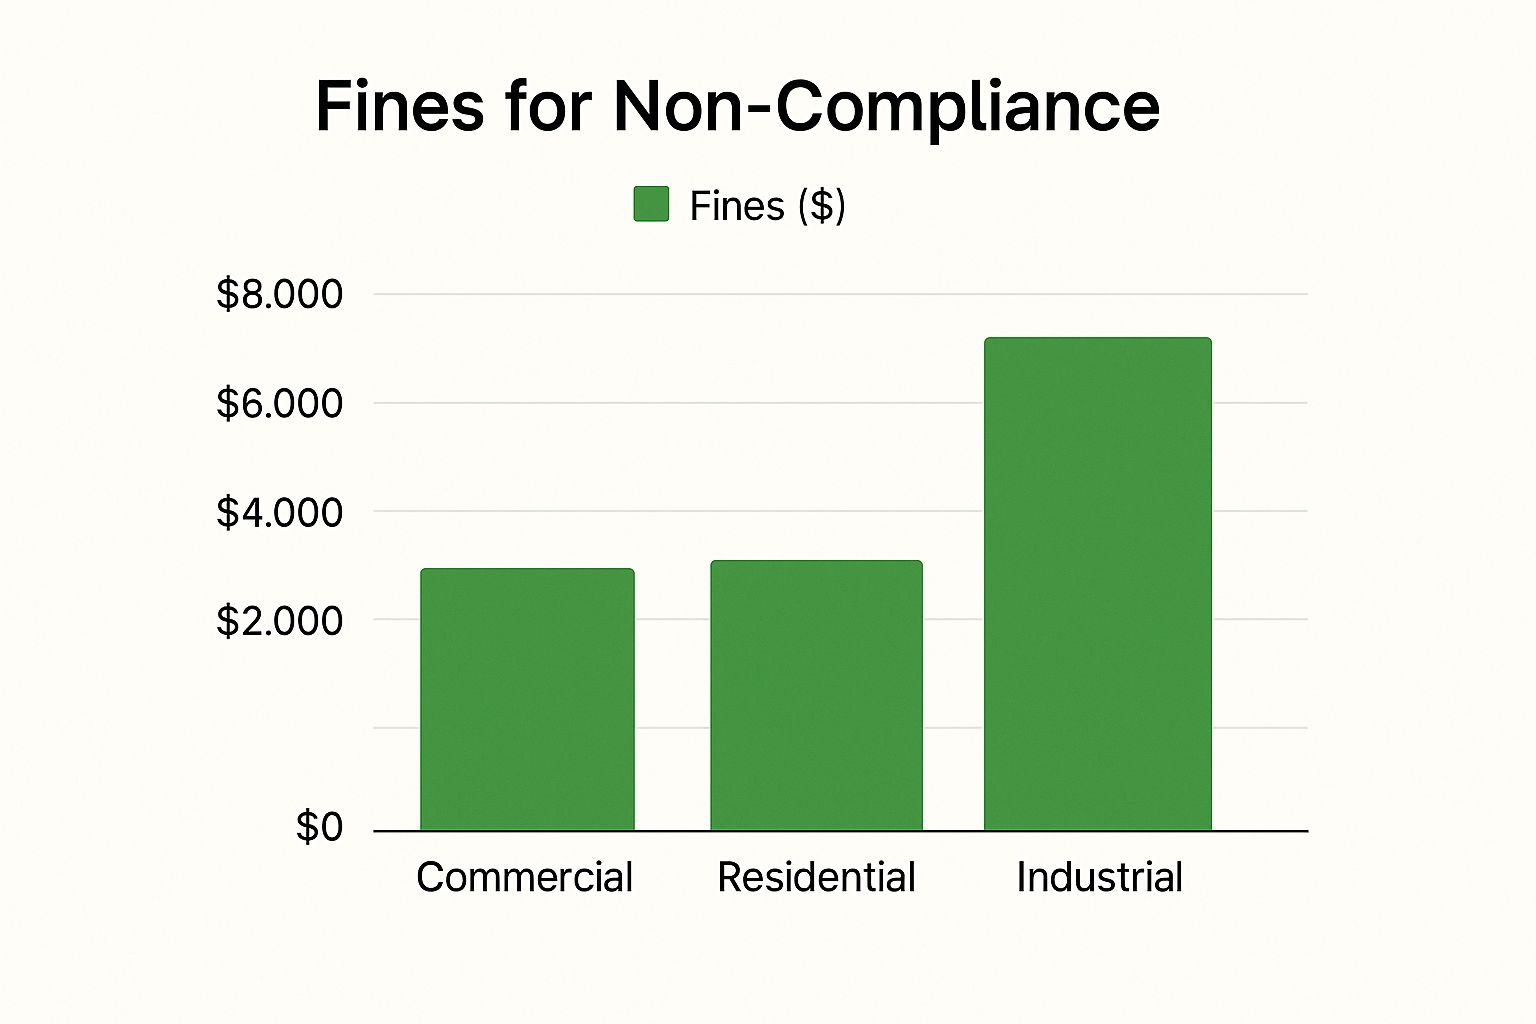
As you can see, industrial buildings are slapped with the highest fines. This really highlights how seriously authorities treat non-compliance in environments they consider high-risk.
Your Required Inspection Schedule
The good news is that AS/NZS 2293 spells out exactly what you need to do, breaking down your maintenance duties into clear, manageable intervals. Each test serves a specific purpose, building on the previous one to create a really solid system of checks and balances.
To make sure these formal procedures are done correctly, you'll need an Independently Qualified Person (IQP). Their involvement is essential for certifying the system for your Building Warrant of Fitness (BWoF).
It often helps to fit your sign maintenance into a bigger picture. Using a comprehensive building inspection checklist can help you integrate these tasks into a broader safety framework for your entire property.
To keep things clear, here’s a simplified overview of the key inspection and testing intervals required by the standard.
AS/NZS 2293 Inspection & Testing Schedule
| Frequency | Required Test/Inspection | Purpose |
|---|---|---|
| Every 6 Months | Visual Check & Power-Down Test | Checks for physical damage, dirt, and ensures a seamless switch to battery power. |
| Every 12 Months | 90-Minute Discharge Test | Simulates a prolonged power cut to verify the battery can last through a real emergency. |
| Ongoing | Logbook Maintenance | Provides official, detailed proof of all inspections, tests, and repairs for compliance. |
This schedule ensures that potential problems, from a dirty diffuser to a failing battery, are caught early and fixed.
Diving Deeper into the Tests
The six-monthly checks are your system's regular health screening. Your IQP will visually inspect each sign for physical damage, dirt, or anything blocking its visibility. Then, they'll perform a power-down test to make sure every sign switches over to its battery backup without a hitch and stays illuminated.
The annual inspection, however, is the main event. It includes all the six-monthly checks, but adds the crucial 90-minute discharge test.
This isn't just a quick flick of a switch. The 90-minute test simulates a long power outage, forcing the signs to run entirely on their internal batteries for a full hour and a half. It’s the ultimate trial, and it's the only way to be certain the batteries have enough juice to last through a genuine, extended emergency.
If a sign fails this test—even if it works for 10 or 20 minutes—it’s non-compliant. It's a clear signal the battery is on its way out and needs to be replaced immediately.
Documenting Your Diligence
When it comes to emergency exit signage requirements, keeping meticulous records is non-negotiable. Your IQP will maintain a detailed logbook for your building, which acts as the official evidence that you're meeting your obligations.
This logbook isn't just a tick-box exercise. It must contain specific information for every inspection:
- Date of Inspection: Exactly when the tests were performed.
- Inspector's Details: The name and qualifications of the IQP who did the check.
- Test Results: A clear record showing which signs passed and which failed.
- Corrective Actions: Notes on any repairs or replacements made, like installing a new battery or cleaning a diffuser.
This paperwork is vital for your BWoF application and gives you a clear history of your system's health. By tracking performance, you can proactively manage maintenance, spotting common issues like battery decline or lamp burnouts before they turn into a serious compliance problem.
Got Questions About Exit Signs? You're Not Alone.
When it comes to emergency exit signs, the details really matter. Getting your head around the specific rules can feel a bit overwhelming, but understanding them is the key to making sure your building isn't just compliant on paper, but genuinely safe for everyone inside. Let's clear up a few of the most common questions we hear.
A big one is whether every single door needs an exit sign. The short answer is no. A sign is only required for doors that are part of a designated escape route. Think of it as a breadcrumb trail leading to safety—you need a marker at the final exit and at any point along the way where someone might get confused, like a turn in a hallway. Your building's fire safety plan is the ultimate source of truth for identifying these critical paths.
Getting the Signs and Responsibilities Right
People often ask about the difference between an 'Exit' sign and a 'Not an Exit' sign. It’s a simple but crucial distinction.
- An 'Exit' sign is your classic illuminated green sign, a beacon showing the way out.
- A 'Not an Exit' sign is just as important. You place it on doors that could be mistaken for an exit—like a large cupboard or storeroom door—to prevent dangerous confusion during an emergency.
We also get questions about photoluminescent "glow-in-the-dark" signs as a way to cut down on power bills. While they seem like a clever idea, they come with very strict rules. The NZ Building Code demands that signs remain lit during a power cut. A simple photoluminescent sign that just soaks up room light usually won't meet this standard on its own.
But probably the most vital question is this: who is actually allowed to do the inspections? All testing and maintenance must be handled by an Independently Qualified Person (IQP). This isn't just a recommendation; it's the law. An IQP is a professional registered with the local council, and their sign-off is essential for your Building Warrant of Fitness (BWoF). Hiring someone unqualified means your compliance is void.
At SONI DESIGN, we live and breathe this stuff. We know that clear, compliant signage is the bedrock of building safety. We pour our expertise into creating high-quality signage that doesn't just tick the boxes but genuinely protects people. Let us help you make your vision for a safe, well-designed space a reality. Learn more at https://www.sonidesign.co.nz.
Article created using Outrank
Leave a Comment
Stay home & get your daily
needs from our shop
Start You'r Daily Shopping with Nest Mart