
Your cart is currently empty.

Getting your hands on the right double sided tape in NZ is all about matching the product to the job. Whether you're hanging a lightweight picture frame or mounting heavy commercial signs, picking the correct tape is the single most important decision for a strong, lasting bond.
Your Guide to Choosing the Right Double Sided Tape in NZ
Stepping into the world of adhesives can feel a bit overwhelming at first. With a dizzying array of options on the shelf, how do you figure out which roll of double sided tape is the one for your project here in New Zealand?
Think of this as your friendly roadmap. We'll break down the important stuff—like adhesion strength, surface types, and how Kiwi weather comes into play—so you can sidestep those common, frustrating failures.
This simple decision tree is a great starting point. It'll help you quickly figure out if a standard DIY tape will do the trick or if you need to look at something more professional.
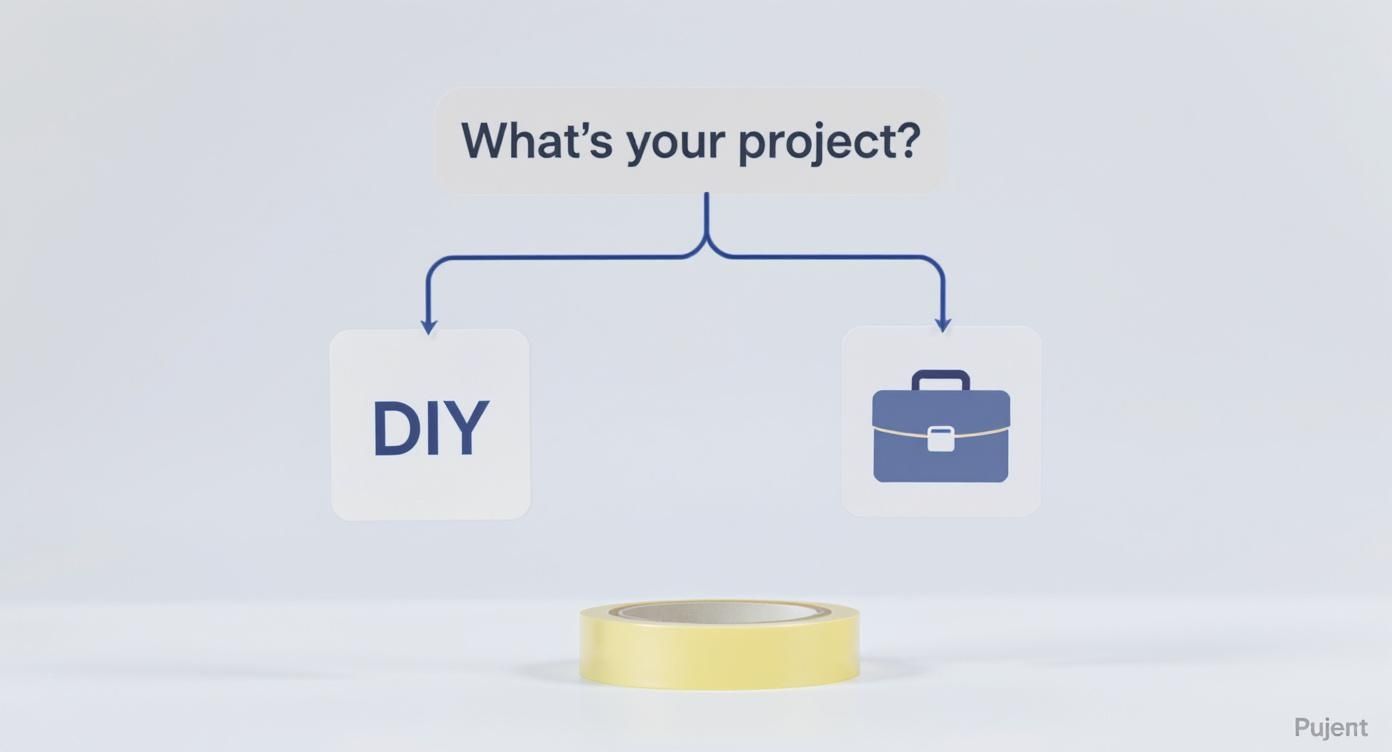
As you can see, the first question is always about the scope of the project. The answer immediately points you towards the kind of performance and durability you'll need from your tape.
A Quick Look at the Tape Market
You might be surprised how big the demand is for quality adhesives. Here in New Zealand, the double sided tape market reflects what's happening globally, with huge demand from the construction, automotive, and electronics industries.
The worldwide market for these tapes is forecast to jump from USD 11.9 billion in 2025 to a massive USD 18.5 billion by 2035. This isn't just a niche product; advanced adhesives are becoming essential for everything from everyday household fixes to highly specialised industrial jobs.
Matching the Right Tape to the Right Job
Every project is different, and so are the demands on the tape. For something like professional home staging, you need a tape that holds securely but can be removed cleanly without damaging walls. On the other hand, putting up a permanent outdoor sign calls for a tape that can tough it out through everything our variable NZ weather throws at it.
Choosing the wrong tape isn't just a minor hassle. It can mean total project failure, wasted money and materials, and even damage to your surfaces. The trick is to know what each tape is good for before you start peeling and sticking.
Before we get into the nitty-gritty, let's start with a quick overview. This table gives you a snapshot of the most common double sided tapes you'll find here in NZ and what they're best used for.
Quick Comparison of Double Sided Tapes in NZ
Use this summary to quickly match the right tape type to your project's demands.
| Tape Type | Primary Use Case | Adhesion Strength | Ideal Surfaces |
|---|---|---|---|
| Foam Tape | Mounting signs, number plates, mirrors; gap-filling on uneven surfaces. | Medium to Very High | Metal, plastics, glass, sealed wood, composites. |
| Tissue Tape | General crafting, office use, light bonding, splicing paper or film. | Low to Medium | Paper, cardboard, lightweight plastics, photos. |
| Acrylic Tape | Permanent bonding, transparent applications like glass or clear plastics. | High to Very High | Glass, acrylics (Perspex), metals, painted surfaces. |
| VHB Tape | Heavy-duty industrial mounting, replacing rivets and screws. | Extremely High | Most metals, plastics, glass, composites, sealed wood. |
This gives you a solid starting point for narrowing down your options. Now, let's explore what makes each of these tapes tick.
Understanding the Main Types of Adhesive Tape
Picking the wrong double-sided tape isn't just a minor stuff-up; it can spell disaster for your project. To get a bond that actually lasts, you need to understand the different tools for the job. Not all tapes are created equal, with each type engineered for specific tasks, surfaces, and environments.
Think of it like choosing the right tyres for your car. You wouldn't hit a muddy, off-road track in the middle of winter with summer road tyres. It’s the same logic with tape. The stuff you use for lightweight craft projects is worlds apart from what’s needed to mount a commercial sign that has to face down a Wellington southerly.
Let's break down the main categories of double-sided tape NZ businesses and DIYers rely on every day.
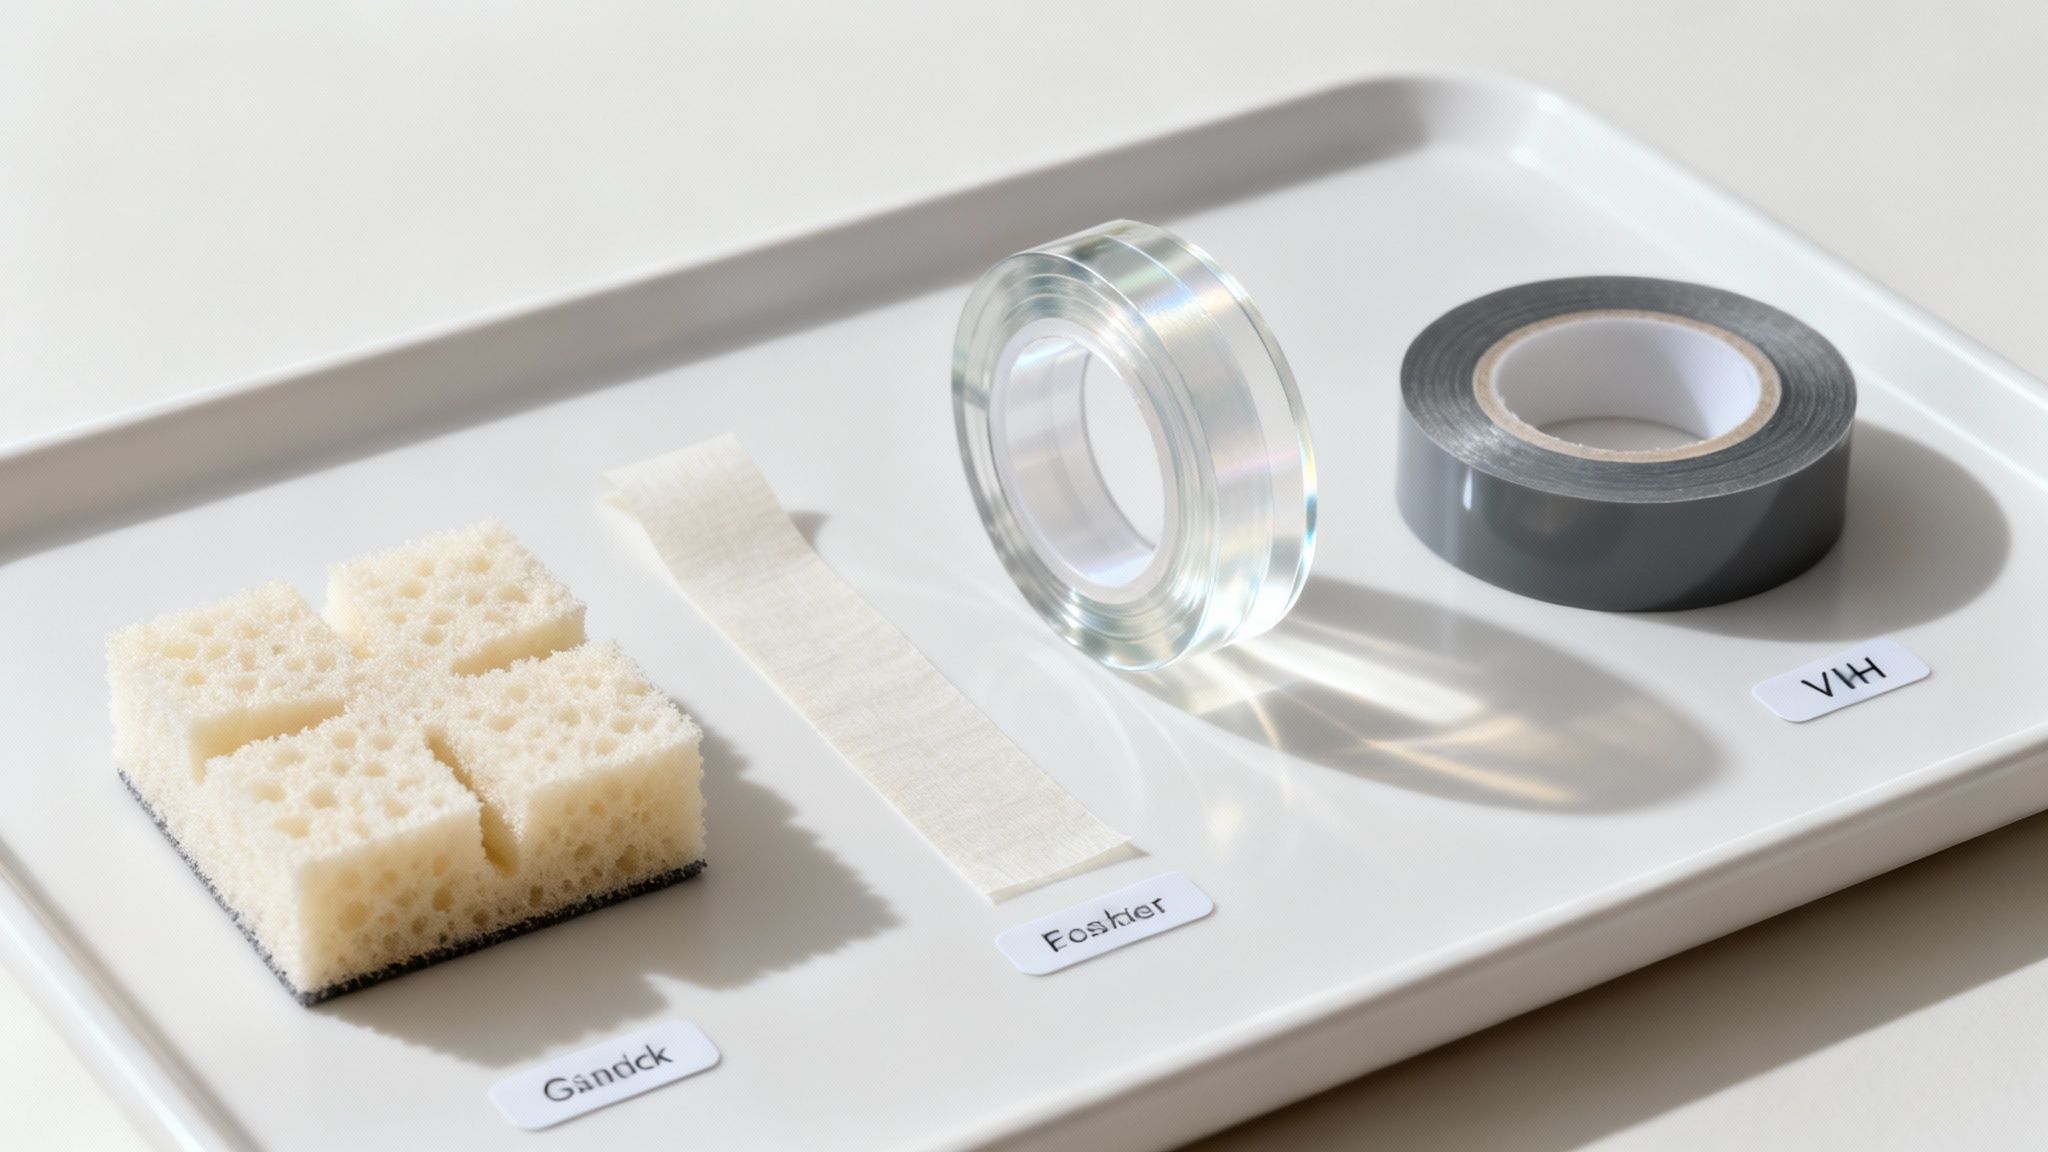
Foam Tapes: The Gap-Filler
Foam tapes are basically the shock absorbers of the adhesive world. Their thick, squishy foam carrier is brilliant for bonding to uneven, textured, or mismatched surfaces.
Picture trying to stick a rigid sign onto a rough brick wall. A thin, flat tape would only make contact with the high points, leaving you with a weak, flimsy bond just waiting to fail. A foam tape, on the other hand, compresses right into the low spots and fills those gaps, creating a much larger surface area for the adhesive to grab onto.
- Best For: Mounting signage, number plates, mirrors, and trim.
- Key Strength: Fantastic for absorbing vibrations and filling gaps on irregular surfaces.
- Limitation: Its thickness can be pretty obvious, so it's not the best choice if you're after a clean, seamless look.
Tissue Tapes: The Lightweight Champion
Tissue tapes are the general-purpose workhorses for all your light-duty tasks. They have a very thin, non-woven tissue carrier coated in adhesive, which makes them super easy to tear by hand. Perfect for quick, simple jobs.
You’ll find these are ideal for office use, crafting, or sticking up lightweight things like photos and posters. While they offer a good initial grab, they simply aren't designed for heavy loads or harsh conditions. Their real advantage is just how easy and versatile they are for everyday indoor use.
Acrylic Tapes: The Clear Choice
When looks and durability really matter, clear acrylic tapes are the way to go. These tapes are made from a solid acrylic adhesive, which means there's no foam or tissue carrier in the middle—it’s just pure, transparent bonding power.
This unique construction makes them practically invisible when you apply them between two clear materials like glass or Perspex. But it's not just about being see-through. Acrylic adhesives offer brilliant resistance to UV light, temperature swings, and moisture, making them a top choice for permanent outdoor jobs where you need a discreet, long-lasting bond.
Key Takeaway: Unlike tapes with a carrier, solid acrylics create a continuous, viscoelastic bond. This lets them spread stress evenly across the entire surface, giving them exceptional strength and long-term durability, especially when things start to move or shake.
VHB (Very High Bond) Tapes: The Industrial Powerhouse
VHB tapes are the absolute peak of adhesive technology. They were designed to completely replace traditional mechanical fasteners like screws, rivets, and even welds in some cases. Developed by 3M, VHB tapes are a special type of acrylic foam tape with unbelievable strength, durability, and weather resistance.
This is the tape you reach for when failure is simply not an option. From assembling curtain wall panels on skyscrapers to bonding tiny electronic components, VHB provides a permanent, flexible, and sealed bond that can handle severe stress and vibration. The need for these high-performance tapes has grown with technology. For example, high smartphone ownership in New Zealand—over 80% of adults by 2015—drove adhesive use in electronics manufacturing and repair, showcasing the demand for incredibly strong, precise bonding solutions. You can read more about how market trends influence adhesive use in this comprehensive report on double-sided tape.
Matching Tape to Your Surface and Environment
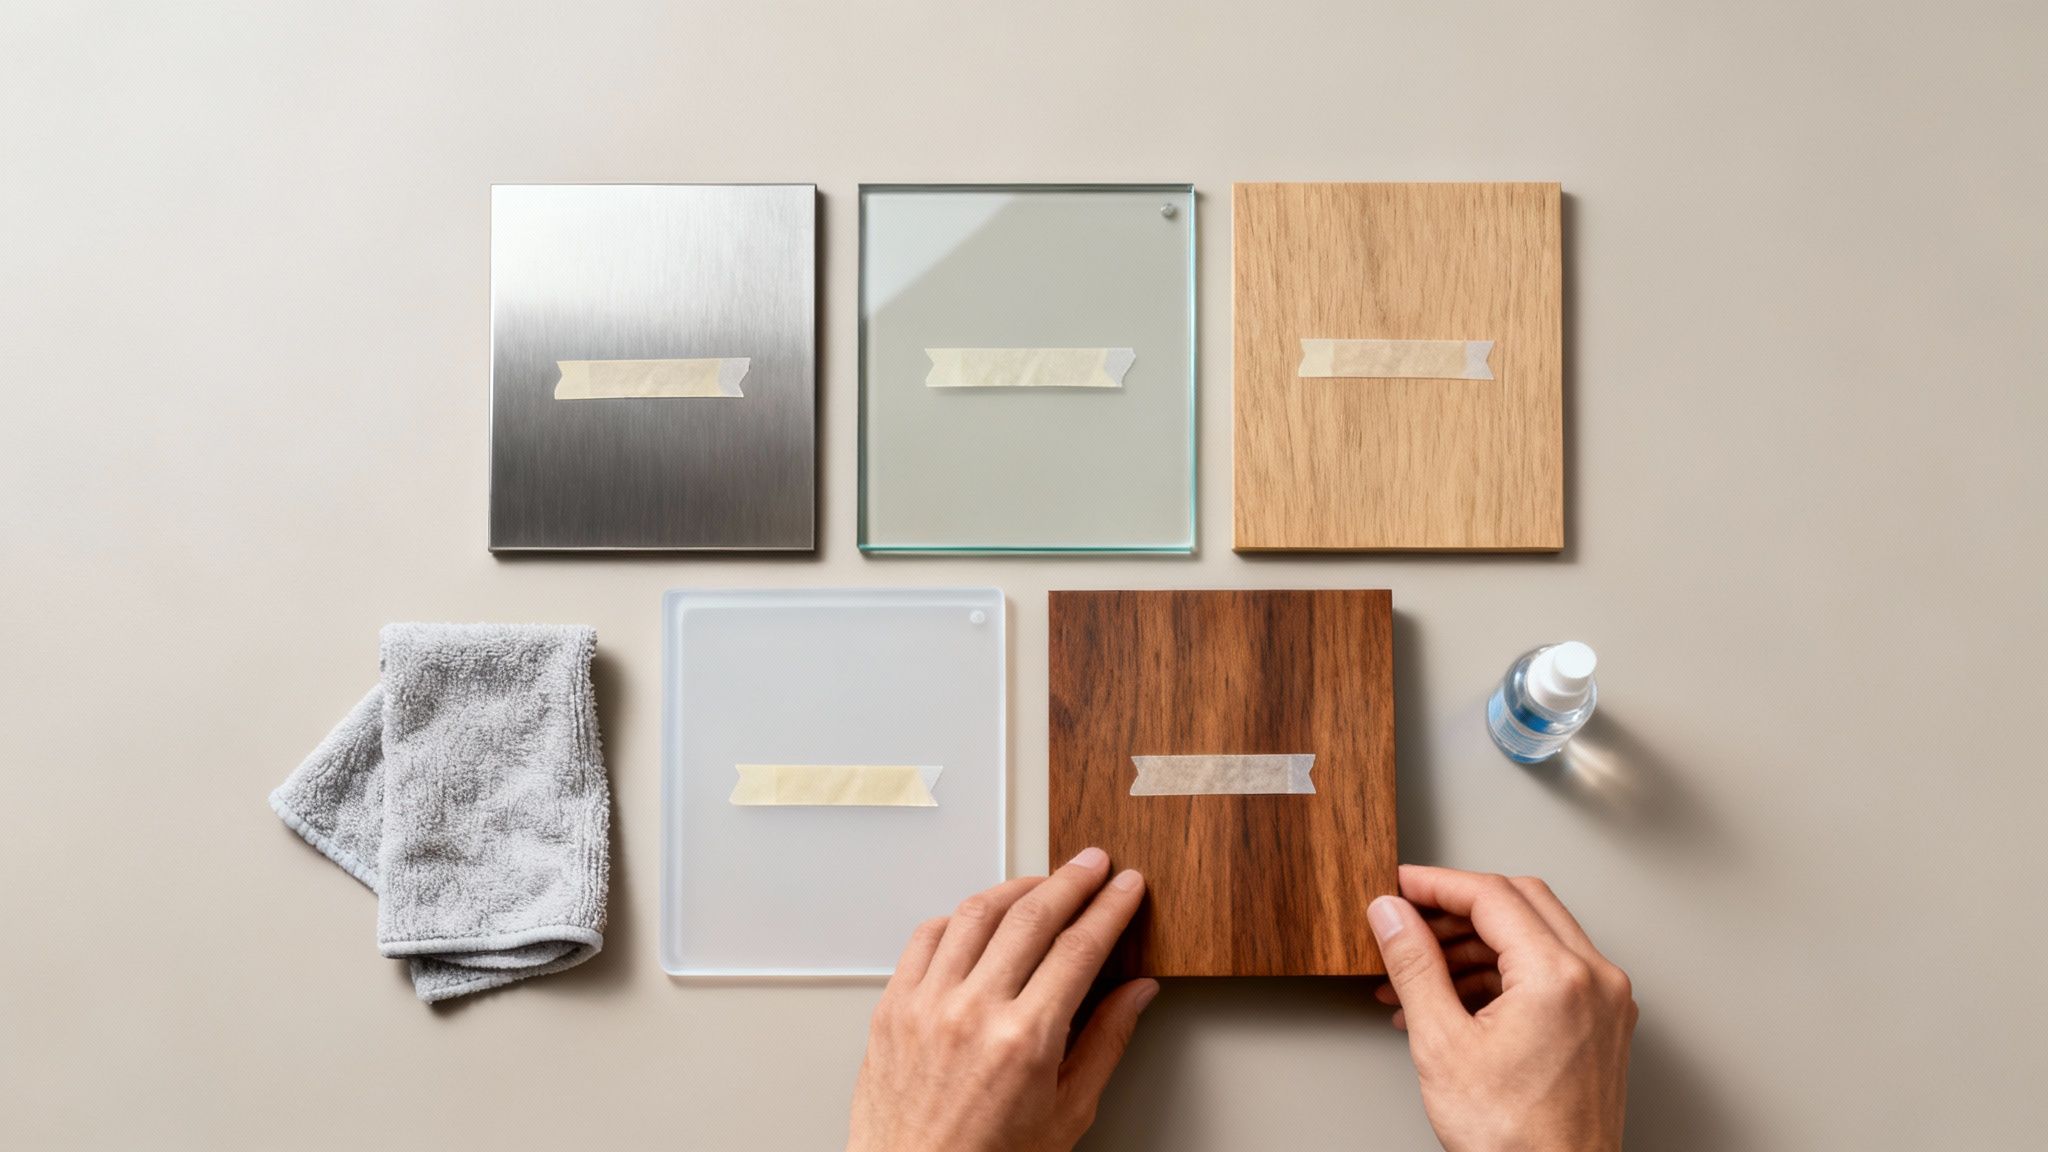
Picking the right double-sided tape goes a lot deeper than just its type. You have to think about what you’re sticking together and where it’s going to live. Even the strongest tape is useless if it can’t get a proper grip on the surface, or if the classic New Zealand weather wears it down.
Think about how water beads up and rolls right off a freshly waxed car. That’s because the wax has what we call low surface energy – it stops the water from spreading out and clinging on. Tape adhesive works in much the same way. If the surface energy is too low, the tape just won't stick properly.
Getting this right is absolutely essential for creating a bond that you can trust to last.
High vs. Low Surface Energy Materials
Every material has a different level of surface energy, which determines how well an adhesive can flow across it and form a bond. This is often the make-or-break factor in whether your application succeeds or fails.
- High Surface Energy (HSE): These are the easy ones. Think bare metals, glass, and raw timber. The adhesive can spread out like a dream, creating a huge contact area and an incredibly strong grip.
- Low Surface Energy (LSE): Here’s where things get tricky. Many common plastics like polypropylene and polyethylene, as well as powder-coated finishes, are the "waxy cars" of the material world. They actively resist adhesives, so you need a specialised tape with a much more aggressive acrylic adhesive to get the job done.
When you're dealing with those slippery LSE plastics, you can't just grab any old tape from the workshop. You absolutely need a product designed with a high-tack adhesive that can bite into these surfaces. Ignoring this is probably the single biggest reason we see tape failing in the field.
Surviving the New Zealand Climate
Beyond the material itself, the environment is a huge piece of the puzzle, especially with our country's notoriously changeable weather. From salty sea spray in coastal towns to harsh summer sun, your tape has to be tough enough to handle it all.
Always ask yourself these questions before you choose a tape:
- Temperature: Is this going to be exposed to a frosty winter morning or baked in direct sunlight on a hot black surface? Some adhesives get brittle and fail in the cold, while others soften and lose their strength in the heat. High-quality acrylic tapes are your best bet here, often rated for a service range from -30°C to +70°C, sometimes even wider.
- Moisture: If you’re mounting a sign outdoors or a fixture in a steamy bathroom, the tape must be able to fend off water and humidity. If it can’t, the bond will slowly but surely weaken.
- UV Exposure: The sun’s UV rays are brutal on adhesives. They can break down the chemical bonds, making the tape lose its tack and go brittle. For any job that sees daylight, choosing a tape with excellent UV resistance is non-negotiable.
If you don't factor in these real-world conditions, even the most expensive tape can give up the ghost far sooner than you'd expect. That’s why sourcing the right double sided tape in NZ is always about carefully matching the product to both the material and the place it will live.
A Step-by-Step Guide to Flawless Application
Picking the right double-sided tape is a great start, but even the best tape in New Zealand will let you down if it’s not applied correctly. The secret to a strong, permanent bond isn’t just about the adhesive itself; it’s about following a precise process that gives the tape every chance to do its job properly.
Think of it like painting a house. You wouldn't just slap a new coat of paint over dirt and peeling flakes, would you? The key to a flawless finish is all in the prep work, and exactly the same rule applies here. Following these professional steps ensures you get it right the first time, saving you the headache of a failed bond down the track.
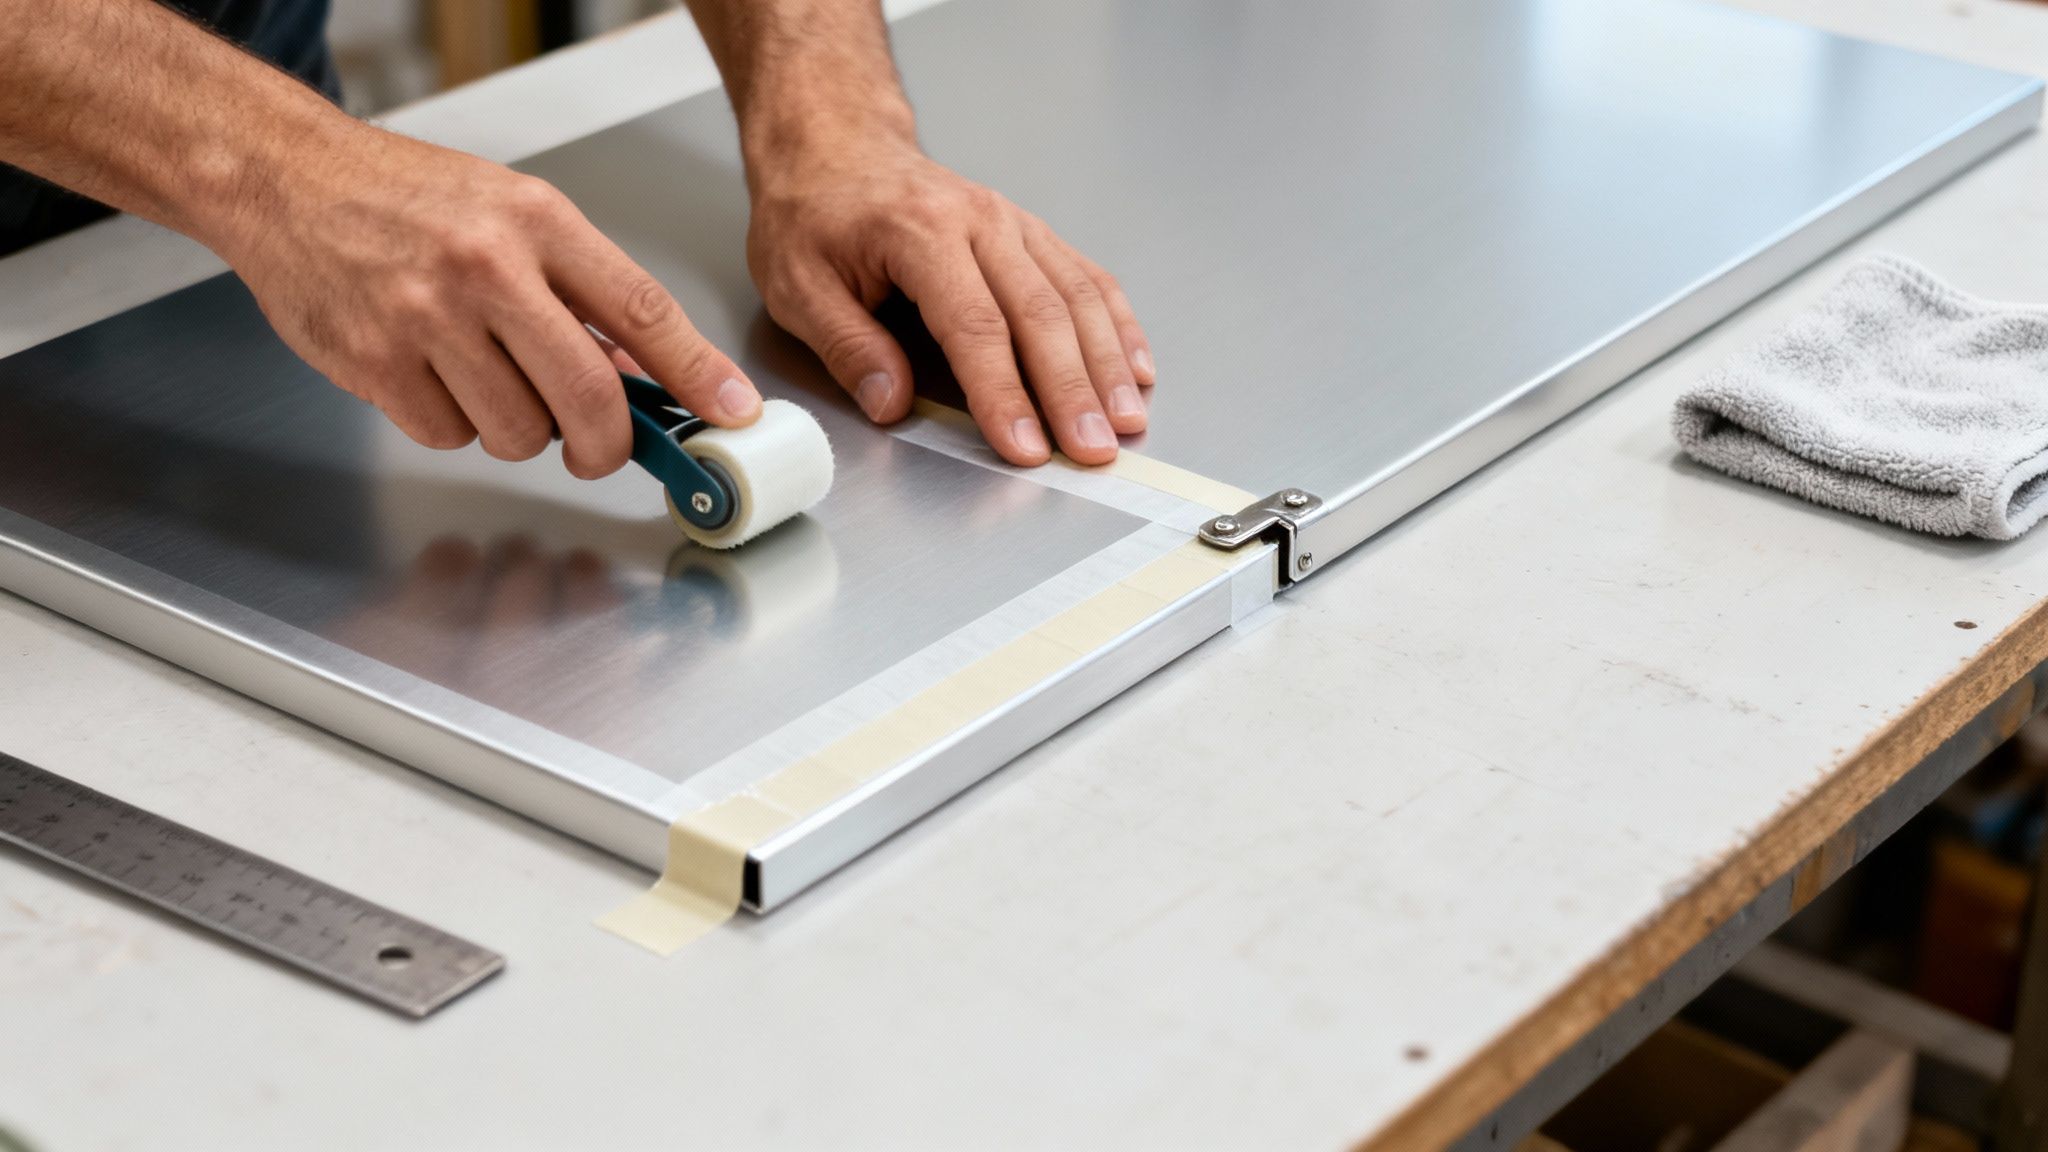
Step 1: Get Your Surfaces Spotless
Honestly, this is the make-or-break stage. Your goal is a perfectly clean, dry, and unified surface for the tape to grip onto. Even microscopic dust or the natural oils from your fingertips can get in the way of a solid bond.
- Clean Thoroughly: Grab a clean, lint-free cloth and wipe down both surfaces with a 50/50 mix of isopropyl alcohol (IPA) and water. It’s the industry standard for a reason—it cuts through grease and contaminants without leaving any residue behind.
- Dry Completely: Make sure both surfaces are bone dry. Any hint of moisture will stop the adhesive from making full contact, and that’s a recipe for failure.
- Consider a Primer: If you’re working with tricky low surface energy (LSE) materials like polypropylene or some powder-coated metals, an adhesion promoter or primer is a must. It basically acts as a chemical bridge, giving the adhesive something it can really lock onto.
Step 2: Apply the Tape with Precision
With your surfaces prepped and ready, it’s time to lay down the tape. The main things to remember here are to keep your fingers off the sticky side and to apply it straight.
For bigger jobs, like putting up signs or panels, the "hinge method" is a pro trick that guarantees perfect alignment every time.
- First, stick the tape to the back of your sign or object.
- Next, peel back just a small bit of the liner from the top edge. Fold it outwards so it creates a little tab you can grab later.
- Carefully position the sign on the wall. That small exposed strip of adhesive will hold it in place just enough for you to grab a spirit level and make sure it’s perfect.
- Once you’re happy with the alignment, press that top edge down firmly. Then, you can slowly pull the rest of the liner downwards from behind the sign, smoothing it onto the wall as you go.
This technique is brilliant because it stops the entire sticky surface from grabbing the wall at once. It gives you total control over the placement and helps you avoid any annoying bubbles or wrinkles.
Step 3: Use Pressure to Activate the Bond
This last step is non-negotiable. You have to apply firm, consistent pressure across the entire tape. This is what activates a pressure-sensitive adhesive, physically forcing it to flow into the tiny nooks and crannies of the surface to create a powerful, lasting bond.
Use a J-roller or a firm squeegee and go over the whole surface area where the tape is. You should be aiming for about 1 kg of pressure per square centimetre.
Finally, be patient. Let the bond cure. Most acrylic adhesives will reach about 70% of their final strength within the first 24 hours, but it can take up to 72 hours to achieve maximum adhesion. Whatever you do, don't put any weight or stress on the bond until that curing time is up.
Troubleshooting Common Tape Application Problems
Even when you follow all the steps, sometimes things just don't go to plan. It’s a sinking feeling when you see your freshly mounted sign or display start to peel away, but don’t worry. Most common tape failures are surprisingly easy to diagnose and fix once you know what to look for.
Think of this as your field guide for turning a frustrating tape fail into a lasting, reliable bond. Getting to the root of the problem is the best way to make sure it doesn't happen again.
Why Is My Tape Not Sticking?
This is, without a doubt, the most common headache. You apply the tape, press it down, but it either refuses to grab the surface or gives up within minutes. The culprit is almost always one of three things.
- Surface Contamination: This is the number one cause of adhesion failure. Even a microscopic layer of dust, grease, or the oils from your fingertips can create a barrier, stopping the adhesive from making proper contact.
- Low Surface Energy (LSE): You might be working with a tricky LSE plastic like polypropylene or polyethylene. These materials have a slippery, non-stick quality that requires a specialised tape with a much more aggressive adhesive.
- Moisture: Trying to apply tape to a damp surface or in a humid, misty environment is a recipe for disaster. Moisture gets trapped underneath, killing the bond before it even has a chance to cure.
The only real fix here is to remove the failed tape and start over. This time, be meticulous with your prep work. Clean both surfaces thoroughly with a 50/50 mix of isopropyl alcohol and water, and wait until they are bone dry before you even think about applying the new tape.
How Do I Fix Peeling Edges?
When you see the edges of your tape starting to lift, that’s a clear red flag. It tells you the bond isn't uniform and has a weak spot.
The most likely reason is that you didn't apply enough pressure when you put it on. Pressure-sensitive adhesives need firm, consistent force to properly "wet out"—that is, to flow into the tiny peaks and valleys of a surface to form a strong mechanical grip.
If you catch it early, you can sometimes rescue a lifting edge by going back over it with a J-roller or a hard squeegee. But if the edge has already lifted and collected dust, it’s best to replace that strip of tape. On your second go, make sure you apply even, solid pressure across the entire length. A good rule of thumb is to aim for about 1 kg of pressure per square centimetre.
Where to Find Quality Tape and Expertise in NZ
So, you’ve figured out exactly what kind of tape you need. That’s half the battle won. The next challenge is actually getting your hands on it.
While it’s tempting to just pop down to the local hardware store, you'll often find their shelves are stocked for general DIY jobs, not professional applications. For anything commercial, industrial, or just plain critical, you really need to find a specialist supplier for your double sided tape in NZ.
Your big-box retailer is perfect if you're fixing something small around the house. But ask them which tape is best for mounting a sign that needs to survive a southerly gale, and you might get a blank stare. This is where a specialist shines. They don't just sell a wider range of high-performance products; they bring a wealth of practical knowledge to the table, ensuring you walk away with the right tool for the job.
The Value of Specialist Advice
Getting expert advice from the get-go saves you a world of frustration and costly mistakes. Instead of playing a guessing game with adhesives—wondering if your choice will hold up outdoors or stick to that notoriously tricky plastic—you get a confident recommendation right from the start.
At SONI DESIGN, this is exactly what we do. We supply professional-grade tapes, but more importantly, we provide the real-world expertise to back them up. We get the unique demands of commercial projects, whether it's mounting heavy acrylic lettering or putting together a detailed display stand. Our mission is to make sure you get a rock-solid, lasting result by equipping you with the right materials and know-how.
Think of it this way: consulting with a specialist isn't a cost; it's an investment in your project's success. It guarantees your tape is perfectly matched to your materials, environment, and performance needs, preventing failures that burn through time, money, and your reputation.
The rising demand for these high-performance tapes isn't happening in a vacuum. It mirrors the growth in New Zealand’s own industrial and commercial sectors. In fact, the Asia-Pacific region, which includes NZ, makes up about 59% of the global market for these products, largely driven by new construction and manufacturing. You can dive deeper into how regional growth fuels adhesive demand in market reports.
Choosing the right supplier means you’re not just buying a roll of tape. You’re gaining a partner with the experience to make sure your project is built to last.
Got a Question? We've Got an Answer
When you're dealing with adhesives, a few questions always pop up. Here are some of the most common ones we get asked about using double-sided tape here in NZ, with some practical, straight-up advice.
What’s the Best Tape for Toughing It Out in NZ Weather?
For anything that has to live outside and face New Zealand's classic four-seasons-in-one-day, you really can’t go past a high-quality acrylic foam tape. Think something like the 3M VHB range.
These tapes are built from the ground up to resist moisture, handle the harsh UV rays, and stay stuck through hot summer days and frosty winter mornings. The key is to check the specs on the roll – look for its specific temperature range and UV resistance to make sure it’s the right fit for your job.
How Do I Get This Super Strong Tape Off Again?
Removing a high-bond tape without wrecking the surface underneath can be a bit nerve-wracking, but there's a simple trick to it. Start by gently warming the tape with a hairdryer. This softens up the adhesive and makes it much more willing to let go.
Then, instead of just pulling, try to slice through the adhesive. You can often work a plastic scraper, a putty knife, or even a bit of fishing line or dental floss behind the object and saw back and forth to separate it from the wall.
What about that sticky gunk left behind? A citrus-based cleaner or a bit of isopropyl alcohol on a rag usually does the trick. Just remember to test it on a small, out-of-the-way spot first to make sure it doesn’t damage the paint or finish.
Can I Really Hang a Heavy Mirror With Just Tape?
Absolutely, but you have to be smart about it. This is a job for a true high-strength tape, specifically a VHB (Very High Bond) one. Don't even think about using a standard craft or foam tape for something heavy and fragile.
First, you need to do a little maths. Weigh your mirror, then check the tape's specifications to see how much weight it can hold per centimetre. It’s crucial to use enough tape to comfortably support the load, and always err on the side of using more than you think you need. Make sure the wall is clean, dry, and perfectly smooth. For particularly large or valuable mirrors, we'd always recommend using the tape in combination with a mechanical fastener like a clip or bracket for total peace of mind.
Ready to find the right adhesive and get some expert advice for your next project? The team at SONI DESIGN is here to help you choose the perfect high-performance tape and ensure your application is a success.
Leave a Comment
Stay home & get your daily
needs from our shop
Start You'r Daily Shopping with Nest Mart