
Your cart is currently empty.

Getting a customised stamp made in NZ is one of the smartest, most affordable ways for any Kiwi business to level up its branding. It’s so much more than just another piece of office stationery. A custom stamp adds a tangible, professional touch to your packaging, documents, and marketing collateral, all while saving you time and leaving a real impression on your customers.
Why Customised Stamps Are a Smart Business Move
In a world where your brand identity is make-or-break, a custom stamp is a surprisingly effective tool to help you stand out.
Picture a local artist in Wellington using a beautiful, custom stamp to sign their prints. It adds a mark of authenticity that a digital signature just can't match. Or think about that Auckland-based e-commerce store that stamps its logo on every package, instantly turning a plain cardboard box into a memorable unboxing moment.
These aren't just made-up scenarios. They're exactly how clever small businesses all over New Zealand are building brand consistency, one impression at a time. A well-designed stamp means your logo looks sharp and uniform everywhere, from loyalty cards to takeaway coffee cup sleeves.
Beyond Branding: The Practical Perks
While the branding boost is huge, the practical benefits are just as convincing. Custom stamps are fantastic time-savers, cutting down the hours spent on repetitive tasks.
Instead of handwriting your return address or a "thank you" message on dozens of invoices, a quick press of a stamp gets it done in seconds. For a busy entrepreneur, that kind of efficiency is gold.
Interestingly, this kind of commercial thinking has deep roots in New Zealand. The country's innovative streak was clear way back in 1893, when ads from 19 different companies were printed on the back of postage stamps. This early marketing experiment shows a long-held Kiwi appreciation for the creative power of stamps. You can dive deeper into New Zealand's unique philatelic history if you're curious.
This infographic captures it perfectly: an artisanal cafe owner branding a paper bag, showing a custom stamp in its natural habitat.

The image really shows how a simple tool can instantly transform a generic item into a powerful piece of marketing.
Forging a Tangible Connection
As our lives get more and more digital, a physical mark can create a surprisingly strong connection with people. A stamped logo on a receipt or a hand-stamped loyalty card feels far more personal and authentic than something churned out by a printer.
It sends a message that you care about the small details, and believe me, customers notice and appreciate that.
A custom stamp is more than just ink on paper; it's a small, repeatable action that builds a big, consistent brand identity. It proves that you don't need a massive budget to make a professional impact.
At the end of the day, investing in customised stamps nz isn't just about buying an office supply. It’s an investment in your brand's story, your own efficiency, and the real-world relationship you're building with every single customer.
Choosing the Right Stamp for Your Project

Once your design is locked in, the next big decision is picking the right type of stamp. This choice is more important than you might think—it'll shape everything from how fast you can work to the final look on your packaging, documents, or crafts. It’s not about finding the single "best" stamp, but about finding the one that’s perfect for your specific needs.
Think about it this way: a busy Auckland café stamping thousands of loyalty cards a week has completely different requirements than an artist in Queenstown adding a delicate mark to limited-edition prints. Let's break down the main options you'll find here in New Zealand to see which one fits your workflow.
The Everyday Workhorse: Self-Inking Stamps
If you’re looking for speed and efficiency for high-volume tasks, a self-inking stamp is an absolute lifesaver. These clever units have a built-in, water-based ink pad that flips up to ink the rubber die after every single press. It’s a clean, all-in-one system designed for rapid-fire stamping.
Picture yourself with a stack of 100 invoices to get through. A self-inking stamp lets you power through them in minutes, with every impression looking crisp and consistent. It's no wonder they're the standard choice for offices, retail counters, and mailrooms.
- Best for: Repetitive jobs like stamping loyalty cards, return addresses on envelopes, or marking documents "PAID."
- Key feature: You’ll get thousands of impressions—typically between 5,000 to 10,000—before the internal pad needs replacing.
- Keep in mind: The internal mechanism makes them a bit bulkier than other types.
For Superior Clarity: Pre-Inked Stamps
When every detail matters and you need the sharpest impression possible, a pre-inked stamp is the way to go. These are a little different; the ink is actually stored within the stamp die itself, which is made of a porous material. This allows oil-based ink to seep through, creating a stunningly sharp, almost print-quality finish.
This is the kind of precision a Justice of the Peace needs for their official seal to be perfectly legible every time. They are also incredibly long-lasting, often delivering tens of thousands of impressions before you even need to think about re-inking.
For designs with fine lines, small text, or intricate logos, the high resolution of a pre-inked stamp ensures your artwork comes out perfectly, with no smudging or bleeding.
The Creative Choice: Traditional Wood Stamps
For a classic, hands-on feel, you simply can't beat a traditional rubber stamp on a wooden handle. This is by far the most versatile option because it uses a separate ink pad. That simple difference opens up a world of creative possibilities.
This freedom allows you to use a huge range of specialty inks—think permanent inks for plastics, vibrant fabric inks, or even shimmery metallic colours. A Wanaka-based artisan stamping their logo onto both cardboard boxes and fabric tote bags would naturally reach for this type. It gives them the flexibility to switch colours and ink types on the fly, offering a tactile, authentic feel that perfectly suits handcrafted products.
To help you decide at a glance, here’s a quick comparison of how each type stacks up.
Comparing Custom Stamp Types in NZ
A quick-glance comparison to help you choose the best stamp mechanism for your specific application, from office tasks to creative projects.
| Stamp Type | Best For | Impression Quality | Lifespan (Impressions) | Re-inking Process |
|---|---|---|---|---|
| Self-Inking | High-volume, repetitive office tasks | Good, consistent | 5,000 - 10,000 | Replace internal ink pad |
| Pre-Inked | Detailed logos, official seals, signatures | Excellent, print-like | 20,000 - 50,000 | Add ink drops to die surface |
| Traditional Wood | Creative projects, multi-surface use | Varies with ink pad | Nearly unlimited | Press onto separate ink pad |
Ultimately, choosing the right customised stamps NZ supplier is about finding a partner who understands these differences. They can guide you to the perfect mechanism for your project, making sure the final result is exactly what you envisioned.
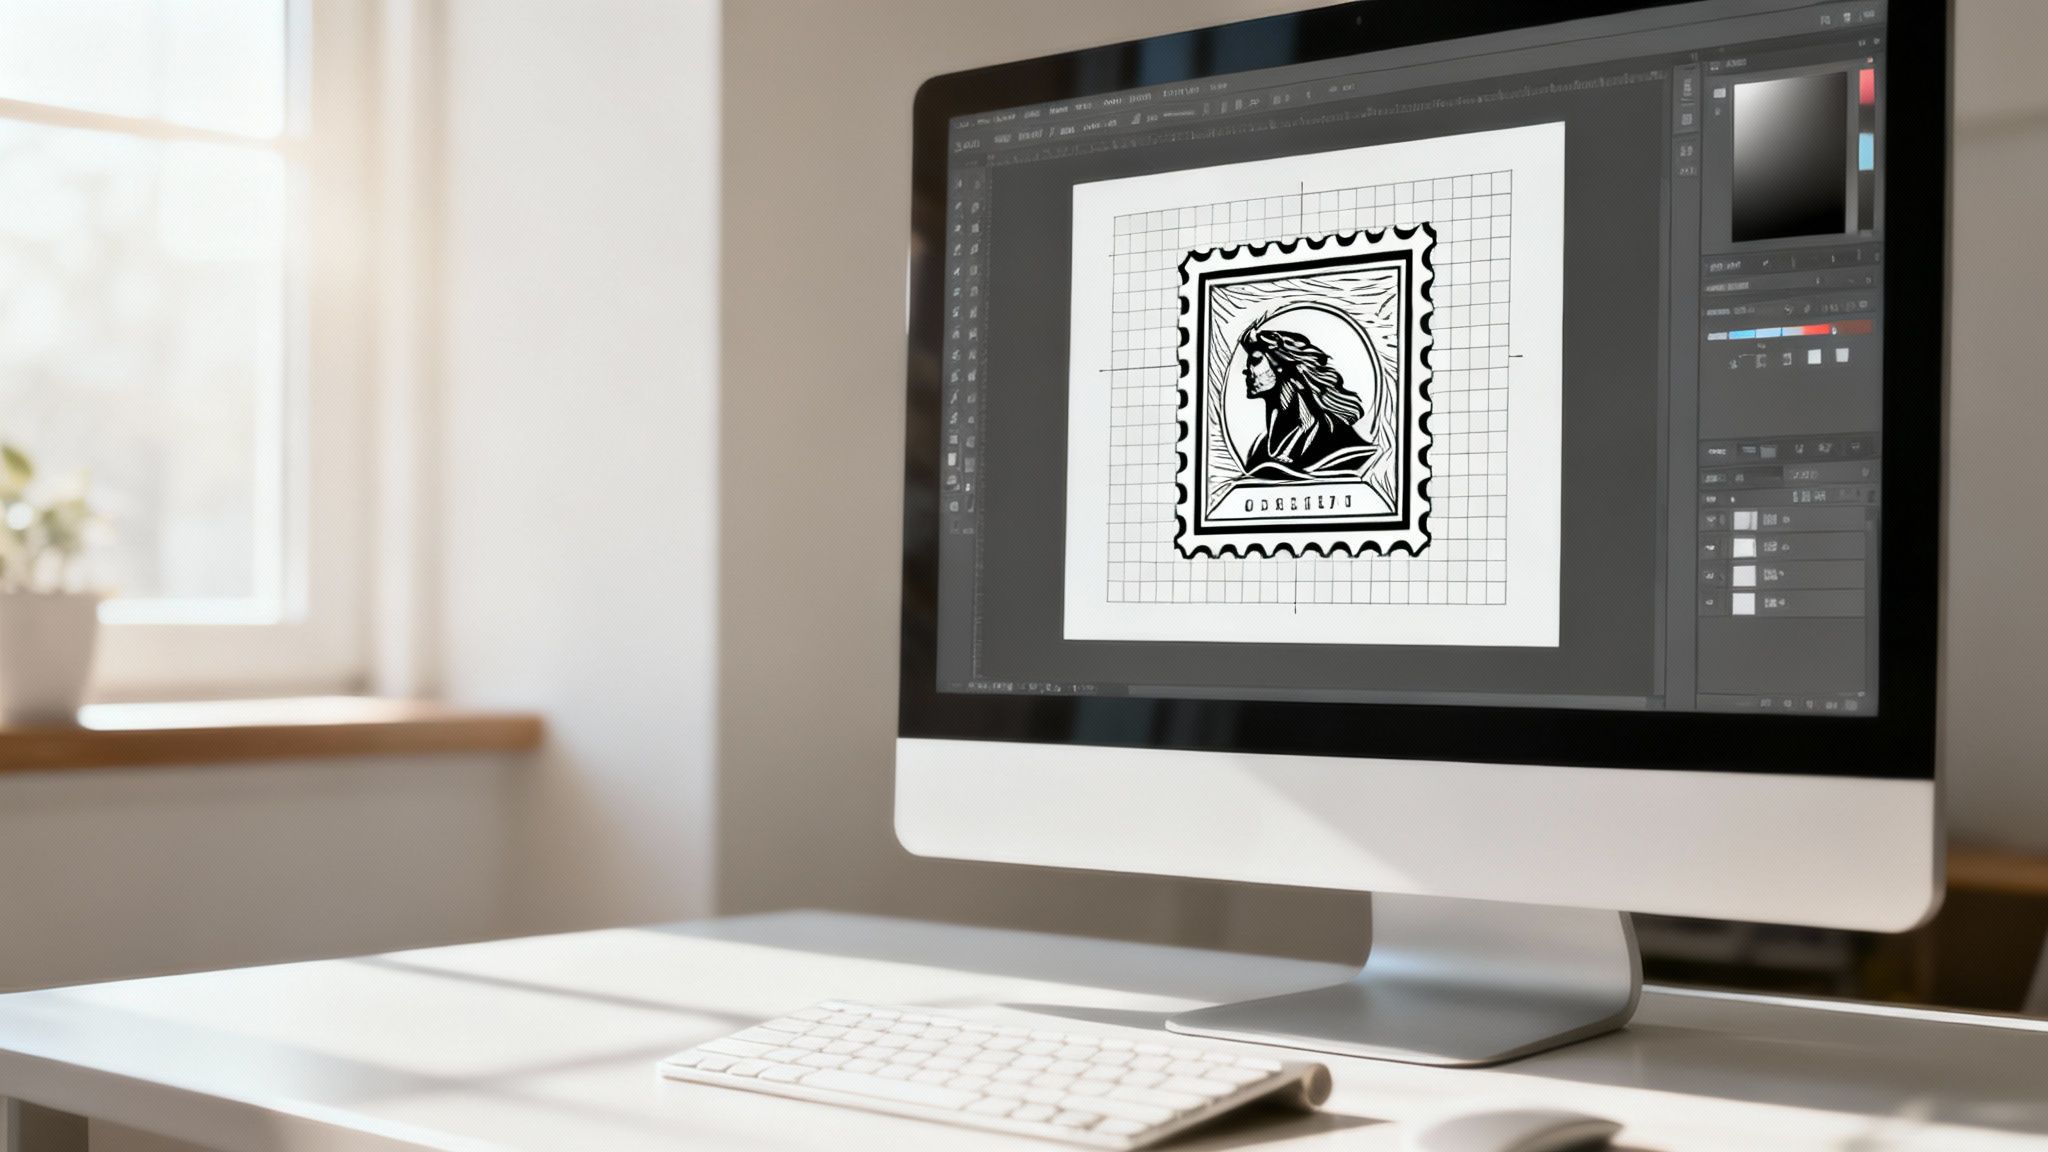
Designing Artwork for a Perfect Impression
A great stamp always starts with great artwork. It’s a simple truth, but one that’s easy to overlook. The quality of your design file directly shapes the sharpness and clarity of the final impression, so getting this stage right is the key to creating a stamp that looks professional and clean every single time.
From my experience, many common issues—like blurry text or parts of an image not showing up—can be traced straight back to a problematic design file. Understanding a few core principles will give you the confidence to supply a file that any New Zealand stamp maker can turn into a flawless product.
File Formats and Resolution
First things first, let's talk file formats. While it might be tempting to just send over a standard JPG or PNG, these are raster images, which are made up of tiny pixels. When you try to resize them, they can lose quality and look jagged or blurry—a total disaster for a stamp.
That’s why your stamp maker will almost always ask for a vector file.
- Vector Formats (AI, SVG, EPS): These are the gold standard. They use mathematical equations to draw lines and shapes, meaning they can be scaled to any size without losing a shred of quality. Your logo will look just as crisp on a tiny loyalty card as it would on a large packaging stamp.
- Raster Formats (JPG, PNG, GIF): If you absolutely must use a raster image, make sure it has a high resolution. The industry standard for print is a minimum of 300 DPI (dots per inch), but for the fine detail needed in stamp production, 600 DPI is even better.
A crucial tip: always supply your artwork in pure black and white. It doesn't matter if you plan to use coloured ink later. The stamp-making process turns the solid black areas of your design into the raised rubber parts of the stamp. Things like gradients, shadows, and colours simply won't translate correctly.
Design Details That Matter
With the right file type sorted, it’s time to look closely at the artwork itself. A stamp is a physical object, and some digital design elements just don't work as well when translated into rubber. A complex digital logo might need a few tweaks to make it stamp-ready.
This focus on unique, expressive design is actually deeply woven into New Zealand's creative history. Since the 1990s, NZ Post has famously embraced "Kiwiana," releasing stamp sets with iconic cultural symbols like the L&P bottle. It’s a great reminder of how even small designs can carry significant personality. You can read more about New Zealand's culturally inspired stamp history on Wikipedia.
When simplifying your own design, here are the three areas to focus on.
Font Choice and Size
This is where a lot of designs fall over. Thin, delicate, or overly decorative script fonts often cause problems because the fine lines struggle to hold ink properly, leaving you with a broken or unreadable impression.
- Go for bold, clear fonts. Simple sans-serif fonts like Arial or Helvetica are consistently reliable choices.
- Don't go too small. As a rule of thumb, try to keep your font size above 6.5-point to ensure it’s perfectly legible.
- Mind the gap! Pay attention to the spacing between letters (the kerning). If they’re too close, they’ll just bleed together into an inky mess.
Line Thickness and Spacing
Just like with fonts, the lines in your logo or artwork need to be substantial enough to be physically carved into the rubber die.
- Minimum Line Weight: I always recommend a line thickness of at least 0.5-point (which is about 0.2mm). Anything thinner risks not showing up at all.
- Negative Space: The empty space between the elements of your design is just as important. If lines or shapes are too close together, the ink can bridge the gap and they'll merge into one. Make sure there’s enough clean separation to define each part of your logo.
By preparing your artwork with these practical points in mind, you're setting yourself up for a fantastic result. Not only will you make life easier for your chosen customised stamps NZ supplier, but you'll also guarantee a final product you’ll be proud to use.
How to Order Your Custom Stamp in NZ
https://www.youtube.com/embed/JMP56Tqkg6c
Alright, with your artwork good to go, you're on the home straight. Getting your customised stamps nz made by a local supplier is pretty simple, but a little inside knowledge on how it all works can make things a lot smoother. From hitting 'upload' to giving the final nod, here’s what you can expect.
Most Kiwi stamp makers have a really straightforward online system. You'll kick things off by picking the stamp type and size you're after, and then you'll be asked to upload your design file. This is exactly why we put the effort into getting a great vector or high-res black-and-white file ready – it makes life so much easier for the production crew.
Once your design is in their system, the supplier's team will give it a once-over. They're looking for anything that might cause a problem, like lines that are too thin or text that's too small to come out cleanly on the final stamp.
Reviewing Your Digital Proof
Not long after, you'll get an email with a digital proof. This is probably the most important checkpoint in the whole process. The proof is basically a digital preview of exactly what your stamp's impression will look like. Seriously, do not skip this step. You need to check every single detail with a fine-tooth comb.
Here’s what I always look for on a proof:
- Spelling and Numbers: Read every word, phone number, and address out loud. It's amazing how easily a small typo can slip through, and once it's on the stamp, it's there for good.
- Layout and Spacing: Is everything lined up properly? Does the spacing look balanced and intentional?
- Clarity: Zoom in and check the finer details. Will that tiny text or intricate part of your logo be clear and readable at its real-world size?
Take it from me, the digital proof is your last line of defence against mistakes. If you approve a proof with an error, the cost of a replacement is on you. An extra five minutes of careful checking here can save a lot of headaches and money down the track.
Finalising Your Order
Once you're 100% happy with how the proof looks, you'll send back your official approval. That's the green light for the supplier to start the real work. They’ll get to laser engraving the rubber, putting your stamp together, and getting it ready to ship out.
Look for suppliers who are upfront about their turnaround times. A reliable NZ company should be able to give you a clear idea of how long production and delivery will take. You might be surprised at how fast many of them are, often getting orders out the door within just a day or two of you approving the proof. This means your new stamp will be in your hands and ready to use before you know it.
Getting the Most from Your New Stamp
So, your new custom stamp has arrived. It's time to start making your mark. While it might seem as simple as just pressing it onto paper, a few little tricks of the trade can make a massive difference in how your impressions look and how long your stamp lasts. Getting these right from the start means every impression will be sharp and professional for years to come.
First things first, let's nail the technique. For most self-inking or pre-inked stamps, the secret is firm, even pressure straight down. Fight the urge to rock the stamp back and forth, especially with a larger design. Trust me, that rocking motion is the number one culprit behind smudged edges and patchy ink.
Instead, place the stamp flat on your paper and press down decisively. You don't need to be a heavyweight—a steady, controlled push is all it takes to get a clean transfer.
Keeping Your Stamp in Top Condition
Proper care is what turns a stamp that lasts a few months into one that’s a reliable part of your toolkit for years. A little bit of maintenance goes a very long way, and it’s crucial for keeping the fine details of your design looking crisp.
Here are the essential habits to get into:
- Clean the Die Plate: After a big stamping session, or when you’re changing ink colours, you’ll notice paper fibres and lint can build up. Just give the rubber a gentle wipe with a slightly damp, lint-free cloth or a proper stamp cleaning solution.
- Re-ink Correctly: This one is crucial. Only ever use the specific ink recommended for your stamp. Putting self-inking ink into a pre-inked stamp, for example, can permanently clog and ruin the die. When you do re-ink, apply a few drops evenly and give it time to soak in properly.
- Store It Smart: Keep your stamp in a cool, dry spot away from direct sunlight. A hot windowsill can make the rubber dry out and crack, and dust is the enemy of fine details.
The Art of a Perfect Impression
The surface you stamp on matters just as much as your technique. Always aim for something hard, flat, and stable. If you try stamping on a wobbly stack of papers, you’ll get a blotchy, incomplete image because the pressure isn't spread evenly.
The real secret to a consistently clean stamp is a smooth motion on a solid surface. If you're stamping on something soft, like a paper bag, just slide a hardcover book underneath. This simple trick creates the firm base you need to ensure the entire design makes clean contact.
This appreciation for a perfect impression has a surprisingly deep history here in New Zealand. The passion for stamps goes far beyond the office, with some old-school Kiwi stamps becoming incredibly valuable collector's items. As a prime example, a rare 1949 HMS Vanguard threepence stamp once fetched a staggering NZ$67,850 at auction. It just goes to show how much a unique, well-preserved mark can be worth. You can learn more about New Zealand's most valuable stamps to see how this appreciation has evolved.
By following these simple practices, you'll get so much more out of your customised stamps nz purchase. Your stamp won’t just work beautifully; it’ll be a reliable branding tool that delivers a professional result, every single time.
Your Custom Stamp Questions, Answered
Getting into custom stamps for the first time? It's normal to have a few questions. To help you get started, I’ve pulled together answers to the most common queries we get from Kiwi businesses and creatives. Let's get these sorted so you can order your perfect stamp with total confidence.
One of the first things everyone wants to know is, "How small can the text be?" It’s a great question because you want every word to be crisp and clear. As a rule of thumb, I always advise keeping your font size above 6.5-point. Anything smaller than that starts to get a bit dicey and can end up looking blurry, especially if you're using a fancy, detailed font.
People are also, quite rightly, curious about how long it all takes. The good news is that most New Zealand suppliers are impressively quick. Once you’ve given the thumbs-up on your digital proof, you can often expect your stamp to be made and on its way to you in just one or two business days.
Getting Your Artwork and Ink Right
"What file type do I need to send for my design?" We hear this one all the time. For the absolute sharpest impression, a vector file (think AI, SVG, or EPS) is the gold standard. If all you have is a standard image file like a JPG or PNG, just make sure it’s high-resolution. Aim for at least 300 DPI, but 600 DPI is even better. It also needs to be in pure black and white, with no grey areas.
This brings us to ink. Can you just use any old ink with your stamp? Definitely not. Each stamp is built to work with a specific type of ink, and mixing them up is a recipe for disaster.
- Self-Inking Stamps are designed for water-based ink.
- Pre-Inked Stamps need a special oil-based ink to function correctly.
- Traditional Wood Stamps are the most versatile, as you can use them with all sorts of separate ink pads.
Using the wrong ink can clog up and ruin your stamp for good, so always stick to what the manufacturer recommends when it's time to re-ink.
Here’s a pro tip: Don't assume the physical size of the stamp block is the same as the impression it makes. The actual engraved rubber is always a fraction smaller to prevent messy edges. Always check the final impression dimensions your supplier gives you.
How Long They Last and How to Use Them
"How many times can I use it before it needs more ink?" This really comes down to the type of stamp you pick. A standard self-inking stamp will give you somewhere between 5,000 to 10,000 impressions. But if you go for a quality pre-inked stamp, you could get a massive 20,000 to 50,000 impressions before it even thinks about running dry.
Finally, the big one: how do you get that perfect, clean stamp every single time? The trick is to press down on a flat, hard surface. Apply firm, even pressure straight down. Whatever you do, don't rock the stamp back and forth—that’s the number one cause of smudged, fuzzy edges. It might take a few practice goes, but you’ll be an expert in no time.
Ready to bring your brand's vision to life with a custom stamp that tells your story? At SONI DESIGN, we pour our passion for design into every project, ensuring your ideas become tangible expressions that connect with your audience.
Explore our custom design services and start creating today!
Leave a Comment
Stay home & get your daily
needs from our shop
Start You'r Daily Shopping with Nest Mart