
Your cart is currently empty.

So, you're thinking about getting car stickers in New Zealand? You’ve come to the right place. Whether you’re a business owner wanting to turn your company van into a moving billboard or a car enthusiast looking to give your ride some personality, this is the guide for you. We’ll cover everything from picking materials that can handle the Kiwi sun to making sure you stay on the right side of the law.
Your Complete Guide to Vehicle Graphics in NZ
Car stickers are more than just a bit of fun. They can be anything from a simple bumper sticker that shows off your personality to a full-blown vehicle wrap that gets your business noticed all over town. They have the power to turn a standard vehicle into a statement, a mobile advertisement, or even a piece of art. It’s no surprise they're so popular here in New Zealand for both work and play, but there’s a bit more to it than just peel and stick.
Getting to grips with car stickers in New Zealand means knowing what you can do, what’s actually practical, and crucially, what’s legal. This guide is designed to walk you through the whole process, step by step, so your final result not only looks fantastic but also lasts for years and keeps you out of trouble.
What You Will Learn in This Guide
We've laid everything out to build your knowledge from the ground up, cutting out the confusing jargon. Think of this as your expert co-pilot for navigating the world of vehicle graphics.
Here’s a quick look at what we'll be covering:
- Choosing the Right Materials: We'll dive into different vinyl types and finishes, helping you pick the perfect sticker that can stand up to NZ's harsh UV rays and four-seasons-in-one-day weather.
- Navigating NZ Road Rules: We'll talk about the official Waka Kotahi NZTA regulations. You'll learn the must-knows about windscreen visibility and what it takes to pass a Warrant of Fitness (WoF), keeping your vehicle 100% road-legal.
- Designing for Impact: Get practical design tips specifically for businesses. We'll show you how to create eye-catching vehicle graphics that genuinely turn heads and bring in new leads while you're on the road.
- Application and Maintenance: We'll give you a step-by-step walkthrough on how to apply your stickers perfectly for a smooth, bubble-free finish, plus tips on how to look after them so they last as long as possible.
With this guide, you’ll have all the information you need to make smart choices, whether you’re branding an entire fleet of utes or just adding a personal touch to your own car.
Choosing the Right Sticker Materials for NZ Conditions
Picking the right material for your car sticker in New Zealand isn't just about how it looks—it's about how long it will last. Our Kiwi environment, with its intense UV rays and four-seasons-in-one-day weather, is notoriously tough on anything left outside. Choosing the wrong sticker material is a bit like wearing jandals to go hiking in the Tararuas; it's just not going to end well.
Think of it like this: some materials are built for a short, sunny outing, while others are engineered to withstand years of abuse. Your choice really depends on what you're trying to achieve, whether that's a temporary promo for a weekend event or a permanent brand statement on your company ute.
The two main players you'll come across for car stickers new zealand are calendared vinyl and cast vinyl. They might look the same at first glance, but believe me, their performance is worlds apart.
Calendared vs Cast Vinyl
Calendared vinyl is made by squeezing a lump of heated vinyl through rollers, a bit like making pasta. This process puts some tension into the material, giving it a "memory" that makes it want to shrink back over time. Because of this, it’s a great, budget-friendly option for flat surfaces and short-term jobs, like simple lettering on a van's side or a promotional sticker for an event.
Cast vinyl, on the other hand, is a whole different beast. It's made by pouring liquid vinyl onto a super-smooth sheet and letting it cure without any stress. The result is a premium, highly flexible film that can wrap around complex curves, bumps, and rivets without shrinking or peeling away. If you're looking at a full vehicle wrap or graphics on a contoured bonnet, cast vinyl is the only way to go for a long-lasting, professional finish.
This decision tree can help you picture which path to take, depending on your needs.
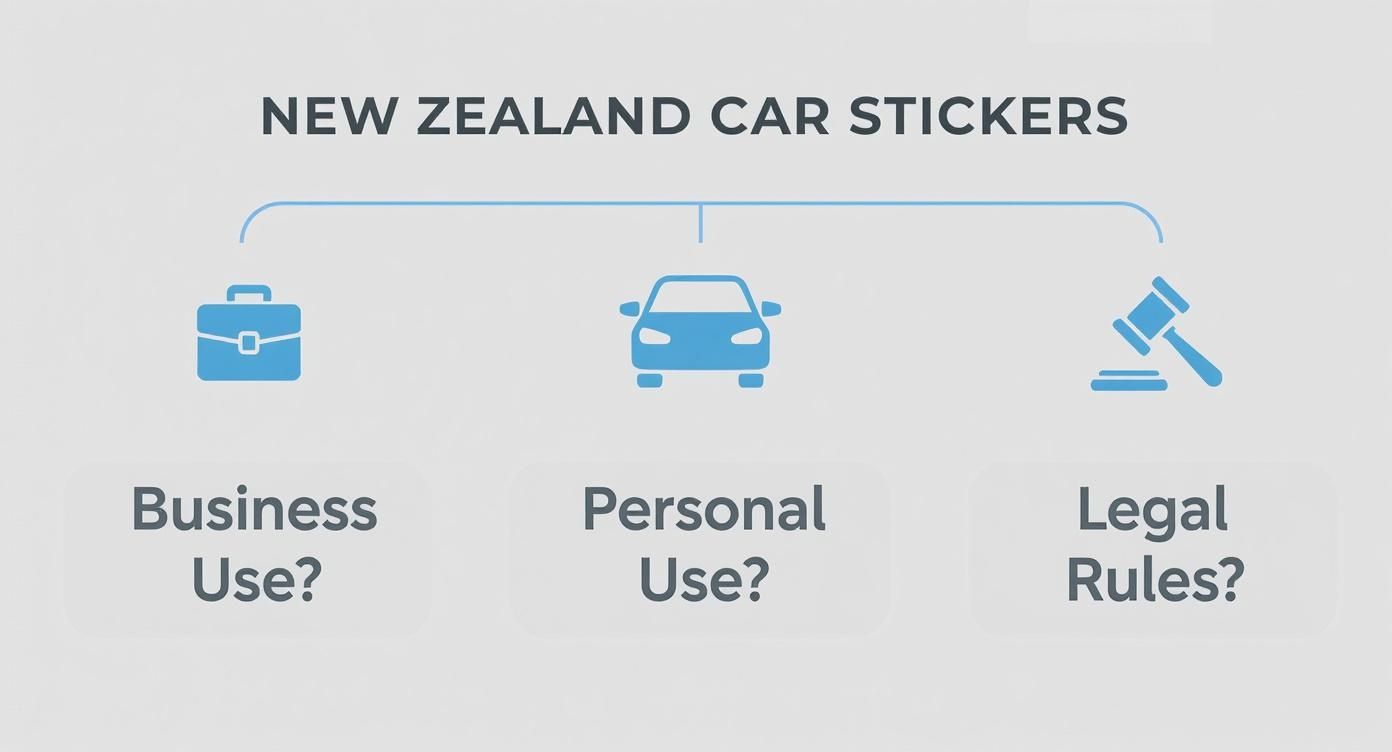
As you can see, the reason you need the sticker—whether it’s for your business fleet or your personal car—points you toward different materials and designs, all while keeping NZ’s road rules in mind.
To give you a clearer picture, here’s a quick rundown of the most common materials we use in New Zealand and what they’re best suited for.
Comparing Car Sticker Materials for New Zealand Use
| Material Type | Best For | Durability (Years) | UV Resistance | Typical Cost |
|---|---|---|---|---|
| Calendared Vinyl | Short-term promos, flat surfaces, basic lettering | 2–5 | Moderate | $ |
| Cast Vinyl | Full & partial wraps, complex curves, long-term branding | 7–10+ | Excellent | $$$ |
| Window Perf | Rear windscreen advertising (one-way vision) | 1–3 | Good | $$ |
| Reflective Vinyl | Safety/emergency vehicles, high-visibility needs | 5–7 | Excellent | $$$ |
| Polymeric Vinyl | Mid-term use, simple curves, fleet graphics | 5–7 | Very Good | $$ |
This table shows the trade-off you’re making. A cheaper material like calendared vinyl is perfect for a temporary campaign, but for a brand that needs to look sharp for years, investing in cast vinyl is non-negotiable.
Common Sticker Types and Their Uses
Once you've settled on a material, you need to pick the right type of sticker. Each style has its own job to do, offering a different look and level of permanence. Getting this right is crucial to making sure your investment pays off.
-
Die-Cut Decals: These are stickers cut precisely to the shape of your design, with no background. This creates a clean, painted-on look that’s perfect for logos, website addresses, or detailed graphics on windows and doors.
-
Bumper Stickers: The classic. They're usually printed on tough, weather-resistant vinyl and are designed to handle everything from road grime to the car wash. Great for getting a message out there, whether for your business or just for a bit of fun.
-
Vehicle Wraps (Full & Partial): This is the ultimate way to turn your vehicle into a mobile billboard. Using large sheets of premium cast vinyl, you can cover part of your car—or the whole thing—in stunning graphics. As a bonus, it also protects your original paintwork underneath.
-
Window Perf (One-Way Vision): This stuff is brilliant. It’s a vinyl film full of tiny holes that lets you see out from the inside perfectly, but people on the outside see a solid printed graphic. It’s ideal for branding on a rear windscreen without blocking the driver’s view, which is a big tick for your next WoF.
Key Takeaway: How long your car sticker lasts in NZ comes down to the material quality. A top-shelf, UV-laminated cast vinyl can easily last 7+ years, while a basic calendared vinyl might start to fade, crack, or peel in just 2-3 years under our harsh sun.
At the end of the day, spending a bit more on the right material upfront will save you a lot of money and headaches later on. For any serious, long-term business branding, the durability of cast vinyl is unbeatable. But for a quick campaign or some personal flair on a budget, calendared vinyl is a fantastic, cost-effective choice.
Staying on the Right Side of the Law: NZ Road Rules for Vehicle Graphics
Before you go all-out customising your vehicle, it's crucial to get your head around the rules of the road. Slapping on car stickers in New Zealand is about more than just looking good; it’s a matter of safety and legal compliance. Here in NZ, Waka Kotahi (the NZ Transport Agency) sets the guidelines to make sure any modifications—including graphics and decals—don't put you or anyone else at risk.
Getting this wrong can be a real headache. You could be looking at a failed Warrant of Fitness (WoF), hefty fines, or even an order to strip off your brand-new, expensive graphics. Let's break down what you need to know to make sure your ride is 100% road-legal.
Keeping Your Windows Clear
The single most important rule is all about visibility. Your line of sight as a driver is sacred, and anything that gets in the way is a definite no-go.
Waka Kotahi has very clear-cut rules for the front windscreen. Stickers are only allowed in a very thin band along the top, bottom, or sides, and they must be completely outside the driver’s main field of view.
For your side and rear windows, the rules are a bit more flexible, but the principle is the same. Your graphics can't seriously obstruct your view, especially when you’re checking blind spots or reversing. This is exactly why "one-way vision" vinyl is so popular for back windows—it looks like a solid graphic from the outside, but you can see right through it from the inside.
The All-Important Warrant of Fitness (WoF) Sticker
One of the most vital stickers on any Kiwi car is the one you don't stick on yourself: the Warrant of Fitness (WoF). This little label proves your vehicle has passed its mandatory safety check. Since 2014, if your car was first registered after 1 January 2000, you'll need a WoF inspection every year.
The WoF sticker lives in the top right-hand corner of your windscreen, with holes punched to show when it expires. Hiding, changing, or not displaying a valid WoF is illegal and can land you a NZ$200 fine.
Crucial Compliance Check: Your WoF, registration label, and Road User Charges (RUC) licence must always be fully visible. Never, ever cover them with another sticker. It's a surefire way to get pulled over.
What You Can't Put on Your Car
Beyond just keeping your windows clear, there are strict rules about certain types of graphics that could create confusion or danger on the road.
- Reflective Materials: You can't use highly reflective or fluorescent materials that could be mistaken for an emergency vehicle. Think police, fire, or ambulance colours and patterns—especially anything resembling flashing red and blue lights.
- Misleading Graphics: Your vehicle can't look like it belongs to an official authority. Any graphics that mimic police insignia, road signs, or other official emblems are strictly forbidden.
- Offensive Content: This one is more about common sense, but it's still important. Any graphics that are considered obscene, offensive, or overly distracting can get you into trouble. It's always best to keep it professional.
- Number Plates: This should be obvious, but your number plate needs to be completely clear of any stickers or frames. The characters must be easily readable from 20 metres away.
Keep these simple Waka Kotahi guidelines in mind, and you can be confident that your vehicle will not only look fantastic but also be perfectly safe and legal on New Zealand roads.
Designing Car Stickers That Get Your Business Noticed
For a Kiwi business, a well-designed sticker isn't just a bit of decoration—it's a mobile billboard that works for you 24/7. It's one of the most cost-effective advertising tools out there, but its success hangs entirely on the design. A moving car only gives you a split second to make an impression, so your design has to be clear, impactful, and instantly understandable.
Think of your vehicle as a moving canvas. Unlike a static ad in a magazine, people will see it from all sorts of angles, at different speeds, and in every kind of weather. This means the usual design rules need a bit of a tweak. Your goal is to communicate who you are and what you do in the three to five seconds you have a driver's attention at a traffic light.
This is where smart design really comes into play. It’s not about cramming in every last detail; it's about creating a powerful visual snapshot of your brand that sticks in people's minds.
Core Principles of Mobile Advertising
Effective vehicle graphics follow a few simple, non-negotiable rules. Getting these right is the difference between generating new leads and just blending into traffic. The main idea is to put legibility and brand recognition above everything else.
Your design should be a natural extension of your brand. Use the same logo, colour palette, and fonts you have on your website, business cards, and social media. This consistency builds brand recall, so when people see your van, they instantly connect it with your business.
Remember, on a moving vehicle, less is always more. A cluttered design is an invisible one.
The 15-Metre Rule: A great test for any vehicle graphic is to see if it's easily readable from 15 metres away. If the key info isn't crystal clear from that distance, the design is too complicated and just won't work on the road.
What to Include on Your Sticker
Figuring out what information to put on your sticker is a balancing act. You need to give potential customers enough to act on, but not so much that it becomes a visual mess. The best car stickers for businesses focus on a clear hierarchy of information.
Here are the essentials, ranked by importance:
- Your Business Name and Logo: This is the hero of your design. It should be the largest, most prominent element, telling people exactly who you are.
- A Tagline or Key Service: What do you do? A short, punchy line like "Master Electricians" or "Auckland's Trusted Plumbers" gets your value across in a heartbeat. Keep it simple and focused on the benefit.
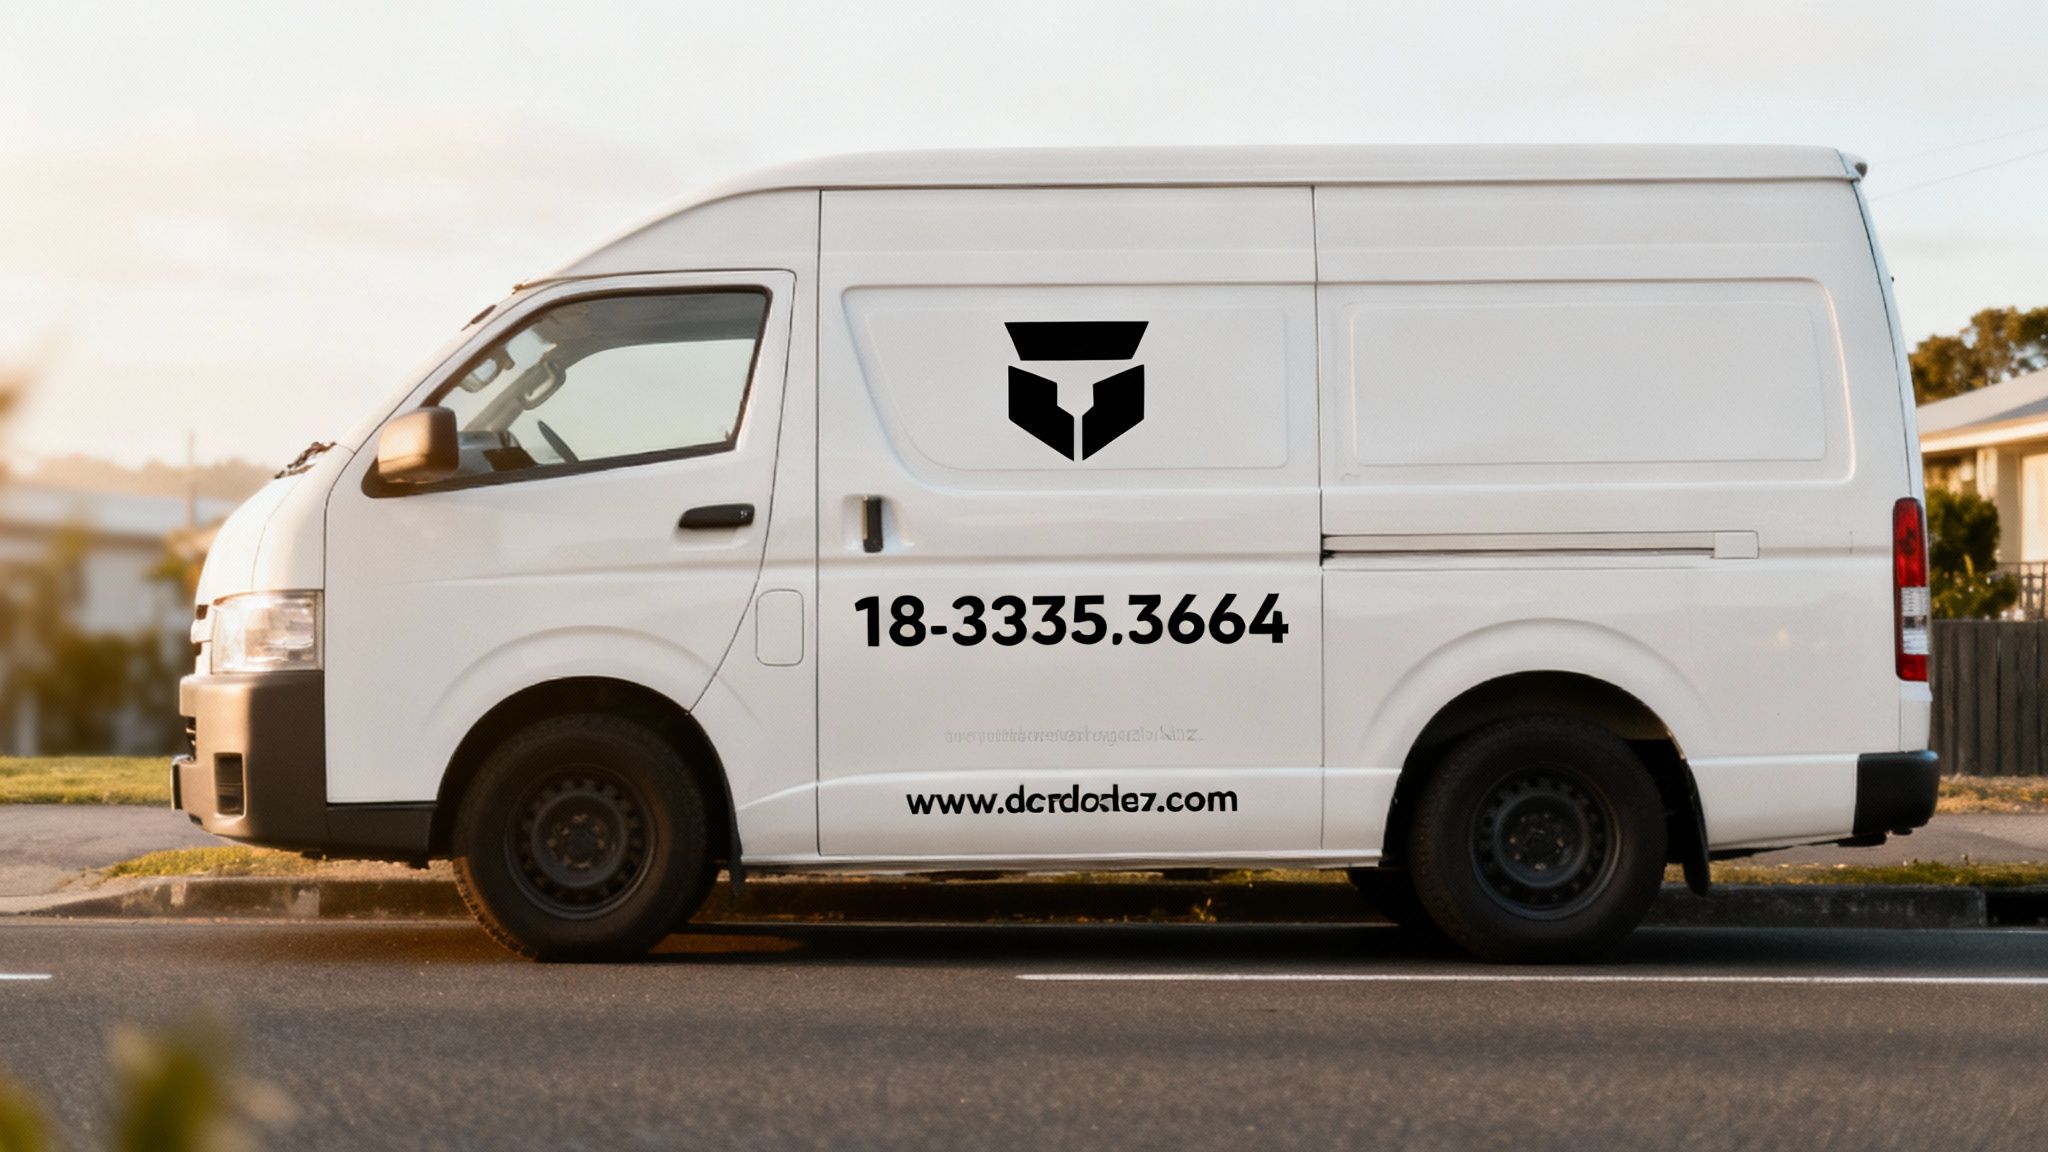
- Contact Information: This is crucial. A phone number and a website are the most important calls to action. Make sure the font is bold and large enough for someone to jot down or remember easily.
Try to avoid listing every single service you offer. Instead of a long list like "Roofing, Guttering, Spouting, Moss Removal, and Leak Repairs," something simple and powerful like "Total Roofing Solutions" works much better. It’s cleaner, easier to read, and looks more professional. For businesses aiming to connect with specific communities, niche options like custom Vegan Car Stickers can also be surprisingly effective.
Design Tips for Maximum Impact
Now that you know what to include, let's talk about how to arrange it for the best results. These practical tips will help you create a design that truly gets your business noticed on New Zealand roads.
- Use Bold, Contrasting Colours: Your vehicle’s base colour is your background. Choose sticker colours that pop against it. A dark van needs light-coloured graphics, while a white ute is the perfect canvas for bold, vibrant colours.
- Choose a Simple, Legible Font: Fancy, cursive, or overly thin fonts are impossible to read at a glance. Stick to clean, sans-serif fonts like Helvetica, Arial, or Montserrat for the best clarity.
- Design for the Vehicle's Shape: A good design works with the car's contours, not against them. Place key information on flat, highly visible areas like doors, side panels, and the rear. Avoid putting important text over door handles, deep curves, or panel gaps.
- Embrace Empty Space: Don’t be afraid of "white space" (or whatever colour your vehicle is). It gives your design room to breathe and helps the important elements stand out even more.
Following these pointers will help you create professional vehicle graphics that act as a powerful lead-generation tool, turning every drive into a marketing opportunity.
A Step-By-Step Guide to Sticker Application and Care
Even the most striking car sticker can be ruined by a clumsy application. Nailing that perfect, professional finish isn't about luck; it's a process. Think of it like painting a room—the final result is 90% preparation and only 10% the actual painting. This guide will walk you through everything you need to know to get your car stickers looking fantastic from day one and for years to come.
The All-Important Prep Work
Getting the surface perfectly clean is the single most critical step. Any speck of dust, wax, or road grime left behind creates a weak spot for the adhesive, leading to bubbles and peeling down the line. A good wash with car soap and water is a great start, but to create a truly flawless base, you'll want to go one step further.
Before you even think about peeling the backing paper, a deep clean is a must. For really tough spots, you might need help removing stubborn contaminants like tar. Once it’s clean, a final wipe-down with isopropyl alcohol on a microfibre cloth is the professional's secret. This zaps any remaining oils or residue, giving your sticker the perfect, sterile surface to bond to.
Choosing Your Application Method: Wet or Dry?
With your surface now pristine, you've got two main ways to apply your sticker: the dry method or the wet method. Each has its place, and the right choice really comes down to the size of the sticker and how confident you're feeling.
The Dry Method is your go-to for smaller, simpler decals like die-cut logos or individual letters. It's quick and gives you the strongest immediate bond. The catch? It's completely unforgiving. Once that sticker touches the paint, it's there to stay, so you only get one shot.
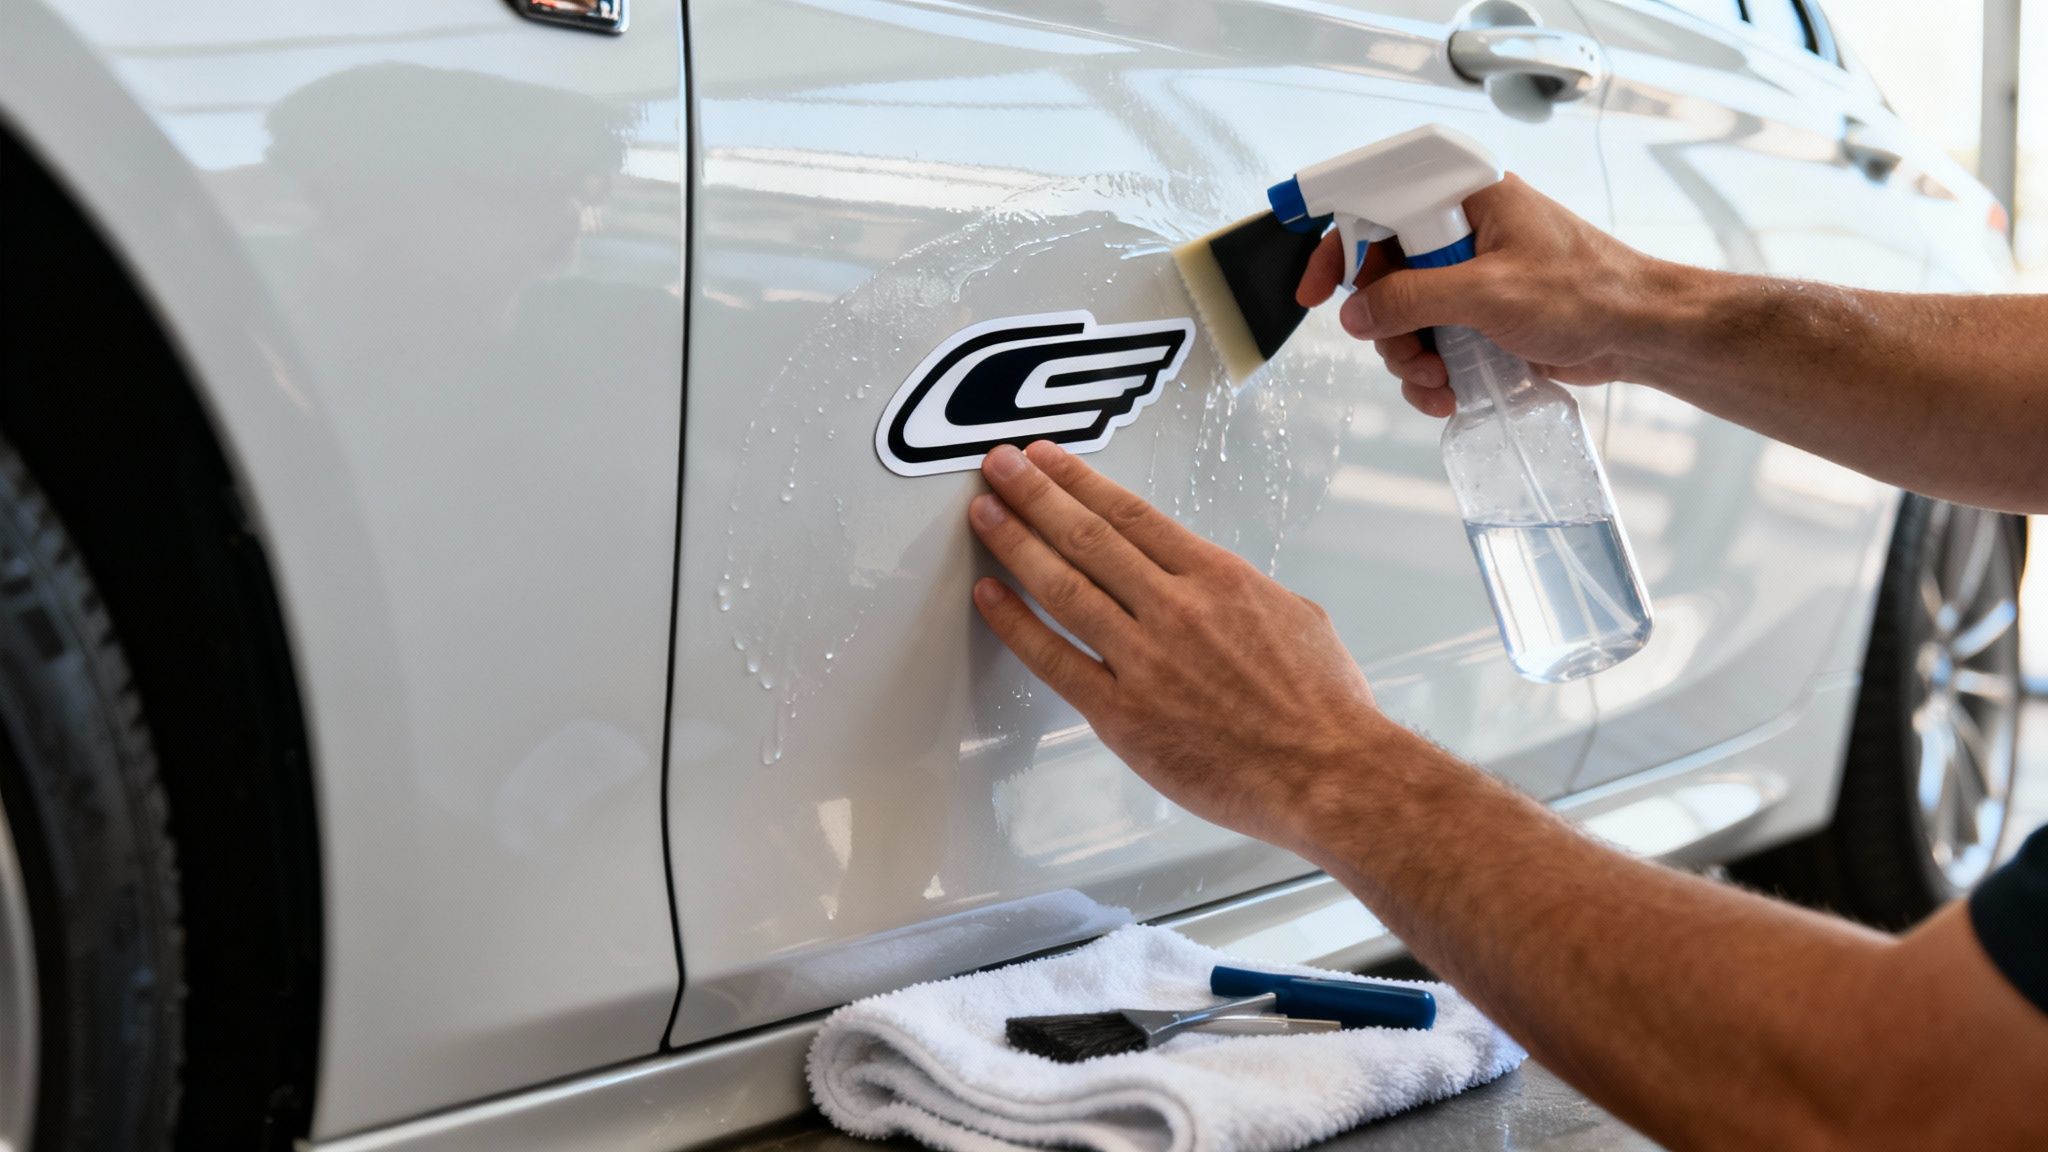
The Wet Method is what I'd recommend for any larger graphics, or for anyone who's a bit nervous. This technique involves lightly spraying the car's surface and the sticky side of the vinyl with a soapy water solution. This clever trick lets you slide the sticker around until it’s in exactly the right spot. You then squeegee the water out from underneath. The initial bond is gentle, but it cures to full strength within a day or two.
Pro Tip: When mixing your solution for the wet method, use a spray bottle with about 500ml of water and just one or two drops of baby shampoo or dish soap. Any more soap than that and you'll sabotage the adhesive, stopping it from ever sticking properly.
The Application Process: A Pro's Walkthrough
Ready to get it on the car? Grab a proper applicator squeegee if you have one—if not, a credit card carefully wrapped in a soft, lint-free cloth will do the trick.
- Position It Perfectly: Before you peel anything, place the sticker on the vehicle with the backing paper still attached. Use masking tape along the top edge to create a "hinge," fixing it in the exact position you want. This is your anchor point.
- Expose the Adhesive: Using your tape hinge, flip the sticker up so it's resting upside down. Now, carefully peel the backing paper away to expose the sticky side. If you're using the wet method, this is the moment to lightly mist both the car panel and the sticker's adhesive surface.
- Lay and Squeegee: Gently lower the sticker back down onto the panel. Start from the centre of the sticker and work your way outwards, using your squeegee to press it firmly onto the vehicle. Use confident, overlapping strokes to push every last air bubble or drop of water out to the edges.
- The Final Reveal: Let the sticker rest for a few minutes (or a bit longer if you used the wet method). Now, slowly peel the top application tape off. The key is to pull it back on itself at a sharp, 180-degree angle, not straight up. If any part of the sticker tries to lift, just lay the tape back down, give it another firm squeegee, and wait a little longer.
Long-Term Care for Tough Kiwi Conditions
Your sticker is on and looking sharp! Now, let's keep it that way. New Zealand's harsh sun and wild weather can be brutal, but a little bit of care will keep your graphics looking vibrant for years.
- Let it Cure: Don't even think about washing your vehicle for at least 48-72 hours. The adhesive needs this time to fully cure and form a permanent bond.
- Be Gentle with Water Blasters: When you do wash the car, never aim a high-pressure hose directly at the edges of your sticker. That's a surefire way to lift the vinyl and start it peeling.
- Hand Washing is Best: Nothing beats a gentle hand wash for preserving your decals. Steer clear of abrasive polishes, cutting compounds, or harsh scrubbing brushes near the graphics.
- Beat the Sun: Our Kiwi sun is intense. If you can, try to park in the shade or use a car cover to protect your graphics from UV damage. The best defence, though, is ordering your sticker with a quality UV-protective laminate in the first place.
Got Questions About Car Stickers? We’ve Got Answers.
We've covered a lot of ground, but you probably still have a few questions rattling around. It's completely normal. Getting into vehicle graphics for the first time can feel like a big step, so let's tackle some of the most common queries we hear from Kiwis every day.
Think of this as your quick-fire round for getting the essential info you need.
Are Car Stickers Actually Legal in NZ?
Absolutely. Car stickers are perfectly legal in New Zealand, but you do need to play by the rules. Waka Kotahi NZTA has some clear guidelines, and they all boil down to one thing: safety and visibility.
You can't just stick anything anywhere. Your front windscreen, for example, is almost entirely off-limits to ensure you have a clear view of the road. The same goes for your front side windows. Any graphics on rear or side windows must not block your line of sight when checking mirrors or blind spots.
And it’s a definite no-go to cover your number plate or your official WoF label. Also, steer clear of any designs that could be mistaken for an emergency vehicle or an official road sign. It's always a good idea to double-check the latest NZTA guidelines if you're planning something big.
What’s the Damage? How Much Do Custom Stickers Cost?
This is the big "how long is a piece of string?" question. The price for custom car stickers in NZ can swing wildly based on size, the quality of the vinyl, how complex your design is, and how many you need.
A small, simple logo cut from a single colour of vinyl might only set you back a few dollars. If you're looking at a larger, custom-printed graphic for a van door, you could be looking at anywhere from $50 to $150.
When you start thinking bigger:
- Partial wraps (covering just a section of your vehicle) often run into the hundreds.
- A full, professional wrap for a commercial van or ute can range from $3,000 to over $6,000.
Your best move is always to chat with a few local NZ suppliers. Get detailed quotes and compare what you’re getting for your money.
A Quick Word of Advice: It’s tempting to go for the cheapest quote, but this is one area where you often get what you pay for. Quality materials and expert installation aren't just costs; they're an investment in how your brand looks and how long your graphics will last.
Will Stickers Wreck My Car's Paint?
This is a huge concern for many people, but the answer is usually no. A high-quality, professionally installed sticker made from proper automotive-grade vinyl should not damage your factory paintwork. These materials use adhesives designed to stick tight but also come off cleanly when it's time for a change.
However, you can run into trouble in a few scenarios. Cheap, poor-quality stickers might use a nasty, aggressive adhesive that leaves a sticky mess or, in the worst cases, pulls up the clear coat. Damage can also happen if the paint was already in bad shape—chipped, peeling, or poorly repaired. Removing a sticker from a compromised surface can definitely make things worse.
When the time comes to remove a good decal, a bit of gentle heat from a hairdryer or heat gun is usually all it takes to soften the adhesive, allowing it to peel away without a fight, leaving your paint looking good as new.
Can I Put a Sticker Over My WoF?
Nope, definitely not. Your Warrant of Fitness (WoF) label has its own legally designated spot on the windscreen for a reason—it needs to be completely visible at all times.
Covering your WoF with another sticker isn't just a bad idea; it’s illegal and could land you an on-the-spot fine. The testing station is the only one who should be touching that area when they apply your new WoF, so keep it clear.
Ready to get your vehicle noticed for all the right reasons? Whether you're building a brand or just want to show off your style, the team at SONI DESIGN lives and breathes this stuff. We create durable, eye-catching car stickers and vehicle graphics that make a statement. Let’s create something extraordinary together!
Leave a Comment
Stay home & get your daily
needs from our shop
Start You'r Daily Shopping with Nest Mart